Skillet tomato casserole

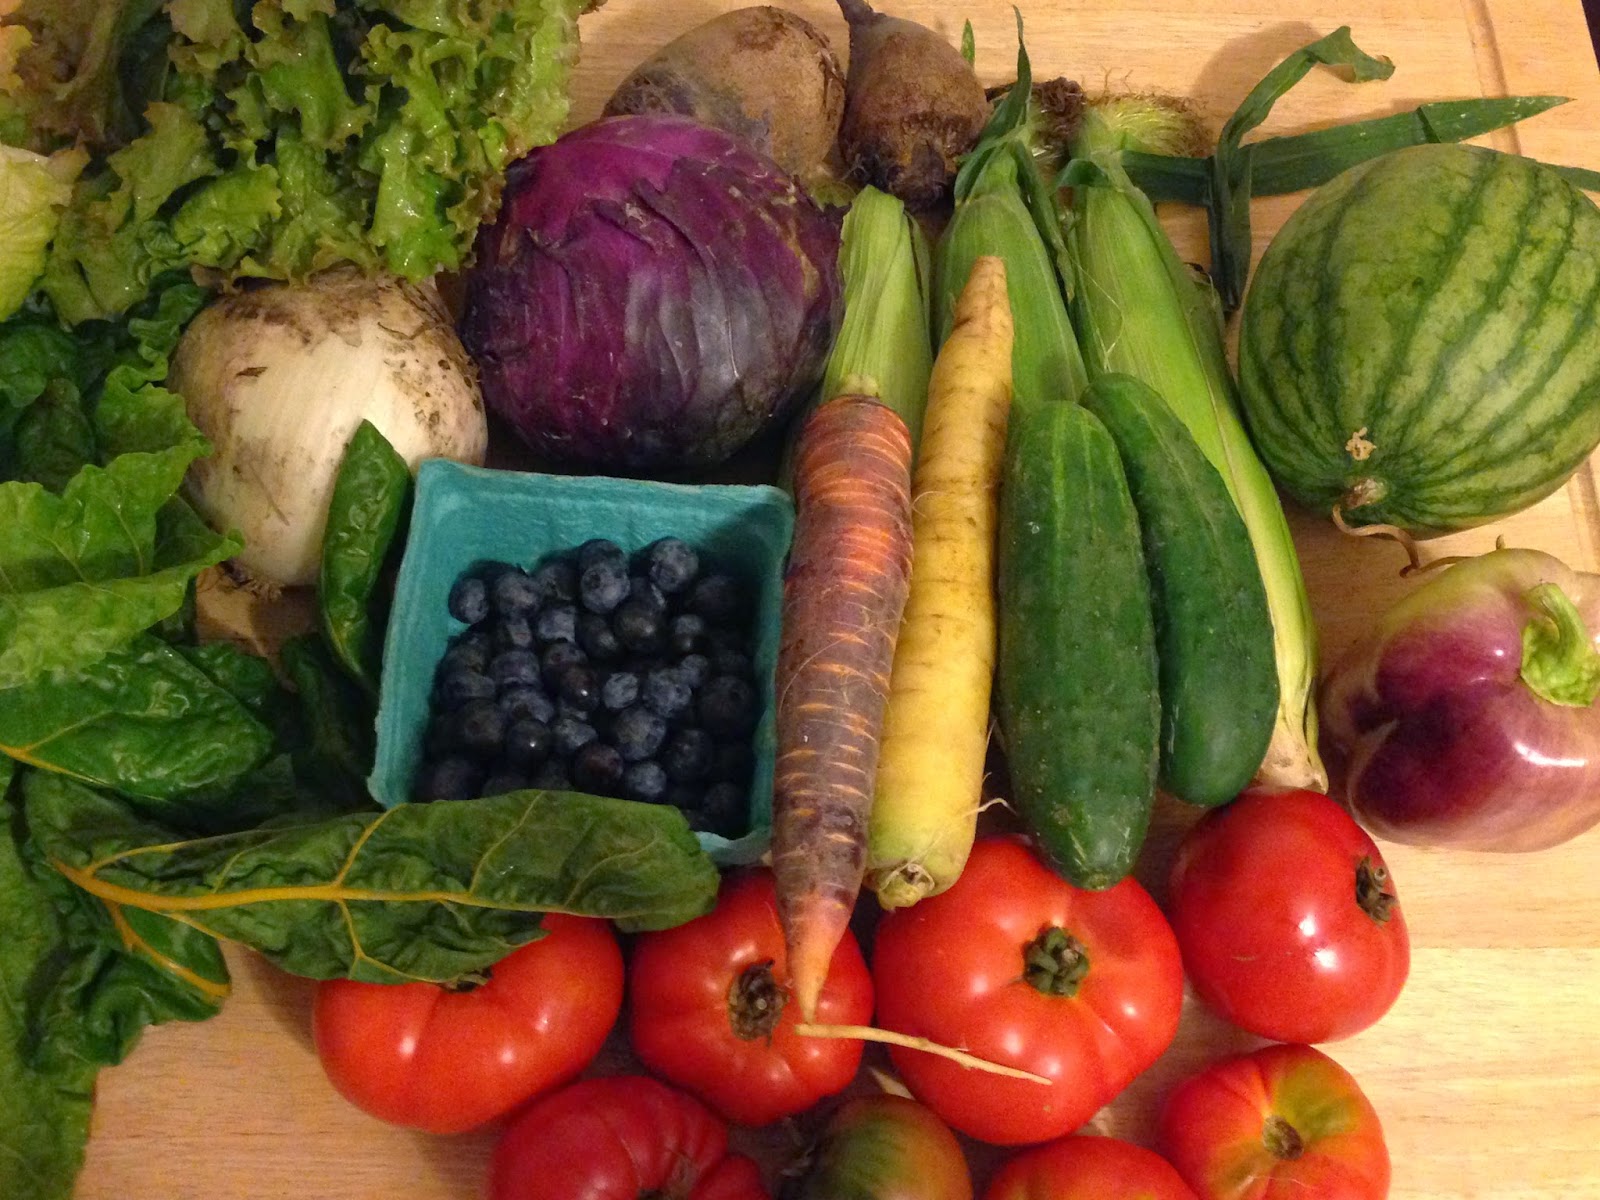
I know it may be hard to believe, but I’ve been having a hard time keeping up with all of the tomatoes this summer. Sadly, a couple of them have had to go straight to compost. My friend (and CSA buddy) Claire shared this recipe with me as a good way to use a bunch of tomatoes.

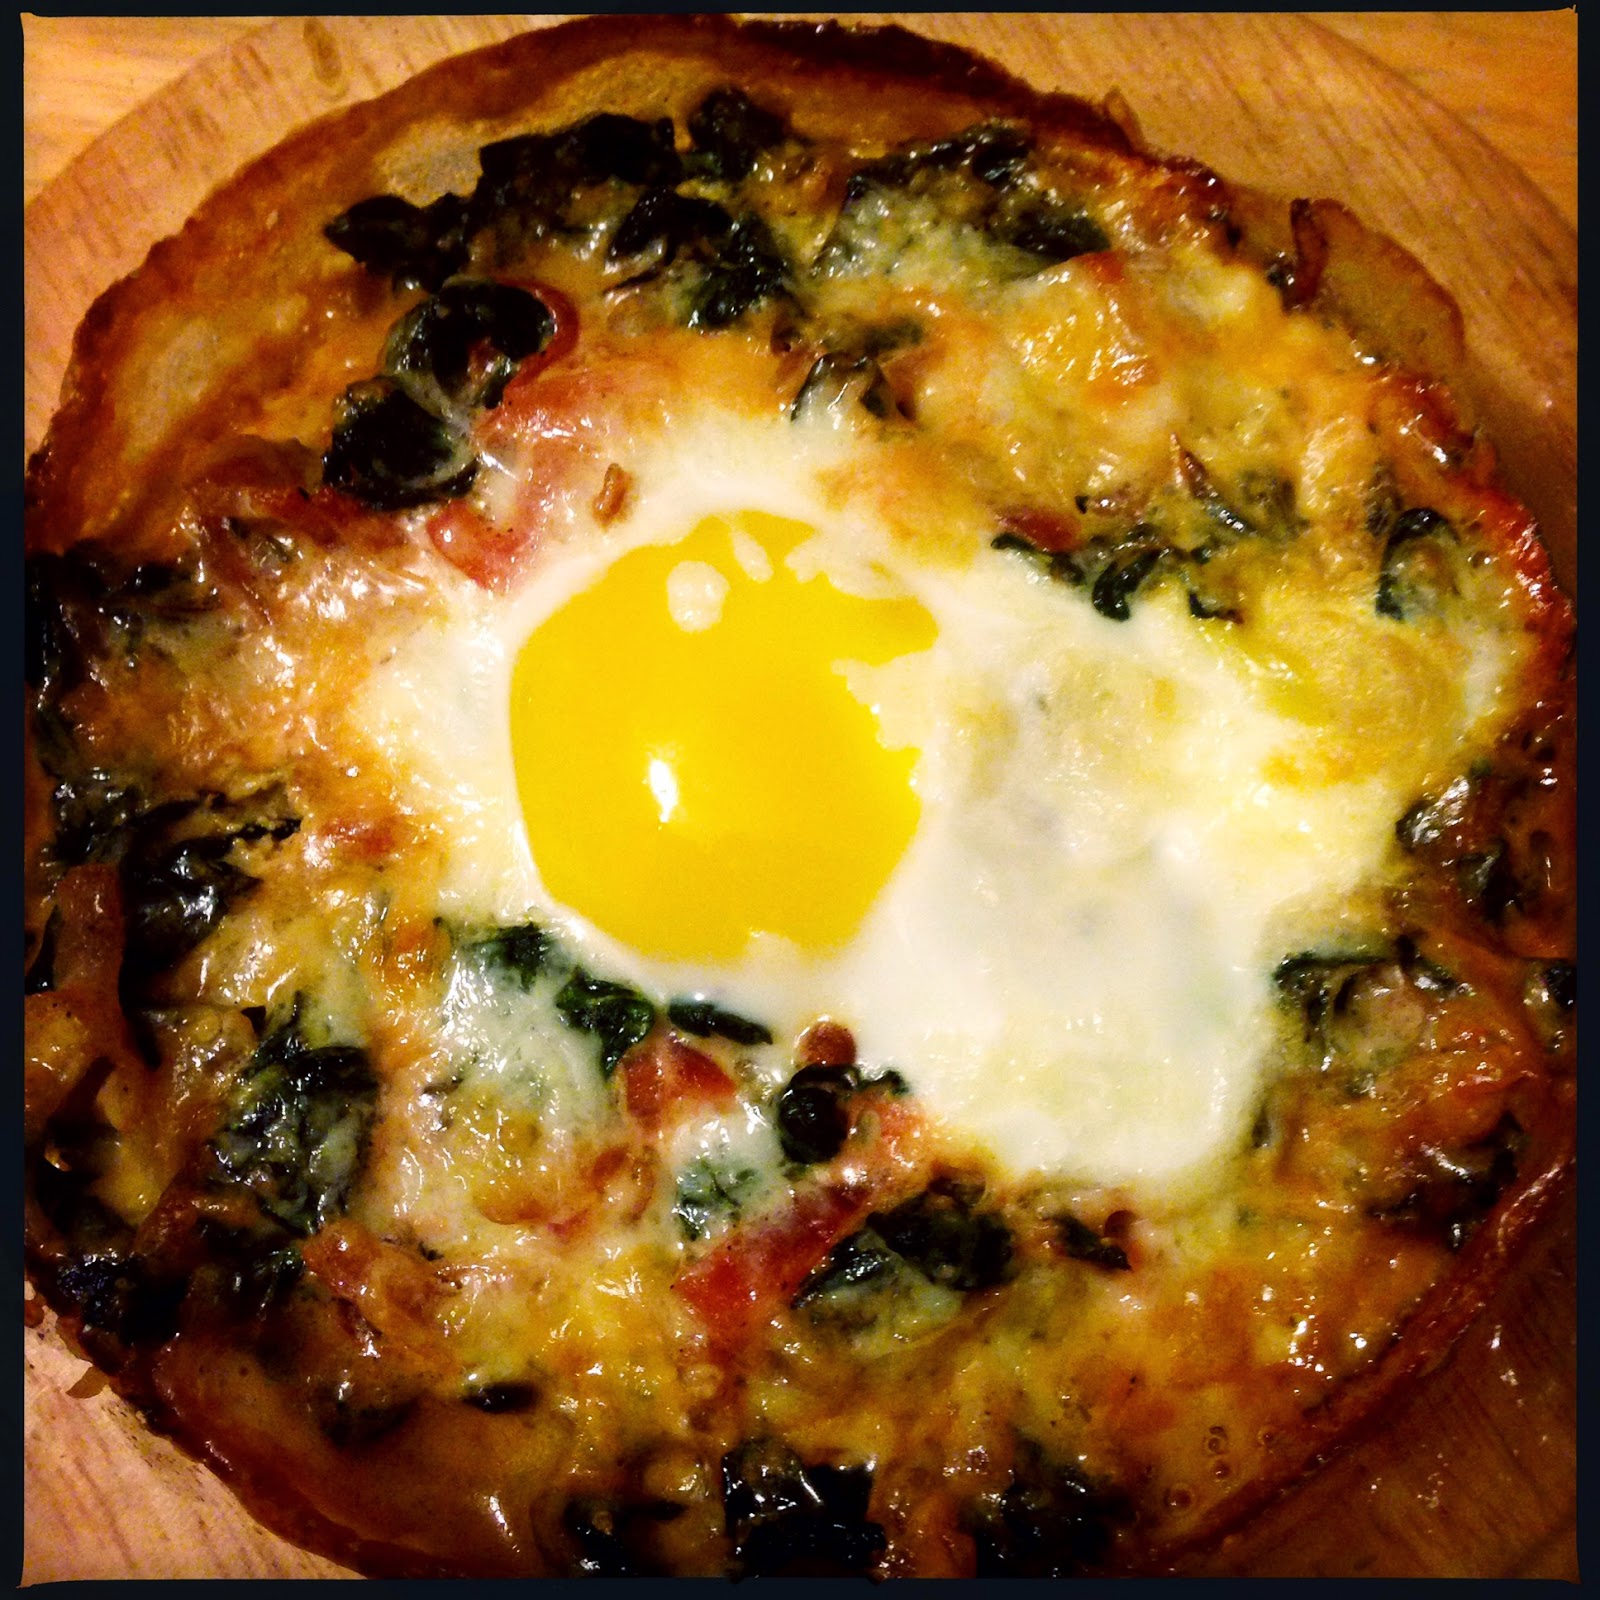
The recipe turned out to be a bit dangerous for me…after I had taken the skillet out of the oven, I had a blonde moment and accidentally grabbed the handle of the pan. #Ouchie. Dinner with a side of first-degree burns. After that I kind of lost my appetite and decided to drink the pain away instead. Now that my hand is recovered, I have been taking the leftovers for lunch this week and have made peace with this dish. As Claire told me, it’s not the recipe’s fault that I burned myself! 
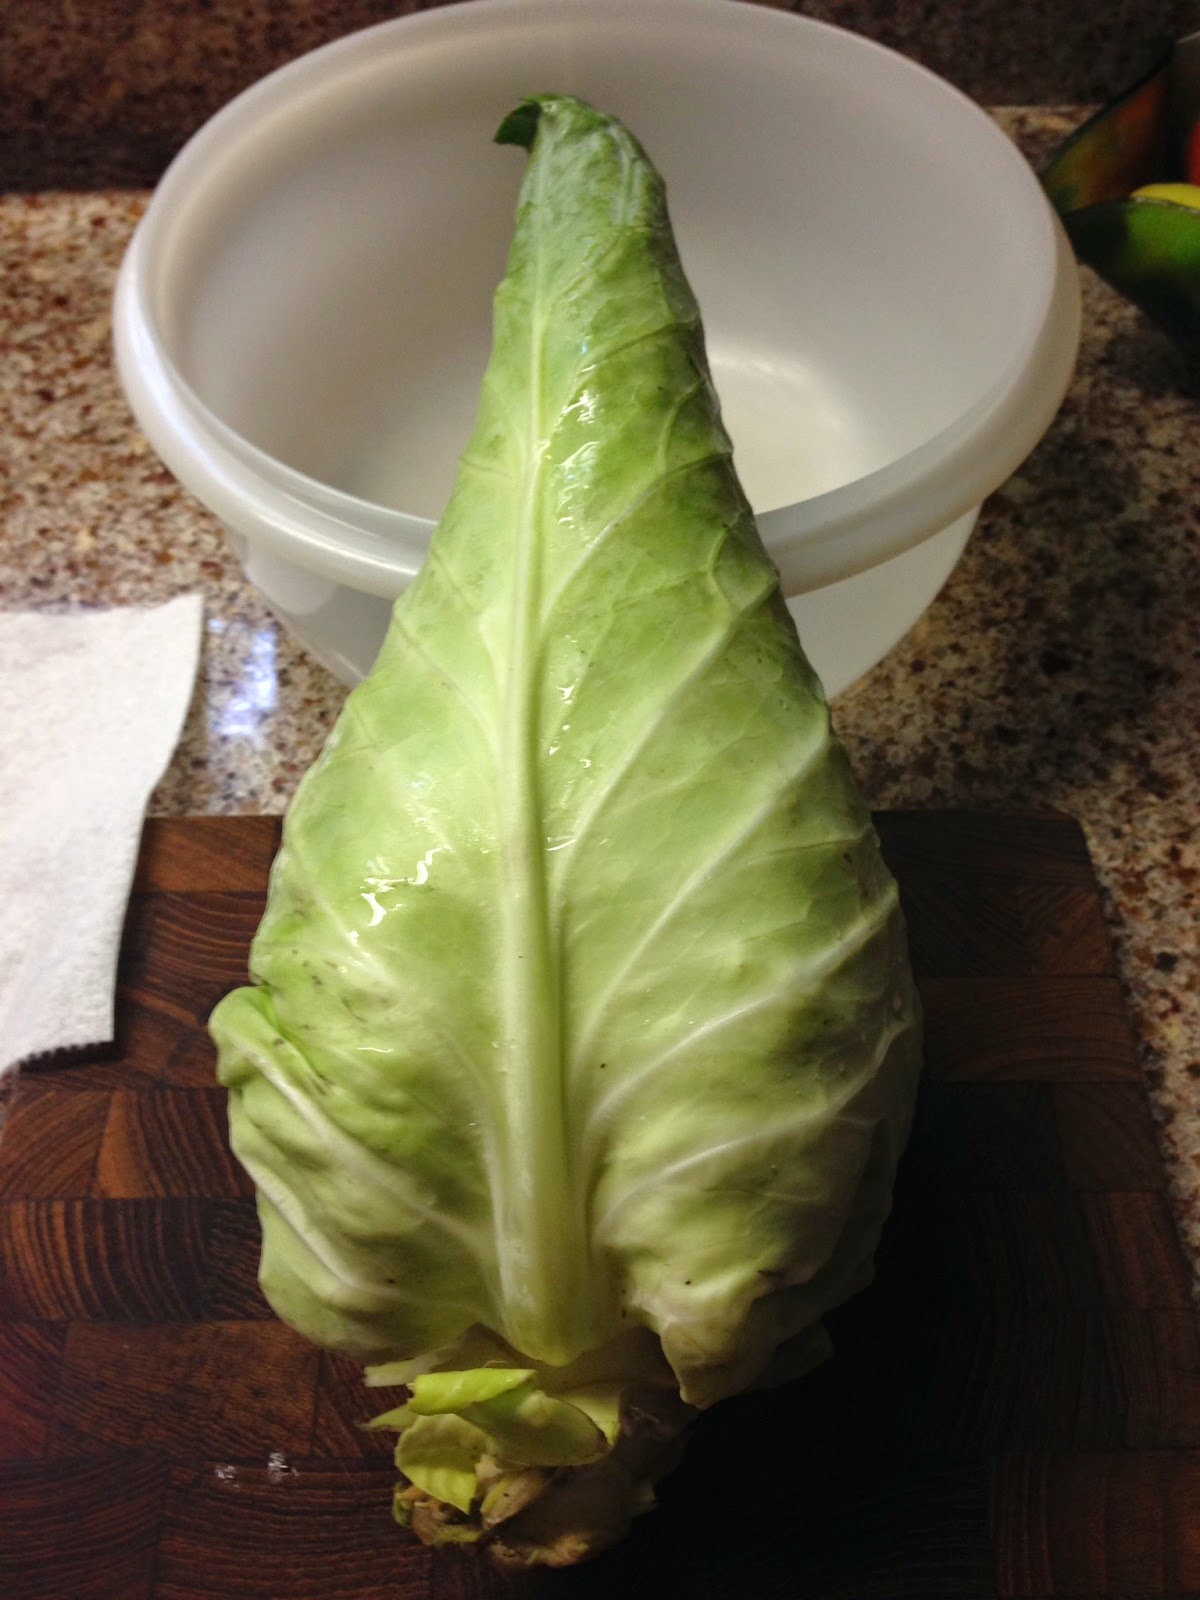
Mise en place

I was worried that the bread would get too soggy when it was reheated in the microwave. It did get soggy, but not annoyingly so. I also discovered the addition of the shredded mozzarella cheese with my lunch today – because how can you go wrong with more cheese?

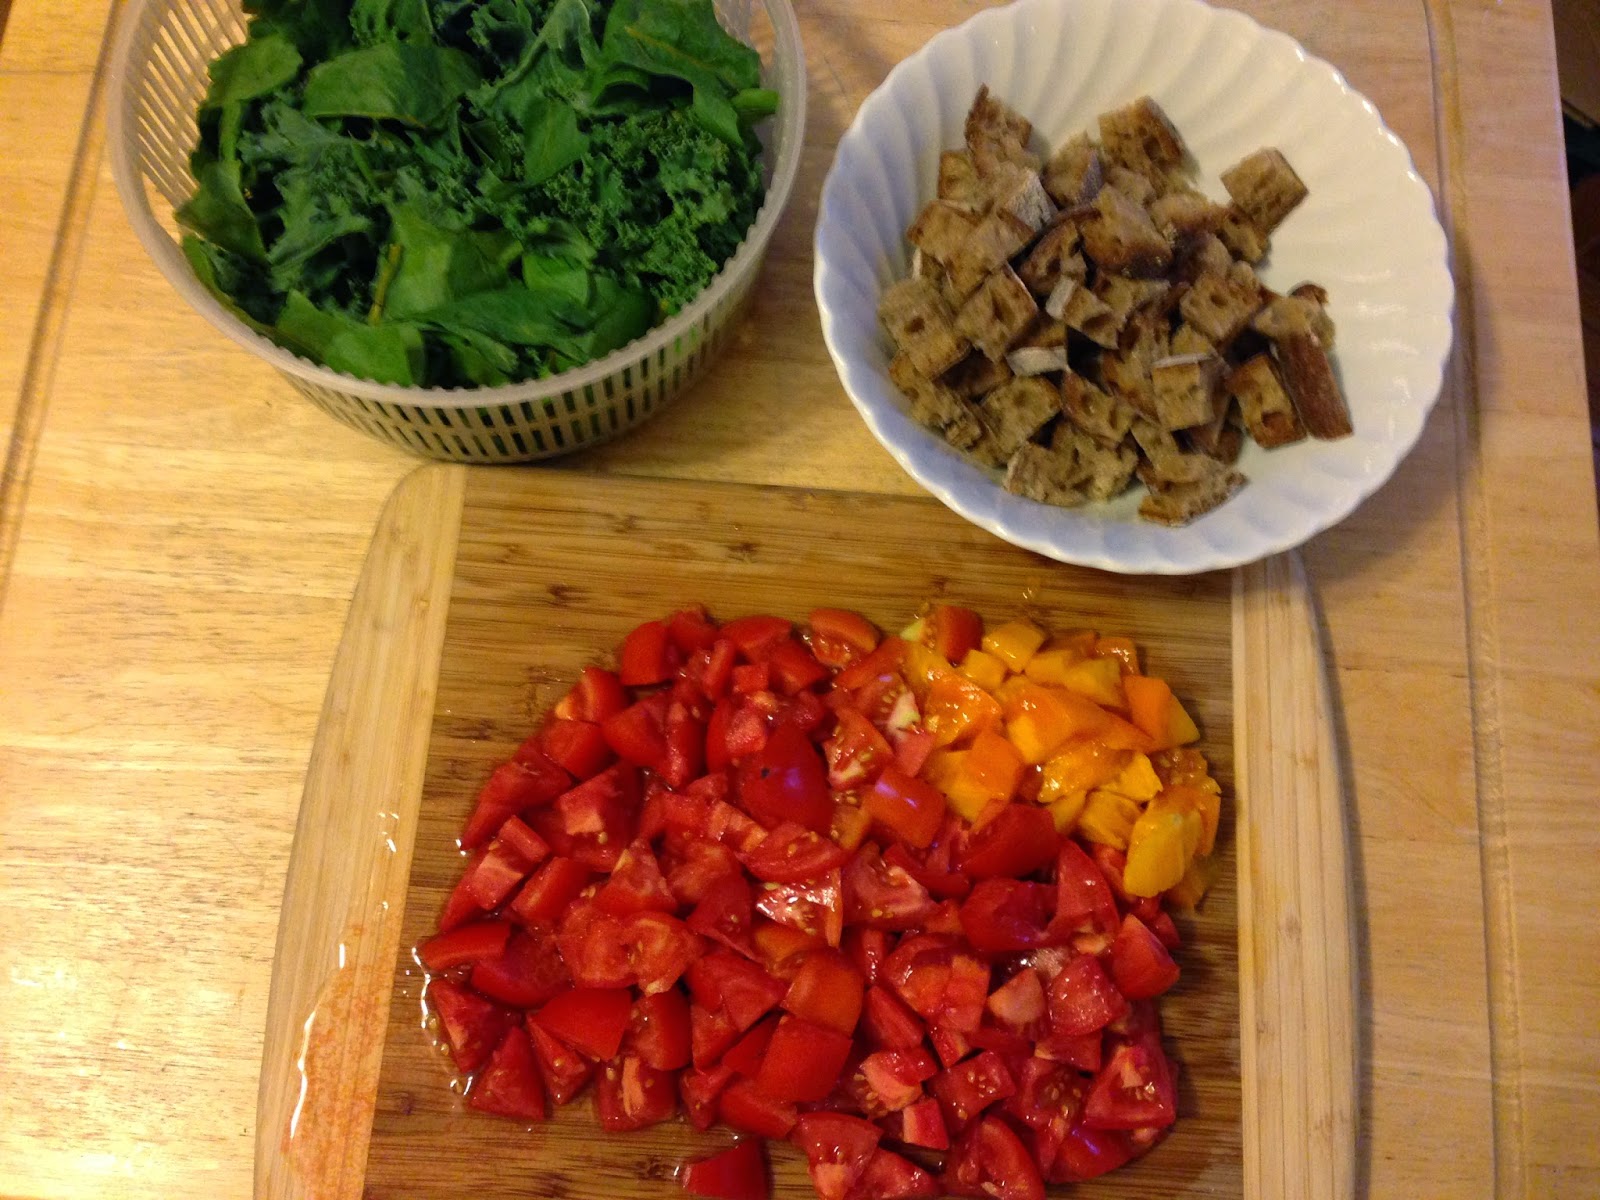
Bread, tomatoes, and greens

I used cannellini beans instead of Great northern beans and substituted kale and beet greens for the frozen spinach (added at step 3 with the tomatoes). I also decreased the salt from 2 teaspoons to 1/2 teaspoon. That would have been a whole lotta salt! I didn’t have any fresh basil so I omitted that as well.

Skillet tomato casserole
Serves: 4-6
Source: The Law Student’s Wife via Claire

Ingredients
2 Tablespoons extra virgin olive oil, divided
3 cups bread, diced into 1/2-inch cubes
2 1/2 pounds fresh tomatoes, cut into 1/2-inch dice
3 garlic cloves, minced
1 teaspoon sugar

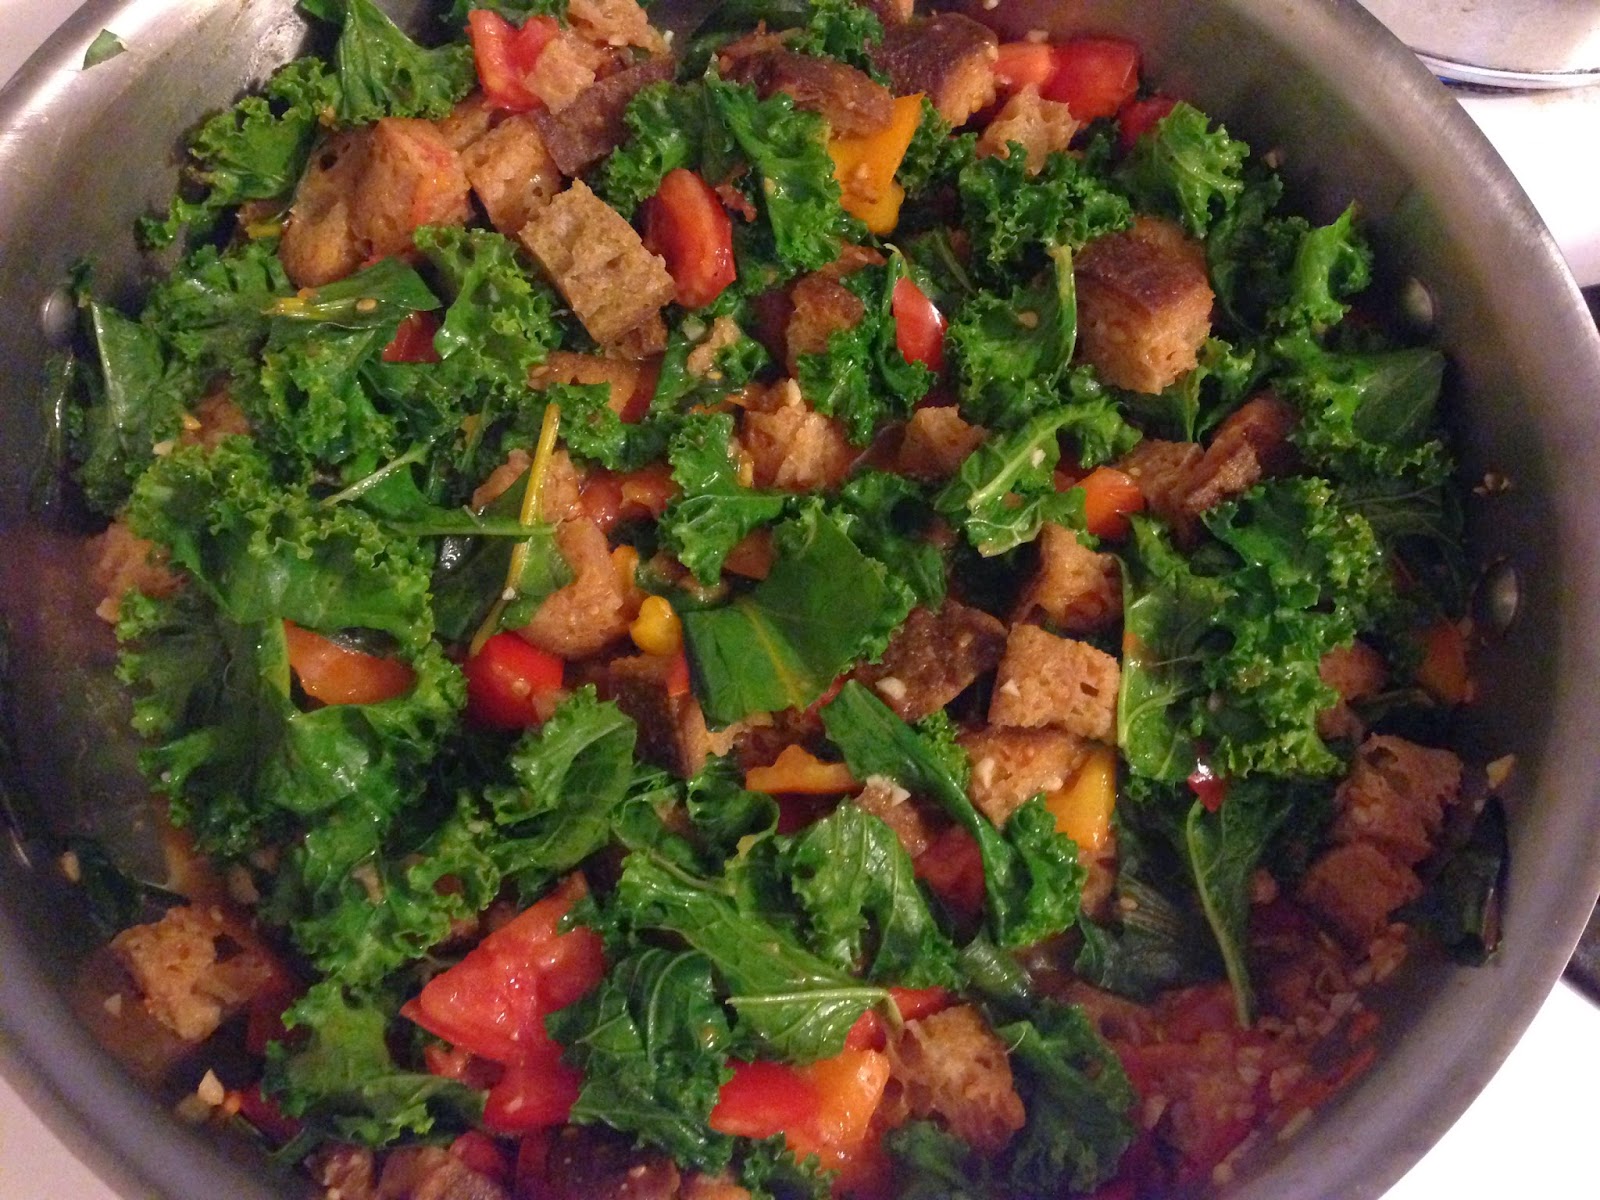
Bread tomatoes, greens, and beans

1/2 teaspoon kosher salt
Fresh ground pepper to taste
1 can cannellini beans, rinsed and drained
10-ounce package frozen spinach, thawed with excess moisture pressed out
1/2 cup fresh basil leaves, julienned
1/2 cup freshly grated Parmesan cheese
1/2 cup shredded mozzarella cheese

Directions
1. Place rack in the upper third of oven and preheat the oven to 350 degrees F.
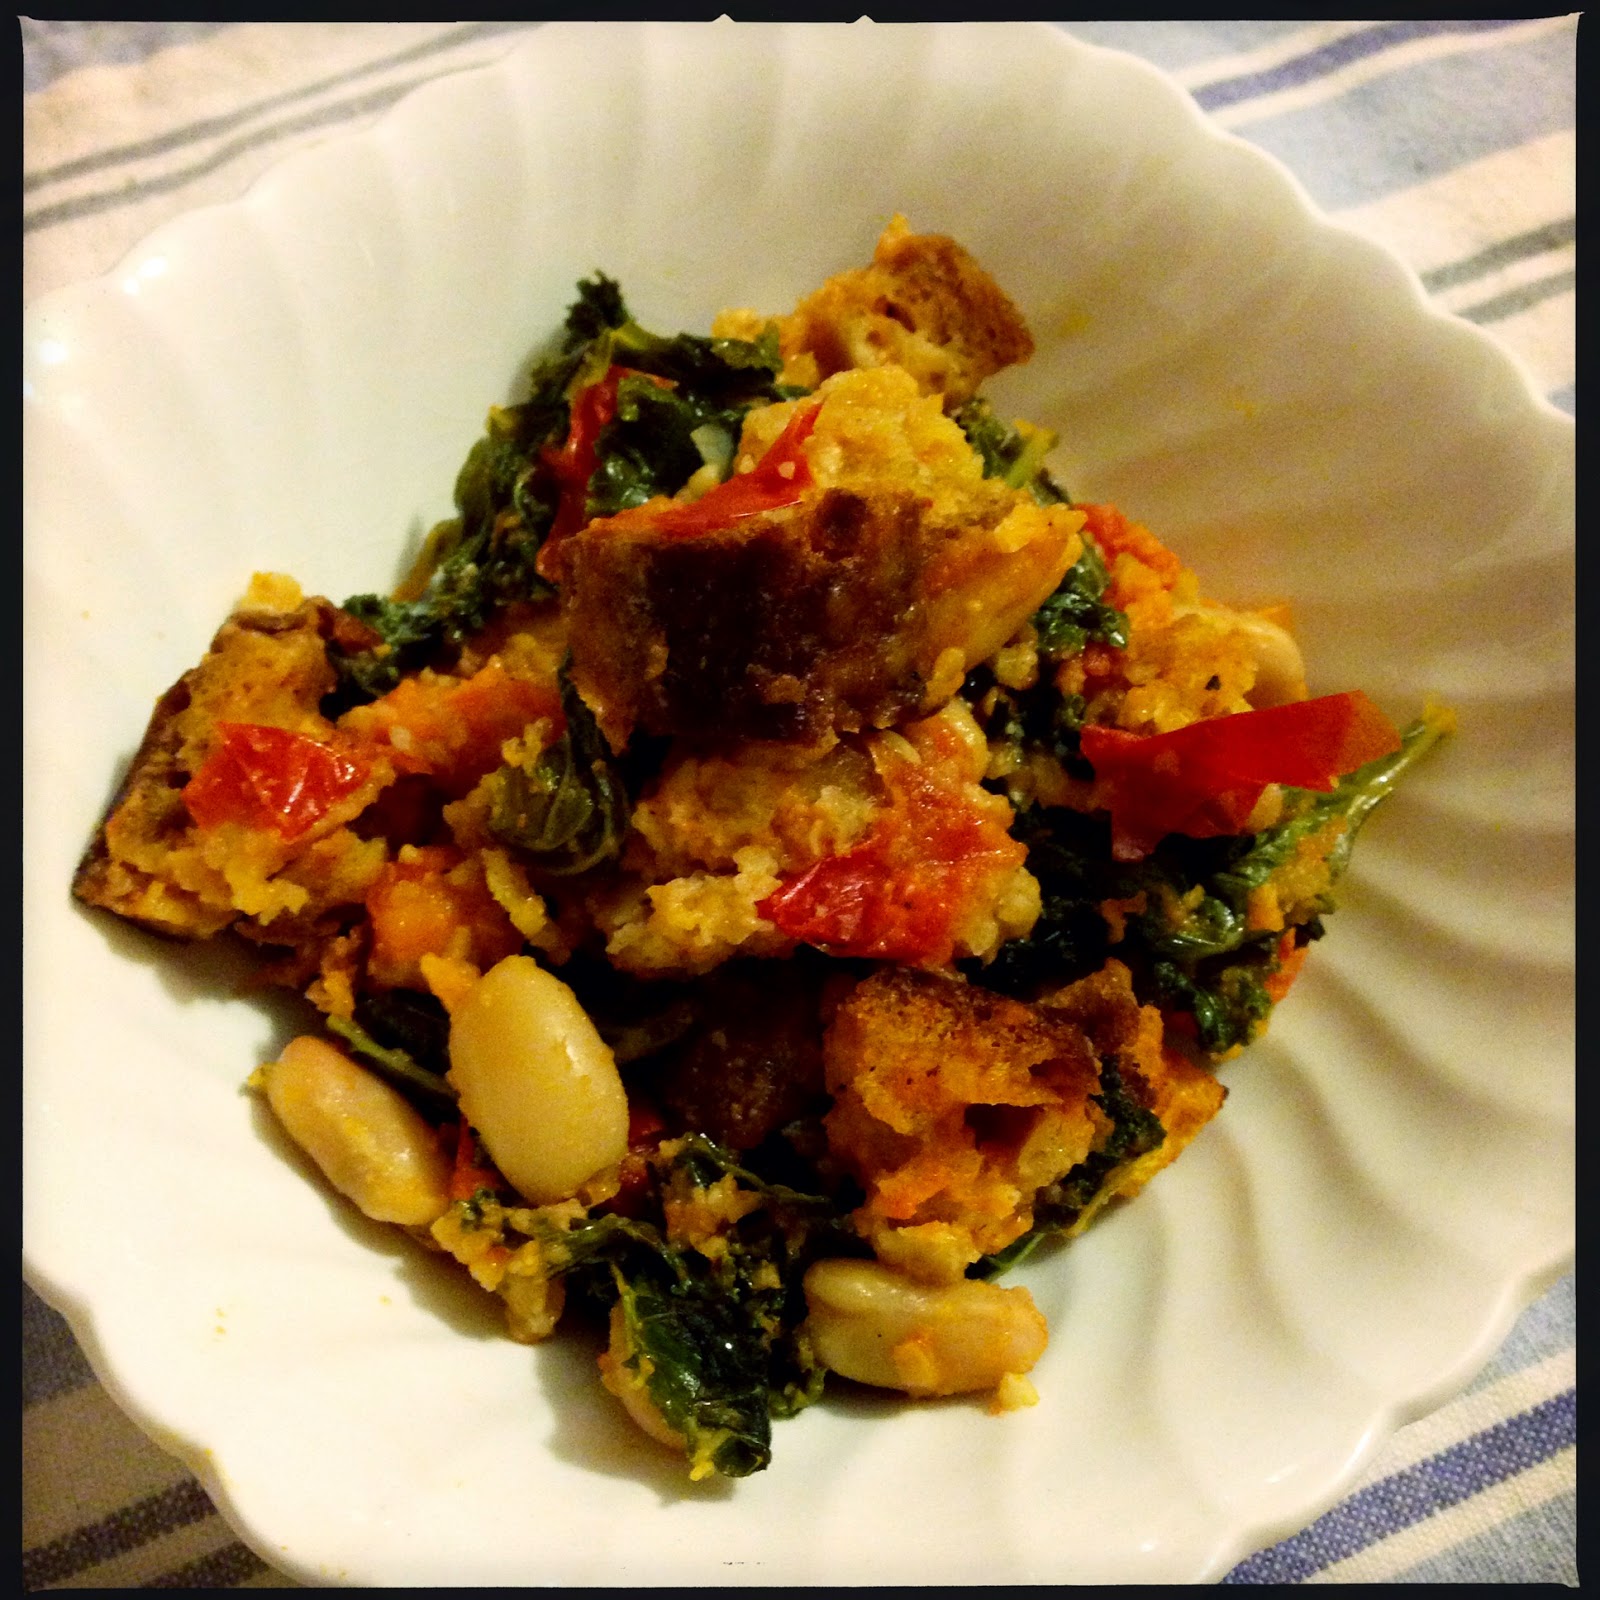
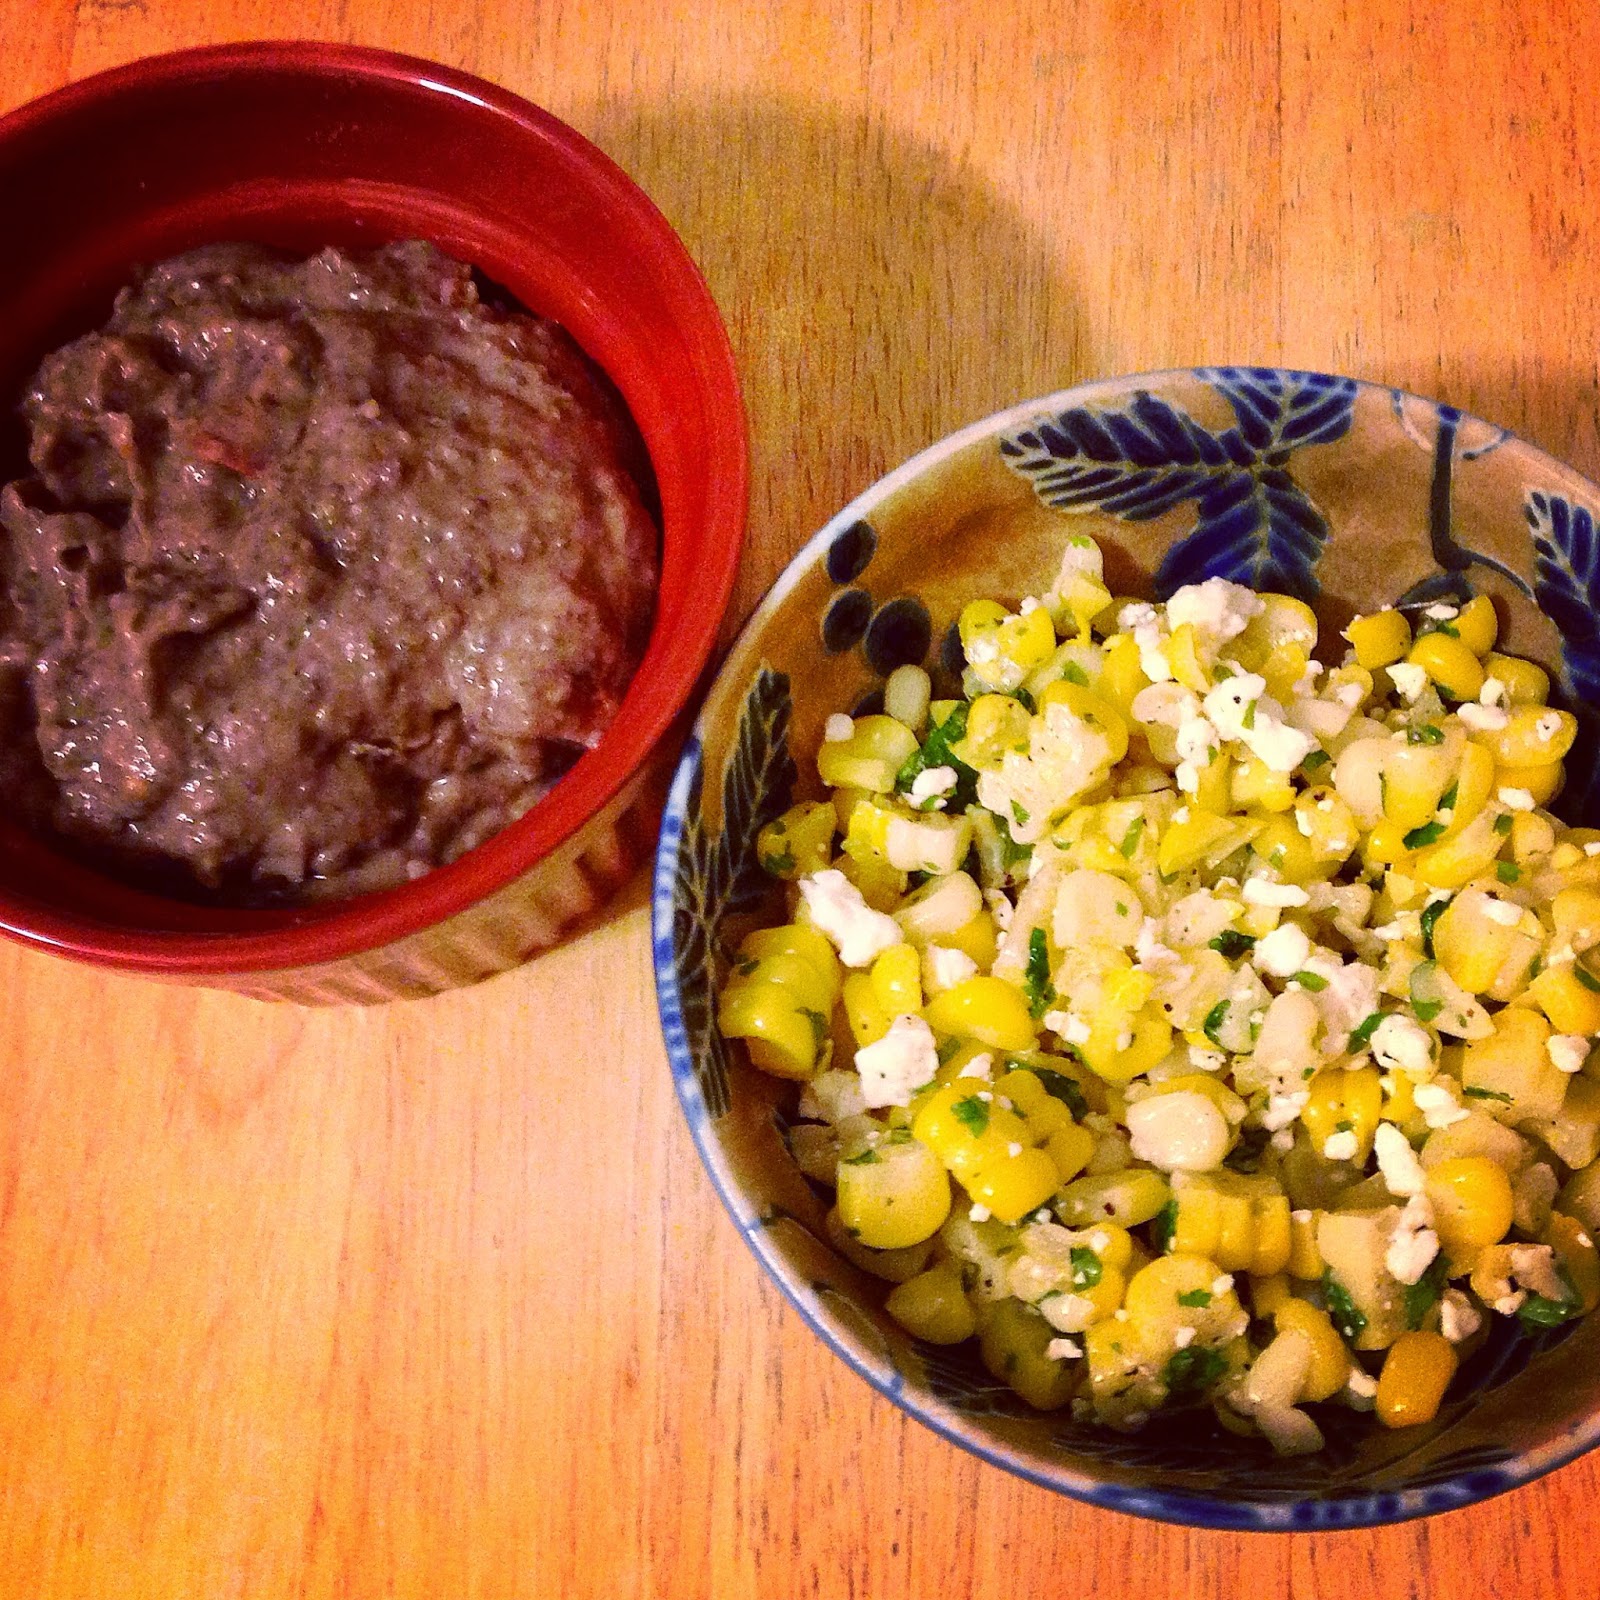
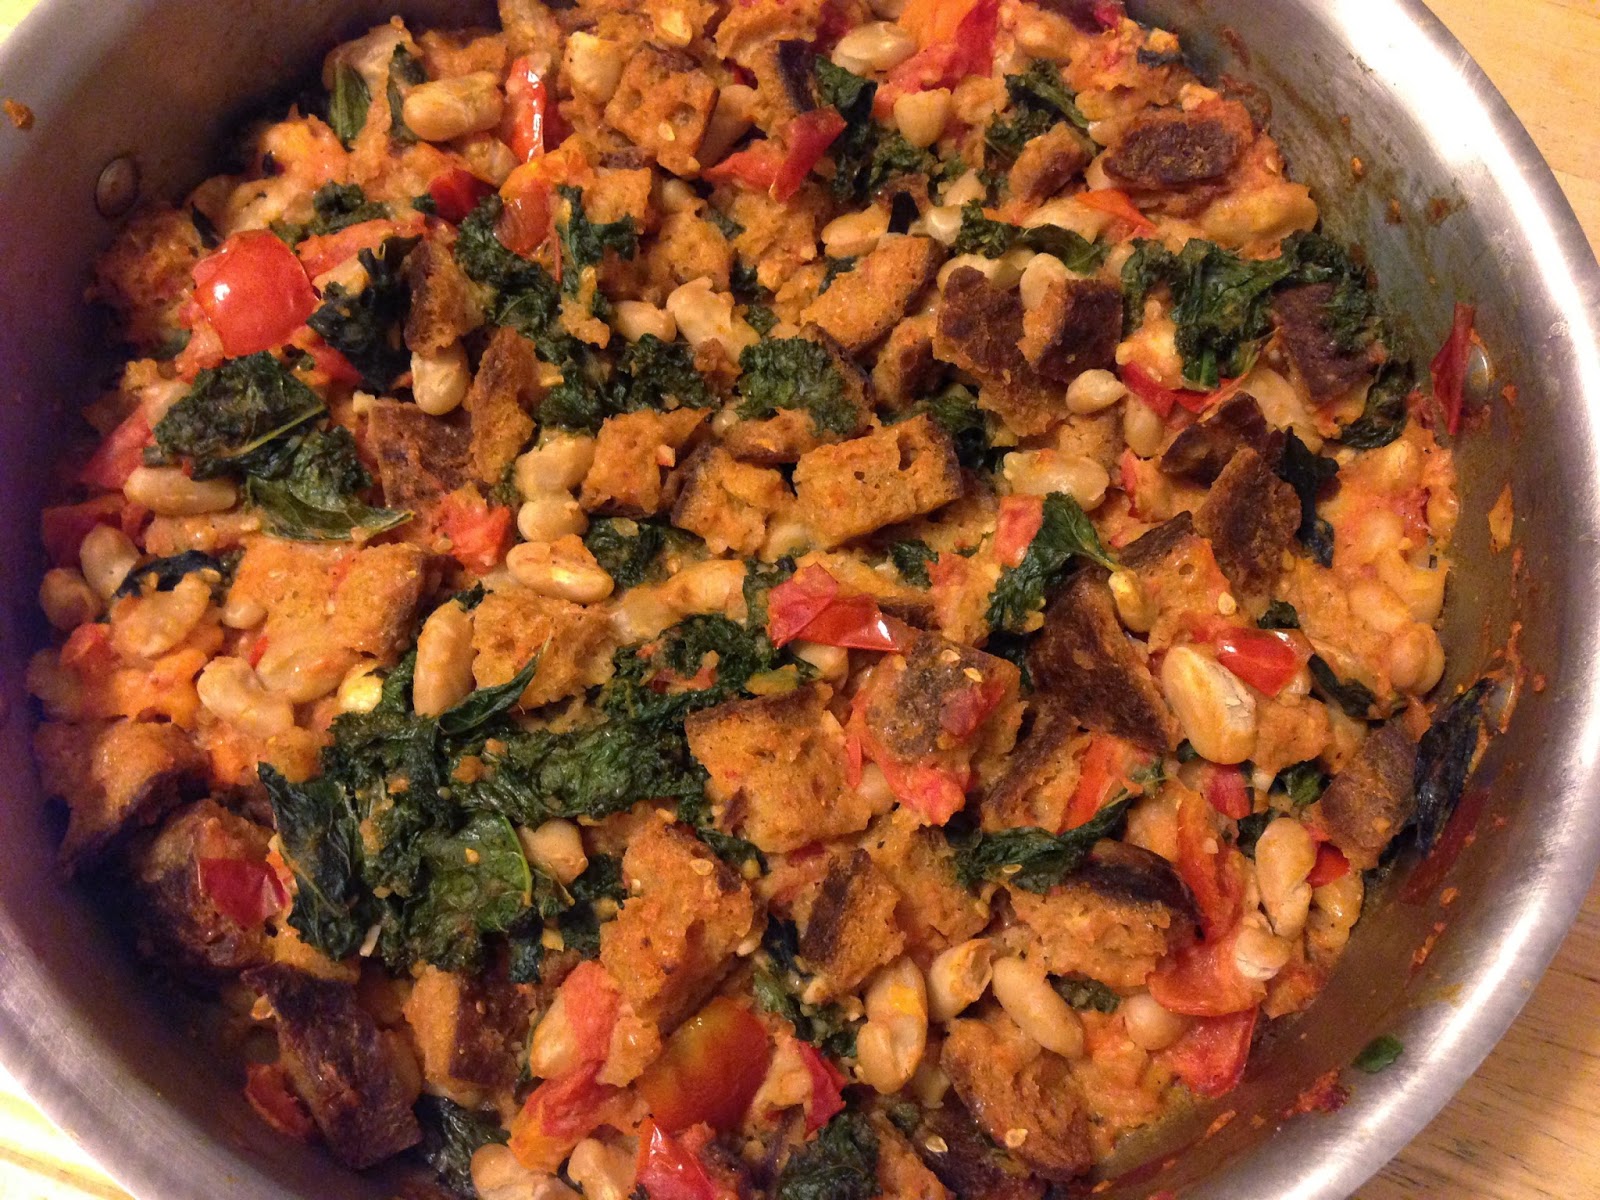
Lunch is served!

2. Heat 1 1/2 Tablespoons of olive oil in a large and deep ovenproof skillet over medium heat. Add the bread cubes and stir to coat with the oil. Cook over medium to medium-high heat for 5 minutes, stirring frequently, until the cubes are evenly browned.

3. Add the tomatoes, garlic, sugar, salt, and pepper to the skillet. Cook until the tomatoes break down, stirring frequently, about 5 minutes.

4. Remove pan from heat and stir in the beans, spinach, and basil until well mixed. Sprinkle with Parmesan cheese and drizzle with the remaining 1/2 Tablespoon of olive oil.

5. Bake uncovered for 30-40 minutes, until the top is browned and the tomatoes are bubbly. Remove from oven (carefully!) and sprinkle with mozzarella cheese and enjoy!

Company eggs (eggs and Swiss chard)

Fresh out of the oven

I came across this recipe on Twitter and thought it would be a great use for my two weeks of Swiss chard. I halved the recipe since two weeks of chard = 1 bunch. It is a good thing I wasn’t actually having company because there were only enough greens for one egg! I like a runny yolk and 15 minutes in the oven was too long…it cooked the yolk all the way through. It was still very tasty, but how can you go wrong with cream and cheese?

Company eggs for one

The cream and the greens kind of reminded me of creamed spinach, which made me want to add a bit of nutmeg to the recipe (just 1/4 teaspoon). I substituted light cream for the heavy cream. The complete recipe is below, but I am skeptical that 2 bunches of Swiss chard would be enough for 12 eggs. If you give it a try, let me know how it comes out! 

Company eggs
Serves: 6
Source: Epicurious

Ingredients
2 Tablespoons olive oil
1 small onion, thinly sliced
4 cloves garlic, minced
Kosher salt, freshly ground pepper
2 bunches Swiss chard, coarsely chopped (ribs and stems removed)
1/2 cup heavy cream
1/4 teaspoon nutmeg
12 large eggs
1/2 cup shredded white cheddar cheese

Directions
1. Preheat oven to 400 degrees F. Heat oil in a large skillet over medium heat. Add onion and garlic; season with salt and pepper. Cook 8-10 minutes, stirring occasionally, until onion is softened.

2. Add chard to skillet and cook 8-10 minutes until tender, tossing frequently. Add cream and nutmeg and simmer until thickened and almost evaporated, 8-10 minutes; season with salt and pepper.

3. Spread chard mixture evenly in a 13″x9″x2″ baking dish. Using the back of a spoon, make 12 small, evenly spaced divots in the chard mixture. Crack 1 egg into each divot. Season eggs with salt and pepper. Sprinkle with cheese.

4. Bake, rotating dish once, until egg whites are almost set and yolks are still runny, 15-18 minutes. Let stand 5 minutes before serving.

Quick (and not so quick) dillie beans

Washed green beans

I’ve had a recipe for dillie beans for years, passed on to me from my friend Heather. But even though I’ve had good intentions, I’ve never gotten around to making it because I’m a little intimidated by the canning process. I’m more of a fun of a quick pickle than pickling things to store them. Since quick pickles have to be eaten relatively quickly, I tend to make them in smaller batches. I figured I’d share both recipes as one day I hope to figure out a way to adapt the dillie bean recipe into a smaller portion and a quick pickle.

Add your spices first!

I don’t know exactly how many beans this was (since at pick-up the instructions were 1 bowlful), but I was able to fit them all in my Great South Bay Brewery mason jar!

Quick pickled green beans
Source: adapted from It Doesn’t Taste Like Chicken

Ingredients
1 1/2 teaspoons mustard seed
10 black peppercorns
Pinch of red pepper flakes
1/4 cup fresh dill
1 clove garlic, peeled
Green beans (enough to pack a mason jar)

Pickled beans!

1 cup water
1 cup white vinegar
2 Tablespoons salt

Directions
1. Wash and trim beans. To bottom of jar, add mustard seed, black peppercorns, red pepper flakes, garlic, and dill. Pack the green beans into the jar tightly so that they are standing up.

2. Combine water, vinegar, and salt in a pot and bring to a boil. Pour over beans leaving 1/4-inch head space and close jar. Let sit at least one day and enjoy!
______________________________

Dillie Beans
Source: Erin MacLeod…it was her grandmother’s recipe

Ingredients
2 pounds green beans (young and tender)
1 teaspoon powdered alum
1 gallon water
1/2 teaspoon minced garlic
4 teaspoons dill seed
2 teaspoons mustard seed
1 teaspoon crushed red pepper
2 cups water
2 cups cider vinegar
1/4 cup salt

Directions
1. Wash beans and trim ends, and place in stone crock or glass container. Dissolve alum in the 1 gallon of water, pour over beans, and let stand 24 hours.

2. Drain and wash beans. Pack lengthwise into 4 hot pint-size canning jars. To each jar, add 1/8 teaspoon minced garlic, 1 teaspoon dill seed, 1/2 teaspoon mustard seed, and 1/4 teaspoon crushed red pepper.

3. Combine 2 cups water, cider vinegar, and salt in a pot and bring to a boil. Pour over beans leaving 1/4-inch head space. Close jars.

4. Process 25 minutes in boiling water bath.

Cabbage and mushroom stir fry

Mise en place

It’s great that cabbage lasts so long, but it also takes up a lot of space in the vegetable drawer, so it was time to figure out how to make something tasty for my belly. I did cabbage two ways, and this recipe was a winner!

Cabbage and mushroom stir fry
Serves: 3-4
Source: adapted from Divine Healthy Food via Pinterest

Ingredients
1 Tablespoon canola oil
2 scallions, thinly sliced
Close up
2 cloves garlic, minced
1/4 teaspoon red pepper flakes
1/2 medium green cabbage, chopped
5 mushrooms, sliced
1/4 teaspoon salt
1 Tablespoon low sodium soy sauce
1 teaspoon white wine
1/2 teaspoon garlic powder
1/2 teaspoon smoked paprika

Directions
1. In a large skillet, add the canola oil, scallions, garlic, and red pepper flakes. 

2. Turn the heat on medium-high and let it warm up for a couple of minutes. Add the cabbage, mushrooms, and salt. Saute for about 5 minutes, stirring frequently.

3. Add soy sauce, white wine, garlic powder, and paprika. Saute for another 5 minutes, stirring frequently. Enjoy!

Black bean dip

Last week I had a lot of fixins’ for a taco night, but taco nights for one are no fun. So last weekend I hosted a Sunday taco night and made this great black bean dip. I extracted the dip recipe from a recipe for black bean tostadas with caramelized onion and jalapeno relish from the May issue of Shape magazine. 


The original recipe called for two cans of beans, which I thought sounded excessive, but it was supposed to be the main protein for the dish. Since I also cooked up some ground beef, and there were only three of us for dinner…it was definitely excessive. Next time I would cut the recipe in half, or it would be great for a potluck or a larger number of people.

This went very well with the corn, cilantro, cotija side I made as well as the corn and black bean salad that one of my guests brought, and the corn and black bean salsa I purchased. It was a corn and black bean kind of night.
Getting ready for taco night!

Black bean dip
Makes: a lot!
Source: adapted from Shape magazine, May 2014

Ingredients
1 Tablespoon canola oil
1 medium yellow onion, chopped
2 garlic cloves, chopped
1/4 cup cilantro leaves
2 cans (15 ounces) black beans, drained and rinsed
1/2 teaspoon ground cumin
1/2 teaspoon red pepper flakes
6 ounces plain Greek yogurt (or homemade!)
2 large tomatoes, halved, cored, seeded, and diced
Salt to taste

Directions
1. In a large skillet, heat the oil over medium-high for 1 minute. Add the onion and garlic and cook, stirring occasionally, until the onion is soft, about 2 minutes.

2. Transfer the onion mixture to a food processor or blender. Add the cilantro, black beans, cumin, and red pepper flakes, and blend until smooth.

3. Transfer the puree to a medium bowl and blend in the yogurt and tomatoes.

CSA Week 9

Week 9

There was no sign at this week’s pickup (also no Kara), but luckily everything was identifiable…and very colorful. It’s like ROYGBIV week! We’ve got red tomatoes, orange carrots, yellow corn, green Swiss chard and lettuce, blue-berries, and let’s go with cabbage and beets for indigo, and a pepper that’s violet. I will certainly be eating a rainbow this week, in addition to the lettuce, beet, and cabbage still hanging out in my fridge.


Side of corn
I made some delicious corn this week, with cotija cheese and cilantro. It was a perfect side for taco night. Cotjia cheese is a crumbled cow’s milk…I call it a Mexican feta. It came in a 12-ounce package so I will probably make it again this week! Here are the proportions I used with two ears of corn, cooked and cut off the cob:

1 teaspoon canola oil
2 teaspoons fresh lime juice
1/4 cup chopped cilantro
1-2 ounces cotija

Bento lunch and snacks
I’ve been doing such a good job with bringing my lunch and snacks, but have been using so many containers for everything (especially with taco night leftovers this week). So I was very happy to rediscover my Bento lunch pail, which was a Secret Winter Pal gift a couple of years ago from my friend Kendrin (I always seem to be her SWP).

Here’s what I’ll be packing in my lunch pail this week:
  • Lettuce
  • Swiss chard
  • Onion
  • Red cabbage
  • Beets (2)
  • Tomatoes (8)
  • Corn (3 ears)
  • Carrots (2)
  • Cucumbers (2)
  • Pepper
  • Watermelon
  • Blueberries


Yogurt

Five years ago I drove out to western MA to take a cheese-making class taught by the “The Cheese Queen”, Ricki Carroll. I had first heard about her and the class when I was reading Barbara Kingsolver’s Animal, Vegetable, Miracle. Her web site is also where I get my supplies.

It has been awhile since I’ve used any of these skills, but I decided to try to bring back the yogurt-making since I’ve been digging smoothies in the Ninja. One of these days I will also get back to attempting to master the mozzarella stretching.

Make sure you have a good thermometer, yogurt cultures (I’m a Y5 girl), ice, and something insulated to let the yogurt set (like a Yogotherm). I like to ice the bottom of my pot for a few minutes before heating the yogurt…it supposedly prevents the milk from burning on the bottom. My milk doesn’t usually burn, but it usually leaves a bit of a film which makes the pot a little challenging to clean.

Heatin’ the milk

Yogurt
Source: Ricki Carroll
Makes: a lot!

Ingredients
1/2 gallon milk (any percentage)
1 packet yogurt direct set culture
1/4 cup dry milk powder

Directions
1. Heat milk to 185 degrees F. Let stand for 10 minutes. Do not allow the milk to boil.
2. Cool the milk to 110 degrees F using an ice bath.
3. Pour the milk into the Yogotherm. Add the packet of culture and the dry milk powder and stir thoroughly.
4. Allow the yogurt to set undisturbed for 6-12 hours, or until set.
5. Refrigerate immediately. Yogurt will keep for at least 7 days.

Zucchini "pasta" with tomato, pesto and feta

Julienned zucchini

Another week, and another zucchini to deal with…and this week’s was a big’un. Since I’m now an expert with the mandoline (i.e., haven’t cut my fingers off yet), I decided to use the julienne blade to make “pasta”. It took a little experimenting to fit the zucchini in the safety guard. I ended up cutting it in half width-wise (as if you were going to cut it into slices), and that worked much better.

This recipe was a cinch because I already had some homemade pesto on hand. And while I decided to give most of it away (it made a lot!) to my parents who were visiting last weekend and to some friends who are at home with a new baby, I did save some for myself. And I actually enjoyed it. But then again, pesto makes almost anything taste better.


Zucchini “pasta” with tomato, pesto and feta
Serves: 4-6

Voila!

Source: Etsy via Pinterest

Ingredients
1 medium zucchini or summer squash
1 1/2 cups halved cherry or grape tomatoes
3 Tablespoons pesto
1/2 cup crumbled feta cheese

Directions
1. Using a julienne slicer or the julienne blade on a mandoline, julienne zucchini/squash into thin ribbons and place in a large bowl.
2. Add tomatoes, pesto, and feta and gently mix to combine. Enjoy!

Corn chowder with zucchini and orzo

Simmering corn and cobs

I have been working on recycling six years of Everyday Food magazines, and since I can’t cook the recipes fast enough, I’ve been pinning them to a “Recipe Pile” board on Pinterest. I’ve made it all the way through July/August and this one caught my eye because I knew there was a cute little round zucchini waiting to become something delicious. Or at least acceptable since delicious is not usually a word I associate with zucchini. It was also nice to see local corn at my Whole Foods already; hopefully that means CSA corn will be arriving soon too!

Corn chowder “topped” with zucchini mixture

Unfortunately this came out a bit thin and bland. I may not have let it thicken enough, but I definitely simmered it for longer than the 8 minutes suggested in the recipe. I usually decrease or omit salt from recipes, but this needed liberal amounts of salt. I attempted to top the chowder with the zucchini mixture, but it kind of fell in and then I just mixed it all together (after the photo). I am still going to take it for lunches this week so I wouldn’t call this a total fail.


Corn chowder with zucchini and orzo
Adapted from Everyday Food, Jul/Aug 2012
Serves: 4

Ingredients
1/2 Tablespoon olive oil
1 medium zucchini, diced
1 cup cooked orzo
1/4 cup chopped fresh basil
1 bunch scallions, white and green parts separated and thinly sliced
1 Tablespoon butter
3 cups corn kernels (from 4 ears), cobs reserved
3 cups water
Salt and pepper

Directions
1. In a medium saucepan, heat olive oil over medium-high. Add zucchini and saute about 4 minutes until crisp-tender. Stir in orzo and heat until warmed through. Transfer to a bowl and toss with scallion greens and basil; season with salt and pepper.

2. Melt butter in saucepan over medium-high. Add scallion whites and saute about 3 minutes until tender. Add 3 cups water and corncobs and bring to a boil; reduce to a simmer and cook until chowder thickens slightly, about 8 minutes. Discard cobs and season with salt and pepper.

3. In batches, fill a blender halfway with chowder and puree. Serve chowder topped with zucchini mixture and enjoy!

Coleslaw

Arrowhead

The arrowhead cabbage, which I’m going to guess is named after its shape, made for a great homemade coleslaw. I mixed it up for a fourth of July potluck at the yacht club…Arthur be damned…we potlucked in the rain. It took a little longer than the five minutes because the original recipe called for packaged coleslaw mix, but overall it was very easy and seemed to be a crowd pleaser.


Coleslaw
Adapted from: Everyday Food, April 2007
Serves: 8-10

Ingredients
1 green cabbage, shredded (about 10 cups)
1 large carrot, shredded
2 garlic scapes, finely chopped (optional)
1/2 cup light mayonnaise (or plain Greek yogurt)
1/4 cup cider vinegar
1/4 teaspoon celery seed
1 teaspoon sugar
Coarse salt and ground pepper

Directions
1. In a large bowl, combine cabbage, carrot, scapes, mayonnaise, vinegar, celery seed, and sugar. Season with salt and pepper, mix well, and enjoy!