Mashed sweet potatoes

Have you ever tried to make mashed sweet potatoes the same way you would make “regular” mashed potatoes? How did they turn out? Probably not so great, if I had to guess. I don’t like to boil sweet potatoes because they absorb too much of the water. The trick is to cook them in a small amount of liquid — I use a combination of light cream and broth, sometimes adding a bit more broth as some of the liquid cooks off or gets absorbed by the potatoes. I also like to top them with some toasted pecans for some extra flavor and crunch!

Mashed sweet potatoes

Mashed sweet potatoes with pecans

Serves: 4-6

Ingredients
4 Tablespoons unsalted butter, cut into pieces
1/4-1/2 cup chicken or vegetable broth
3 Tablespoons light cream, divided
1/4 teaspoon salt
1/4 teaspoon pepper
2 pounds sweet potatoes (about 3 medium)
1/4 cup chopped toasted pecans (optional)

Directions
1. Peel sweet potatoes, then quarter them lengthwise and cut into chunks about 1/4″ thick.

2. Combine butter, 2 Tablespoons cream, 1/4 cup broth, salt, pepper, and sweet potatoes in a large saucepan. Cook, covered, over low heat until potatoes are soft and falling apart, 35-40 minutes. Check occasionally and add more broth if the liquid has cooked off.

3. Remove from heat, add remaining Tablespoon of cream and mash with a potato masher. Top with chopped pecans and enjoy!

Falafel

Deep frying is not really in my home cooking repertoire, so I have never attempted falafel before. I still remember my first introduction to those deep fried balls of chickpea goodness in the form of a late-night street falafel in Amsterdam when I was 20. 

While this doesn’t even come close that, it’s a decent substitute that is pretty easy and healthier. Who doesn’t love having a food processor do all the chopping and mixing? It does take some time though, so plan head. One must patiently wait for the falafel mixture to chill. If you prep it a day ahead, this would be a great weeknight meal since the actual cooking time is super quick.

I used Joseph’s flax, oat, and whole wheat mini pitas which were the perfect size for two falafels, a little lettuce, a few grape tomatoes, and the tahini sauce. Also, check out this awesome pita trick from Bon Appetit!

Ingredient prep

Falafel
Serves: 4-6
Source: adapted from Just a Taste

Ingredients
Falafel
1 medium onion, quartered
6 garlic cloves
1 can (15.5 ounces) garbanzo beans
1 cup lightly packed parsley leaves 
1 cup lightly packed cilantro leaves
1/2 teaspoon salt
1/4 teaspoon chili powder

Falafel dough, browning

2 teaspoons baking powder
1/2 cup whole wheat flour
1/2 cup canola oil
2-3 Tablespoons canola oil
Pita bread for serving (and other toppings as desired)

Tahini sauce
1 cup plain yogurt
1/4 cup tahini
Juice from 1 lemon (2 Tablespoons)

Directions

Golden brown, but not deep fried, goodness

1. Add the onion and garlic cloves to the bowl of a food processor and pulse until finely minced. Remove mixture and set it aside. Add garbanzo beans, parsley, cilantro, salt, chili powder, and cumin to the bowl of the food processor and pulse until just roughly blended.

Falafel-stuffed pita


2. Add the onion mixture back to the food processor, in addition to the baking powder and 1/4 cup of the flour. Pulse mixture until blended and starts to form a ball. Add additional flour and pulse as needed until the mixture is not sticky. Cover food processor bowl and refrigerate mixture for 1 hour.

3. To make the sauce, stir together the yogurt, tahini, and lemon juice. Season with salt and pepper. Refrigerate until ready to use.

4. Once the falafel mixture is done chilling, form the mixture into balls (around 16 of ’em).

5. In a large saute pan, heat 2 Tablespoons canola oil over medium heat. Add falafel, flatten a bit, and brown for about 3 minutes. Flip and brown on the second side for another 2-3 minutes. Transfer the falafel to a paper towel-lined cooling rack and season with salt. Repeat until all falafel have been cooked.

6. Fill a pita with falafel (as many as will fit), drizzle with tahini sauce, and enjoy!

German red cabbage

I’ve had a head of red cabbage hanging around for awhile…I’m talking almost a month, it really lasts! I’ve used a bit here and there to add to salads, but I decided it deserved a starring role in something, aka this tangy German red cabbage. This takes a bit of chopping and a bit of patience as it needs to cook for about an hour, so plan ahead.

Shredded cabbage

I like mine a bit more sour than sweet, so feel free to adjust the brown sugar and vinegar proportions to your liking. And if you want the apple to kind of dissolve into the cabbage, then chop it small and throw it in with the onion. If you want it to stay looking like apple pieces, then throw them in for the last 15-20 minutes of cooking. Either way, you don’t have to peel it.

Step 2, mixing in the ingredients


German red cabbage
Serves: 4-6

Ingredients
1 Tbsp canola oil
1 medium onion, halved and sliced
1 medium apple, sliced or chopped
1 head red cabbage, shredded
2 Tbsp brown sugar
1/3 cup cider vinegar
1/4 cup water
1/2 tsp salt

Dinner is served!

1/4 tsp pepper
1/4 tsp ground cloves

Directions
1. In a large Dutch oven, heat oil over medium heat. Add onion (and apple, if desired) and saute for 3-4 minutes until slightly softened.

2. Add cabbage, brown sugar, cider vinegar, water, salt, pepper, and cloves. Mix until combined and cook until liquid starts to boil. Reduce heat, cover, and simmer for 40-45 minutes. Stir occasionally.

3. If you didn’t add the apple in step 1, mix in the apple and cook for an additional 15-20 minutes. Enjoy!

Corn, leek, and goat cheese flatbread

I am still a New Yorker at heart, so I think it might be a rule that I have to call this recipe a “flatbread” and not a pizza. Either way, I can also call it delectable. Remember a few weeks ago when I said I was cooking up an idea for leeks and corn? Well this is the result…and I will definitely be making it again!

Leek, corn, collard mixture


Ingredients
2 Tablespoons olive oil, divided
2 leeks, cut in half lengthwise and thinly sliced
1/2 a bunch of greens (kale, collards, Swiss chard, spinach), thinly sliced
2 cups corn, preferably fresh
Salt and pepper to taste
Pizza dough
1 Tablespoon whole wheat flour (for stretching dough)
4 ounces goat cheese, softened
Sliced tomato (optional)
Corn meal (for pizza stone)

Directions
1. Allow pizza dough to come to room temperature-ish to be able to easily stretch it. Allow goat cheese to soften so that it can be easily spread.

Flatbread!


2. In a large pan, heat 1 Tablespoon olive oil over medium heat. Add leeks and cook for 4-5 minutes until softened, stirring occasionally Add additional Tablespoon olive oil and stir in greens and corn. Cook for additional 4-5 minutes until greens are softened, stirring occasionally. Season with salt and pepper to taste. Remove from heat and set aside.

3. Preheat oven to 450 degrees F.

4. Sprinkle some flour on a clean surface and use more as needed to stretch the pizza dough to its desired size, thickness, and shape. Transfer dough to a pizza stone or baking tray that has been sprinkled with cornmeal to prevent it from sticking.

5. Spread a thin layer of goat cheese on the pizza dough, then top with sliced tomatoes and the corn, leek, and greens mixture. Bake in oven for 20-25 minutes. Remove from oven and allow to cool a few minutes before serving. Enjoy!

Black bean and corn salad

It’s my birthday week (month) and my gift to you is an old favorite. This salad went perfectly with the other Mexican-themed dishes I recently took to a potluck (tomatillo salsa and guacamole). And I got the chance to use fresh corn and add some sweet yellow pepper and tomatoes from my CSA haul over the past couple of weeks. Unfortunately I ran out of cilantro so I just left it out, which I figured is safe in case someone at the potluck was anti-cilantro. Yes, those people do exist… 

Trio of chip accompaniments

I adjusted the recipe a bit below, officially omitting the salt and getting rid of the instructions to mix up the dressing in advance. Who has time for that? I say just throw everything in, and as long as you stir it well, it will be great!

Flashback: May 16,2012

Corn and black bean salad
Source: adapted from allrecipes.com
Serves: 4+

Ingredients
1/4 cup balsamic vinegar
2 Tbsp canola oil
1/2 tsp white sugar
1/2 tsp ground black pepper
1/2 tsp ground cumin

Ready for my close-up!

1/2 tsp chili powder
3 Tbsp chopped fresh cilantro
1 (15-ounce) can black beans, rinsed and drained
1 cup sweet corn (preferably fresh [cooked] or frozen)
Any other veggies you’d like to throw in, or some diced avocado works well too!


Directions
1. In a large bowl, mix together all of the ingredients. Stir well. Cover, and refrigerate overnight.

2. There is not step two other than to enjoy!

Raw tomatillo salsa

I *finally* decided what to do with these beautiful tomatillos. Usually if we get tomatillos, we get one or two, which is never enough to actually make something substantial. So this was quite exciting and the only question that remained was raw or roasted tomatillo salsa? I went with raw because, no cooking required!

Tomatillos and a hot pepper


I got some hot red peppers this week…of questionable heat. At least I checked in before using them like the cute little sweet “yummy peppers” we sometimes get. The combination of green and red was like Christmas, and it went well with chips and guacamole.

Raw tomatillo salsa
Source: Rick Bayless
Makes: 1 1/2 cups

Ingredients

Salsa!

4 medium (about 8 ounces) tomatillos, husked, rinsed and quartered
1 hot pepper, ribs and seeds removed and roughly chopped
1/2 cup roughly chopped cilantro (loosely packed)
1 large garlic clove, peeled and quartered
1/2 teaspoon salt, plus more to taste

Directions
1. Combine all ingredients in a blender jar or food processor. Add 1/4 cup water and process to a coarse puree (start low and pulse if using a blender).

2. Pour into a salsa dish and thin with a little more water if necessary. Taste and season with additional salt if desired. Enjoy right away.

    Chard and ricotta pie

    I love trying new recipes, but I also rely on some staples in the KCaE archives. So I’ve decided to occasionally repost some of the “classics” like this Chard and ricotta pie. I can’t believe I’ve been making this for more than four years! 

    This is one that really comes in handy when I have a plethora of greens and eggs. It really works for any meal. Feel free to substitute other vegetables for the chard, and if you don’t have green onions then a regular ol’ white or yellow onion works just fine. You can make this in a pie plate or a muffin tin. The muffin tin works great for breakfast or snacks on the go.


    Flashback: March 13, 2012

    Pie for dinner!


    Chard and ricotta pie
    Source: Good Housekeeping
    Serves: 4 main-dish servings (or about 18 individual “pies”)

    Ingredients
    1 large head Swiss chard
    1 Tbsp olive oil
    1 bunch green onions, sliced thinly
    Salt and pepper
    Red pepper flakes
    4 large eggs
    1 container (15 ounces) part skim ricotta cheese
    3/4 cup low-fat milk
    1/2 cup freshly grated Parmesan cheese
    2 Tbsp cornstarch

    Directions
    1. Preheat oven to 350 degrees F. Grease 9 1/2-inch deep-dish glass pie plate (or muffin tins).

    2. Cut off and discard bottom 2 inches of Swiss chard stems. Separate stems from leaves; thinly slice stems and coarsely chop leaves.

    3. In 12-inch skillet, heat oil on medium-high until hot. Add sliced stems and cook 4 minutes or until tender and lightly browned, stirring frequently. Add green onions, 1/4 teaspoon salt, 1/4 teaspoon coarsely ground black pepper, and red pepper flakes (to your taste), and cook 1 minute. Gradually add chopped leaves, and cook, stirring, until wilted and water evaporates, about 5 minutes.

    4. In large bowl, with wire whisk or fork, mix eggs, ricotta, milk, Parmesan, and cornstarch until blended. Stir in Swiss chard mixture.

    5. Transfer mixture to pie plate (or muffin tins). Bake pie 40 minutes or until knife inserted 2 inches from center comes out clean. Bake about 13 minutes if using muffin tins.

    6. Enjoy!

    Refrigerator pickles

    I had a whole lot of beautiful fresh dill from CSA week 1 that wanted to do something fun and tasty with and tada…I made pickles! It is too bad that we didn’t get dill and cucumbers in the same week. I also got to dust off (literally) my mandoline slicer. I used the “2” setting for the thickness and was happy with it.

    Pickle prep


    A mason jar is ideal for this, but I didn’t have one on hand so made do with a Pyrex glass dish with a lid. 

    I ate some of them straight out of the container and also added them to salads. And now that most of the pickles are gone, I sliced up the kohlrabi (also from week 1) and threw them in the brine to see how pickled kohlrabi tastes!

    Ready to eat

    I like my pickles super sour, so feel free to add a bit of sugar if you prefer a touch of sweetness.

    Refrigerator pickles
    Adapted from Smitten Kitchen

    Ingredients
    4 kirby cucumbers, very thinly sliced
    Fresh dill
    3 cloves garlic, cut into quarters
    1 Tablespoon mustard seeds
    1 Tablespoon salt
    1/2 cup white vinegar

    Directions
    1. Layer all the ingredients into a mason jar or glass dish with a lid and place in refrigerator. The cucumbers don’t need to be fully covered as they will exude enough water to cover themselves. 

    2. Give them a shake in the fridge every couple of hours. They can be enjoyed in as little as 1-2 hours and can stay in the fridge, submerged in their brine, for up to 3 weeks

    Shoyu cabbage soup

    Saute mushrooms, carrots, onion, and garlic

    Whenever I get Napa cabbage in my farm share, it is always tempting to make Napa salad (aka, the Kara Becker napa salad). I’m sure there will be plenty more opportunities this summer to make the salad, so I decided to try something new. Since I’ve been a little obsessed with ramen since binge-watching “Mind of a Chef” on Netflix, I decided I wanted to make a cabbage and ramen soup. I googled “Napa cabbage ramen soup” and voila…thanks Google!

    Add in broth, cabbage, and other ingredients

    I found the Shoyu by the soy sauce (makes sense since it’s Japanese soy sauce) but I forgot the hot chili paste. I would definitely want to add it next time, and there will definitely be a next time, as I think it would an additional dimension of flavor.

    I used packaged ramen, discarded the seasoning packet, and precooked the noodles in boiling water separate from the soup-makin’. I followed the package instructions, but basically it took about four minutes. This prevents the noodles from getting soggy and overcooked!

    Cook ramen separately


    Shoyu cabbage soup
    Serves: 4
    Adapted from Bon Appetit

    Ingredients
    1.5 Tablespoons olive oil
    1 medium onion, diced
    1 large carrot, peeled and diced
    1 piece of green garlic or 2 garlic cloves, minced
    8 ounces baby bella mushrooms, sliced
    4 cups low-sodium vegetable broth
    2 Tablespoons shoyu
    2 Tablespoons unseasoned rice vinegar
    2 teaspoons sugar
    1/2 head Napa cabbage, chopped
    2 cups cooked ramen

    Get in belly

    Hot chili paste, such as sambal oelek, and fresh cilantro (for serving)

    Directions
    1. Heat oil in a large pot or Dutch oven over medium-high heat. Add onion, carrot, garlic, and mushrooms and cook, stirring, until softened, 10-12 minutes.

    2. Add cabbage, broth, shoyu, vinegar, and sugar, and bring to a boil. Reduce heat and simmer about 15-20 minutes, partially covered, until vegetables are very tender.

    3. Serve over noodles topped with hot chili paste and fresh cilantro. Enjoy!

    Pumpkin ricotta stuffed shells

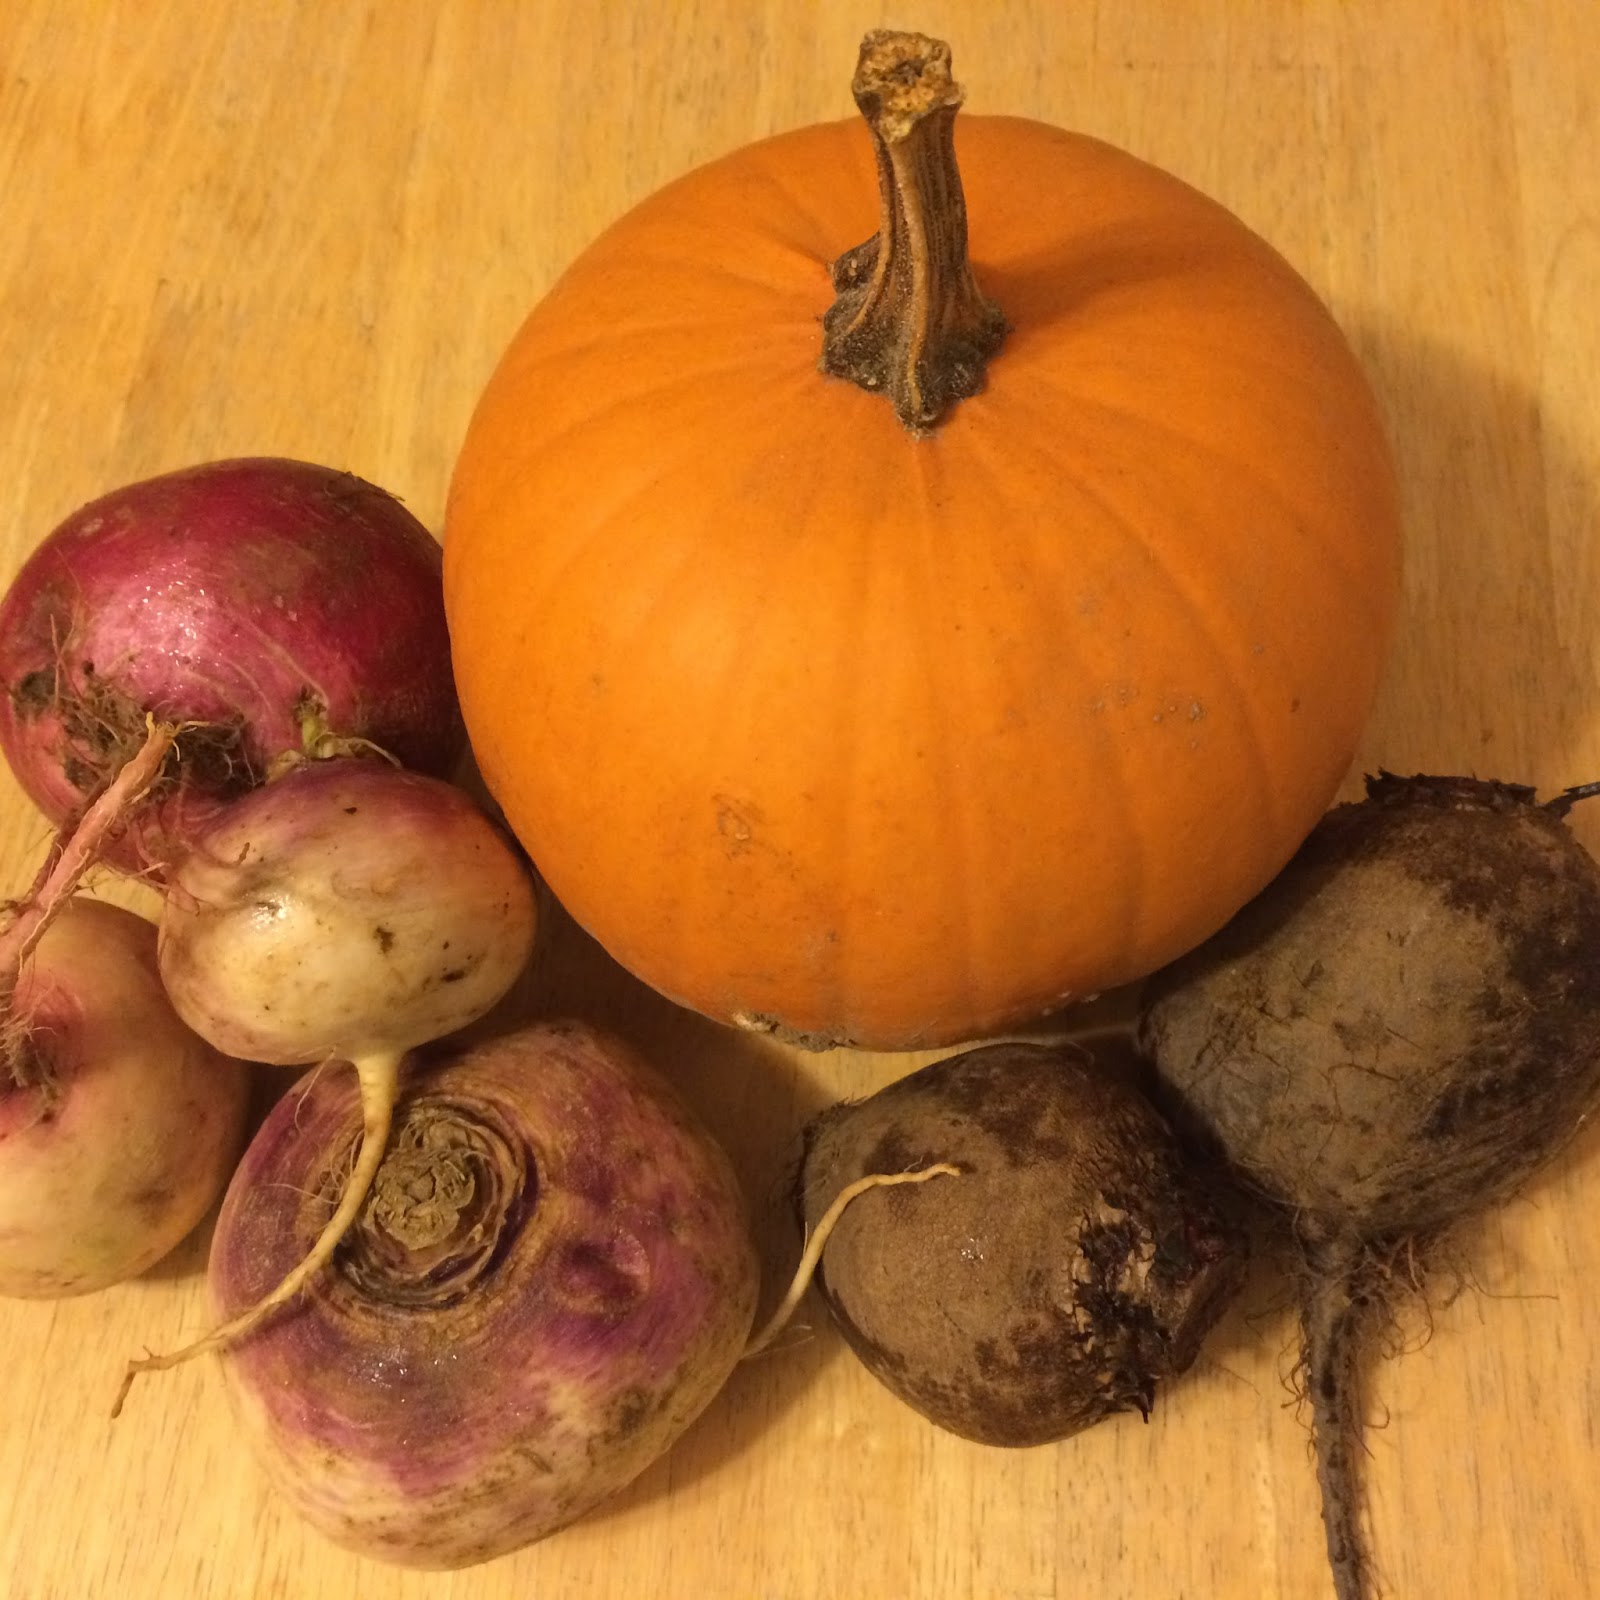
    Roasting party with sugar pumpkin, turnips, and beets

    I know this recipe is going to sound kind of fussy…I won’t lie, it kind of is, but it is also worth it! Stuffed shells are always a bit time-consuming because you have to parboil the pasta. But there are shortcuts! Since the point of this recipe (for me) was to use a cute lil’ sugar pumpkin from the end of my CSA, alas there were no shortcuts for me. But I broke it down over the course of three days:

    • Day 1: roasted pumpkin, made sauce, and chopped Swiss chard (shortcut: use canned pumpkin [not pumpkin pie filling] and pre-made sauce)
    • Day 2: parboil shells, stuff, and prepare pan; cover with foil and store in refrigerator overnight
    • Day 3: bake and eat

    I cooked the whole box (12 ounces) of jumbo pasta shells and made enough filling to fill them all. Once I filled my 13″ x 9″-inch baking pan, I froze the rest without baking them (placed on a cookie sheet in a single layer, then transferred to a ziploc bag once frozen to prevent the from sticking together). 

    As you’ll see below, I like simple sauces. And I like to use whole peeled tomatoes because it’s fun to get your hands a little dirty. The sauce recipe is enough for the 13″ x 9″-inch pan…though if you like a lot of sauce (like my dad), it might not be enough.

    This recipe was taste-tested by two guinea pigs…I mean friends. They both gave it a thumbs up (not sure if that would be one thumb or two), but then again they may have just been excited for a free meal. And one of my favorite new moms will get to try it out too.

    Pumpkin ricotta stuffed shells
    Serves: 6-8

    Stuffed shells, almost ready to be baked


    Ingredients
    Sauce
    1 Tablespoon olive oil
    2 cloves garlic, minced
    1 medium yellow onion, diced
    1 bell pepper, diced
    1/4 teaspoon crushed red pepper
    1/2 teaspoon oregano
    1/2 teaspoon Italian seasoning
    1 can (28 ounces) whole peeled tomatoes, chopped or broken up
    1 can (6 ounces) tomato paste + 1 can water

    Filling
    1 container (15 ounces) part-skim ricotta cheese
    2 1/2 cups roasted and mashed sugar pumpkin, or pumpkin puree
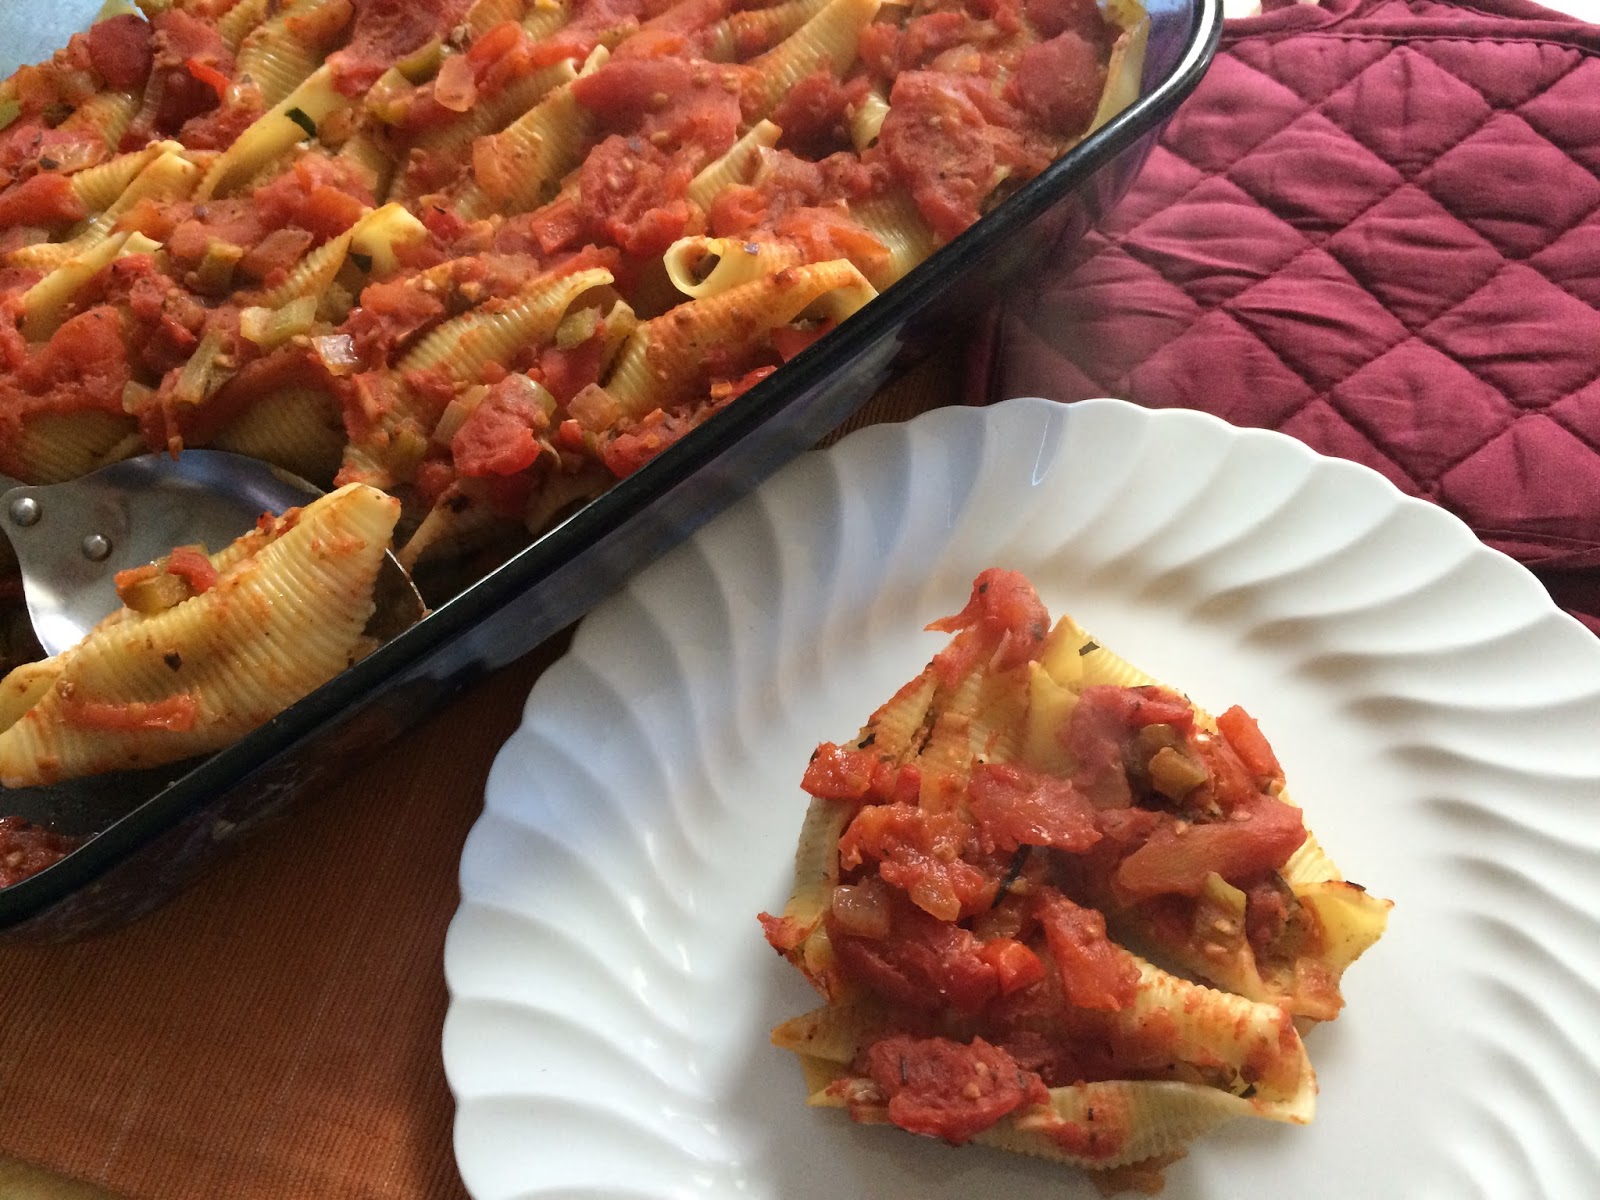
    Dinner is served!

    2 cups finely chopped Swiss chard
    1 teaspoon dried sage
    1/2 teaspoon ground black pepper
    1/4 teaspoon sea salt

    Other ingredients
    1 box (12 ounces) jumbo shells
    Grated Parmesan cheese

    Directions
    1. Preheat oven to 400 degrees F.

    2. To make the sauce, heat the olive oil in a large Dutch oven over medium-high heat. Add garlic, onion, and pepper, and saute 3-4 minutes or until they start to soften. Add crushed red pepper, oregano, and Italian seasoning, and cook for another minute or so. Stir in tomatoes, tomato paste, and 6 ounces of water. Bring to a boil, then reduce heat and simmer until ready to use. [If making this ahead of time, simmer for about 15 minutes, then cool and store in an airtight container in the refrigerator]

    3. Bring a large pot of water to a boil and cook the stuffed shells for about 8 minutes (you want them to be undercooked at this point), then drain. To prevent them from sticking together, lay them on a cookie sheet that has a piece of nonstick foil or parchment paper on it.

    4. To prepare the filling, mix together all of the filling ingredients in a large bowl. Once the shells are cooked, carefully fill the shells with the pumpkin mixture. 

    5. To assemble the dish, spread about half the sauce in a 13″ x 9″-inch baking pan. Add the shells (open side up) and then spoon the remaining sauce over each of the shells. Cover tightly with foil and bake for 30 minutes. Sprinkle with Parmesan cheese and enjoy!