Knækbrød (Seedy crackers)

Recipe

Recipe Notes

This recipe is pretty forgiving, aka you don’t have to measure everything exactly and you can adjust the ratio of seeds if you’d like.

You may need to divide the dough into more than two pieces, depending on the size of your baking sheets.

If you forget to cut the crackers before you bake them, don’t panic! You can break them into random pieces after they’ve cooled.

Photos

Seedy crackers heart cheese (and cream cheese)!

Red lentil dal with butternut squash

I made this red lentil dal for you. I added butternut squash because I could, and because more veggies is usually a good idea in my book. And because I just happened to have some frozen butternut squash cubes hanging out in the freezer.

I know there are so many dal recipes out there; I liked this one because it’s easy peasy! Do you have a favorite?

Caramelized onions

Red lentil dal with butternut squash
Serves: 4-5
Source: epicurious

Ingredients
1 large onion, diced and divided (2 cups)
3 cloves garlic, minced and divided
3 cups water
1 cup dried red lentils
1/2 teaspoon turmeric
1 teaspoon ground cumin
1/2 teaspoon ground ginger
1 Tablespoon canola oil
1/4 cup chopped fresh cilantro
2 plum tomatoes, chopped
Salt and pepper to taste
Basmati rice and/or naan for serving

Directions

  1. In a heavy medium saucepan, combine 1 cup onion, 2 minced garlic cloves, 3 cups water, lentils, butternut squash, turmeric, cumin, and ginger. Bring to a boil. Reduce heat, cover, and simmer until lentils are tender, about 10-15 minutes.
  2. While lentils are simmering, heat oil in a medium skillet over medium heat. Add remaining 1 cup onion and 1 minced garlic clove and sauté until tender and golden brown, about 10 minutes. Set aside.
  3. Transfer half of lentil mixture to a food processor and purée until smooth. Return purée to the same saucepan. Mix in sautéed onion and garlic mixture from step 2. Simmer for an additional 5 minutes to blend flavors. Remove from heat, stir in cilantro, and season to taste with salt and pepper.
  4. Top dal with tomatoes and serve with basmati rice or naan. Enjoy!

IMG_0836
Red lentil dal topped with tomatoes, served with a side of naan

Falafel

Deep frying is not really in my home cooking repertoire, so I have never attempted falafel before. I still remember my first introduction to those deep fried balls of chickpea goodness in the form of a late-night street falafel in Amsterdam when I was 20. 

While this doesn’t even come close that, it’s a decent substitute that is pretty easy and healthier. Who doesn’t love having a food processor do all the chopping and mixing? It does take some time though, so plan head. One must patiently wait for the falafel mixture to chill. If you prep it a day ahead, this would be a great weeknight meal since the actual cooking time is super quick.

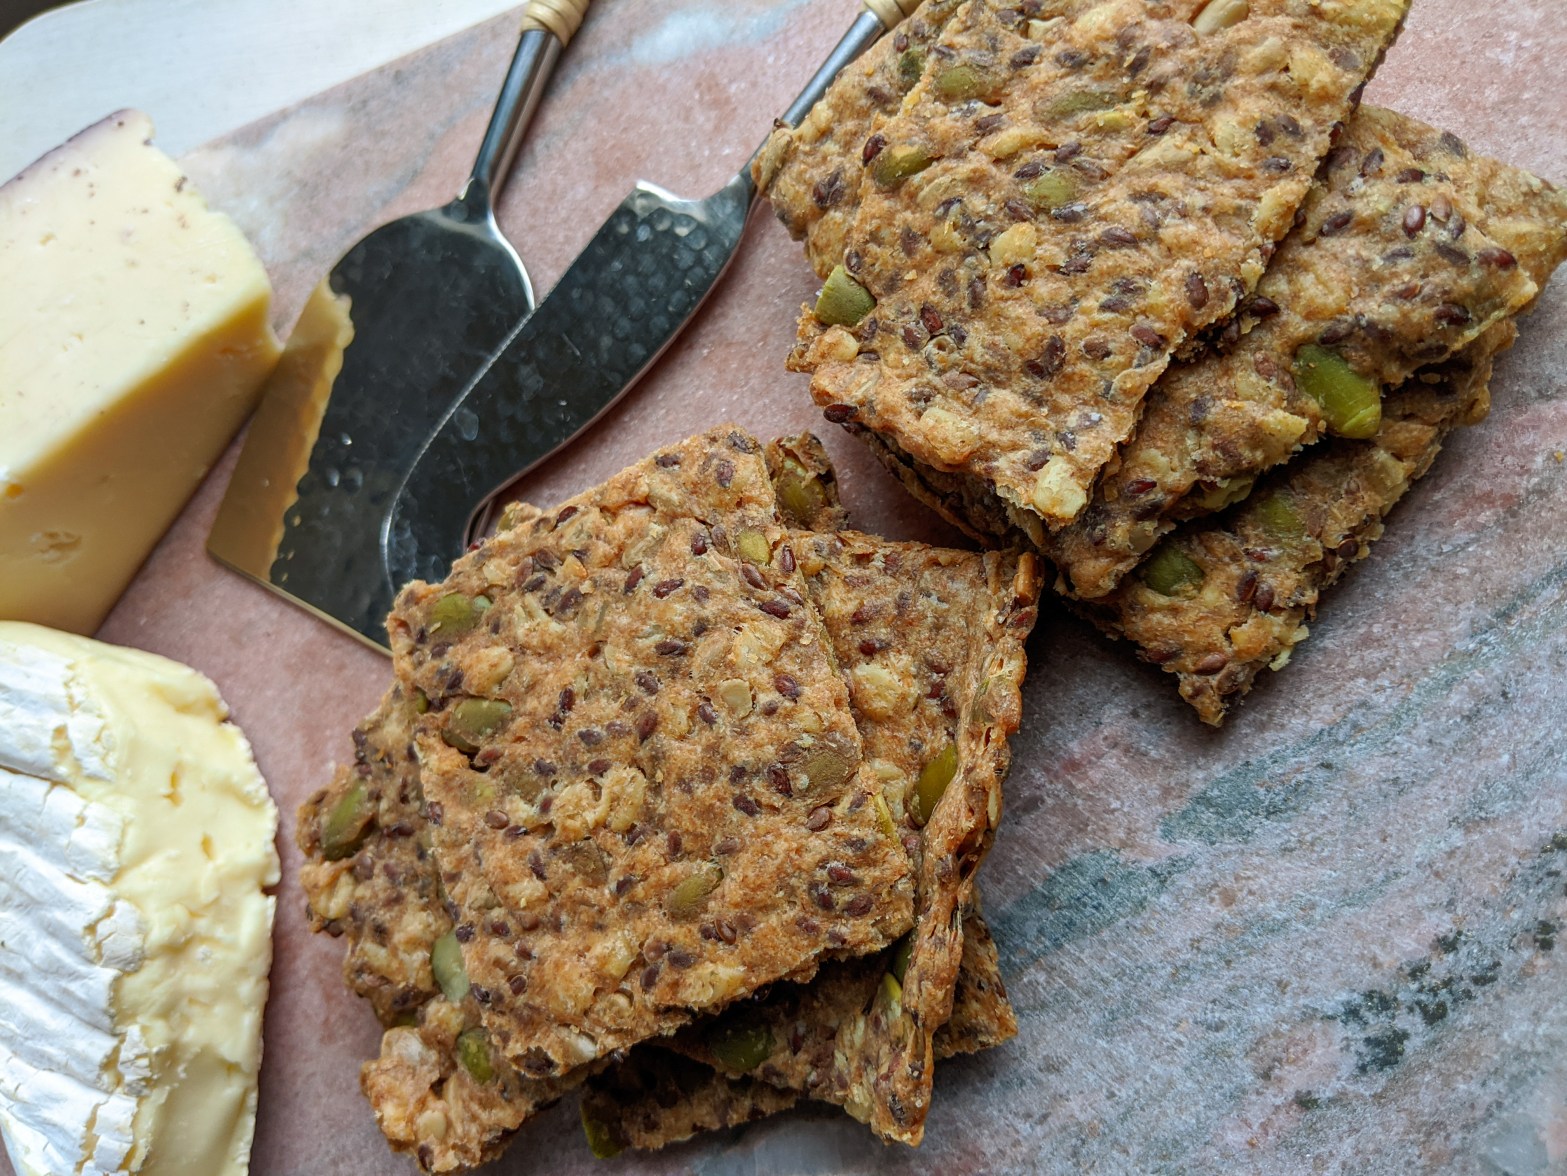
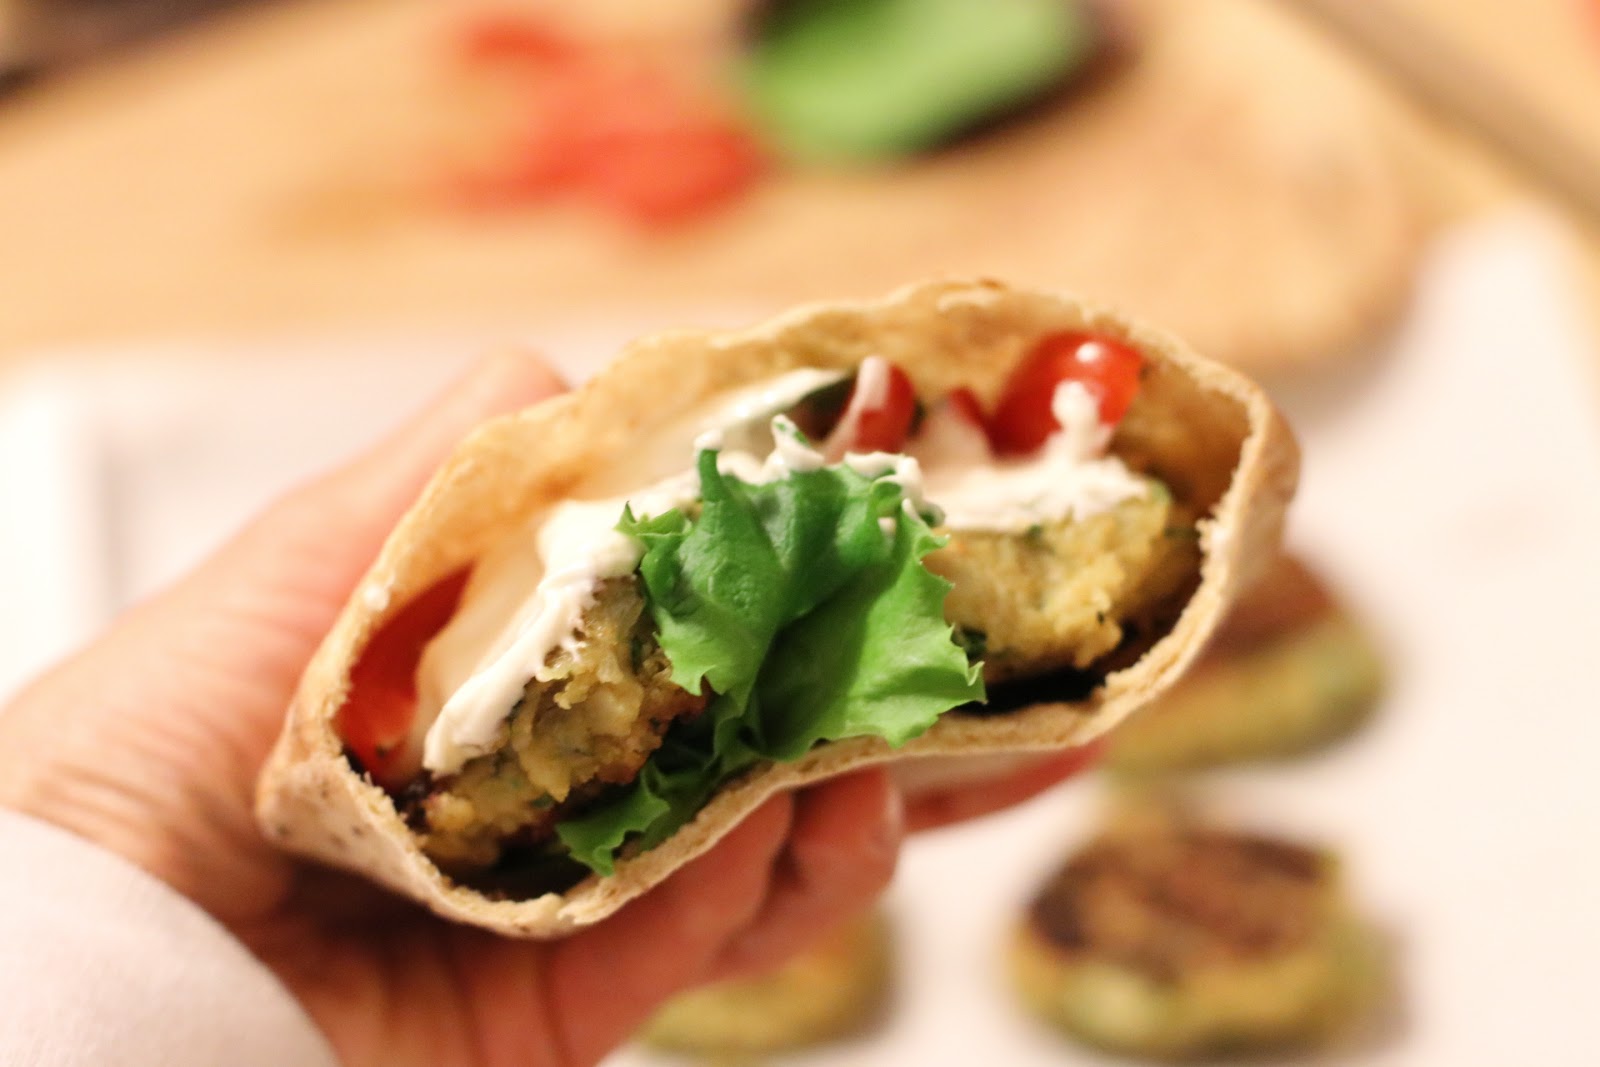
I used Joseph’s flax, oat, and whole wheat mini pitas which were the perfect size for two falafels, a little lettuce, a few grape tomatoes, and the tahini sauce. Also, check out this awesome pita trick from Bon Appetit!
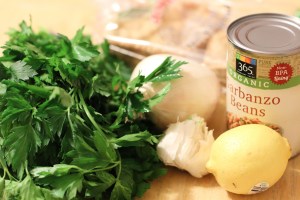
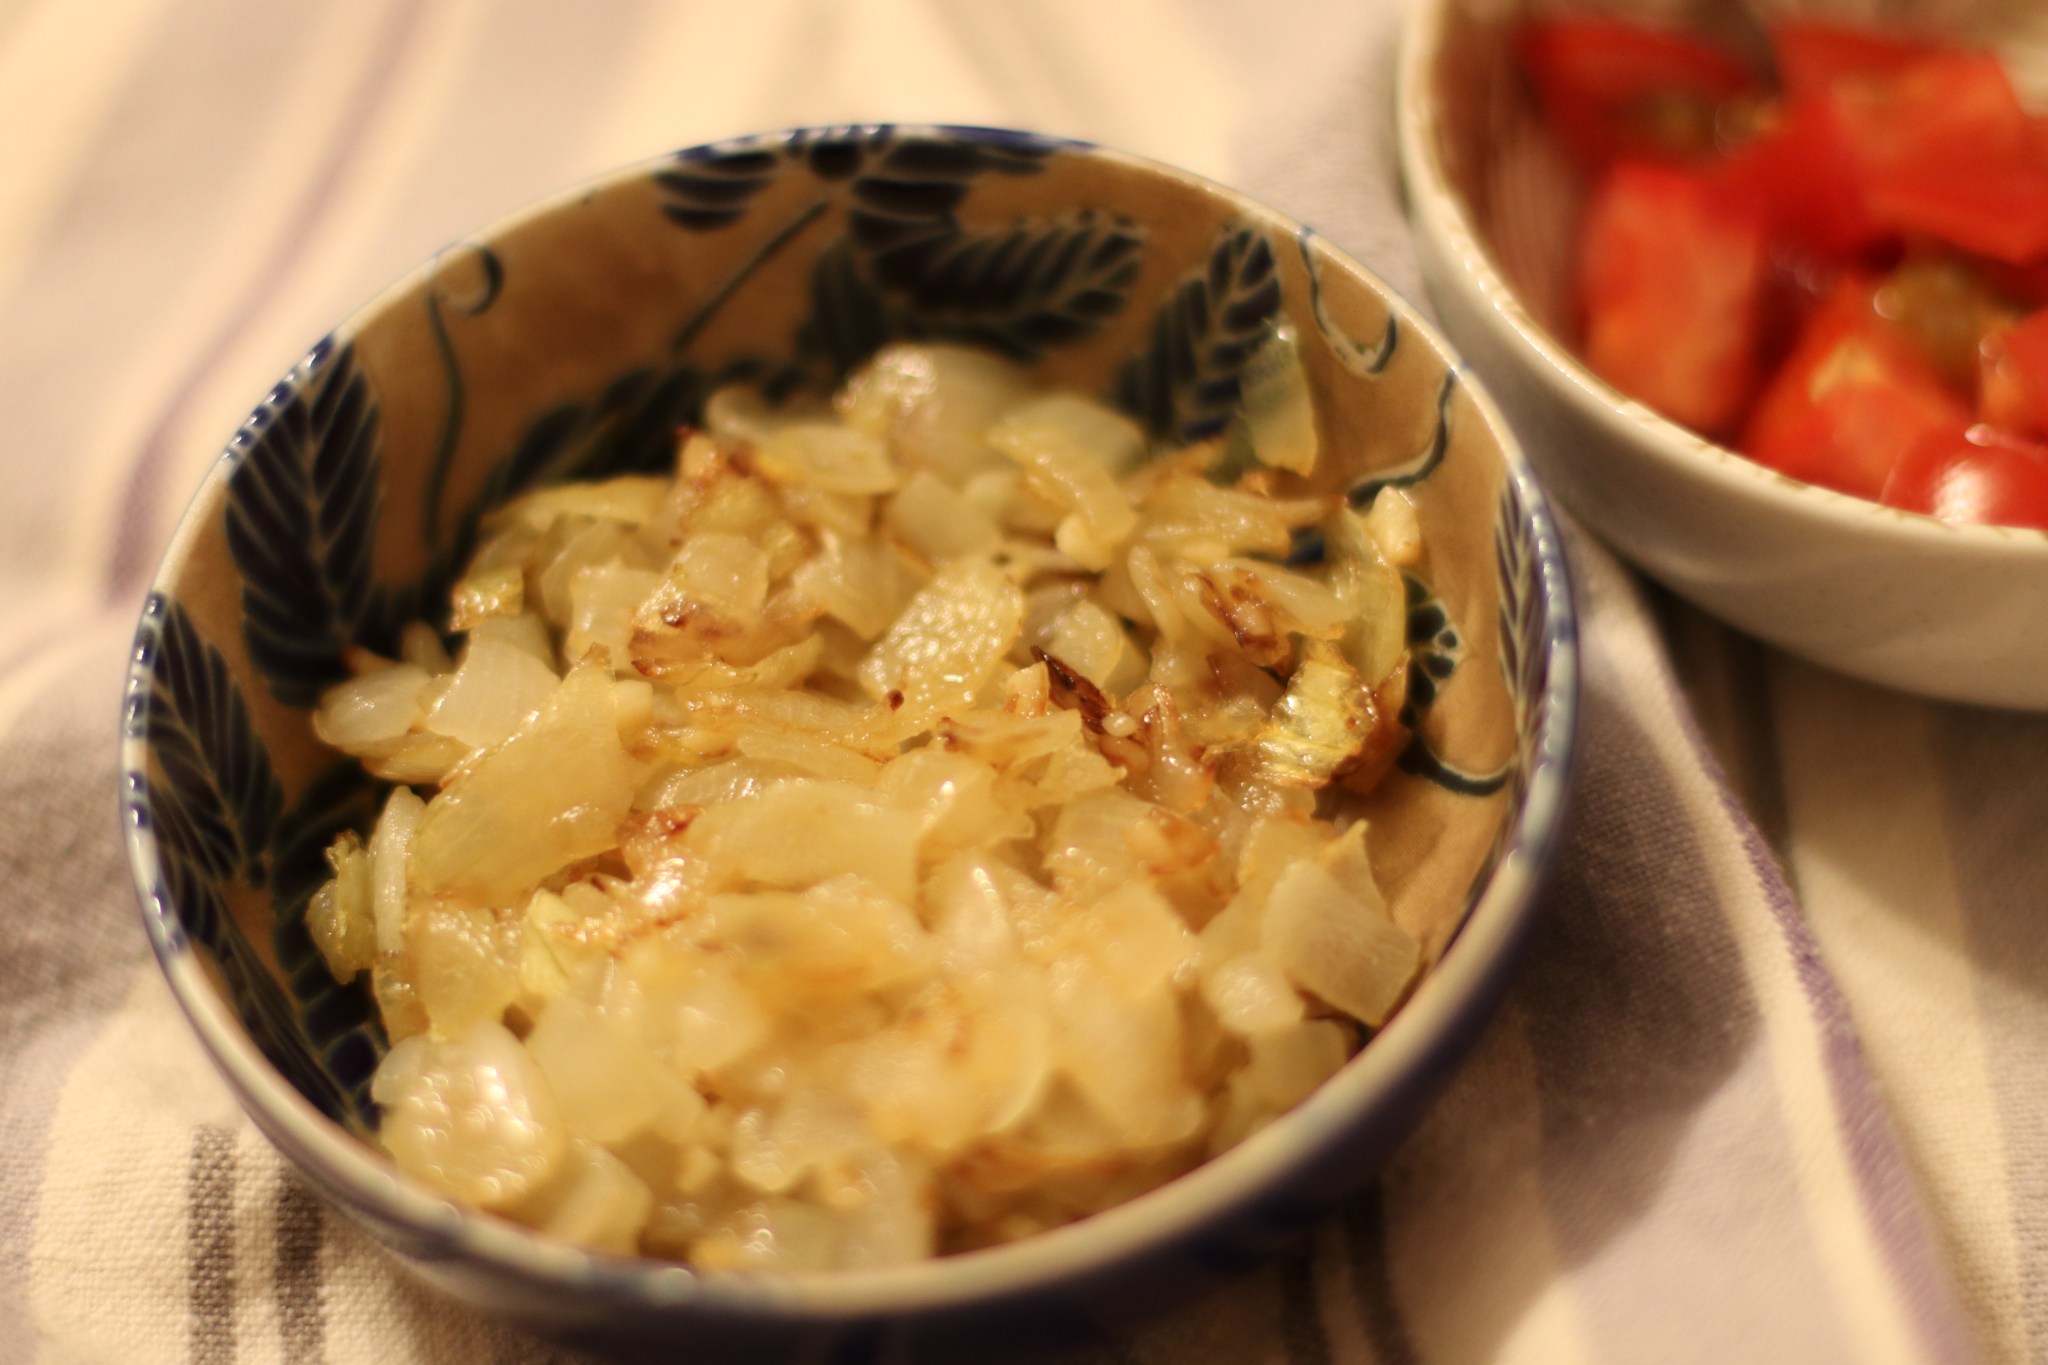
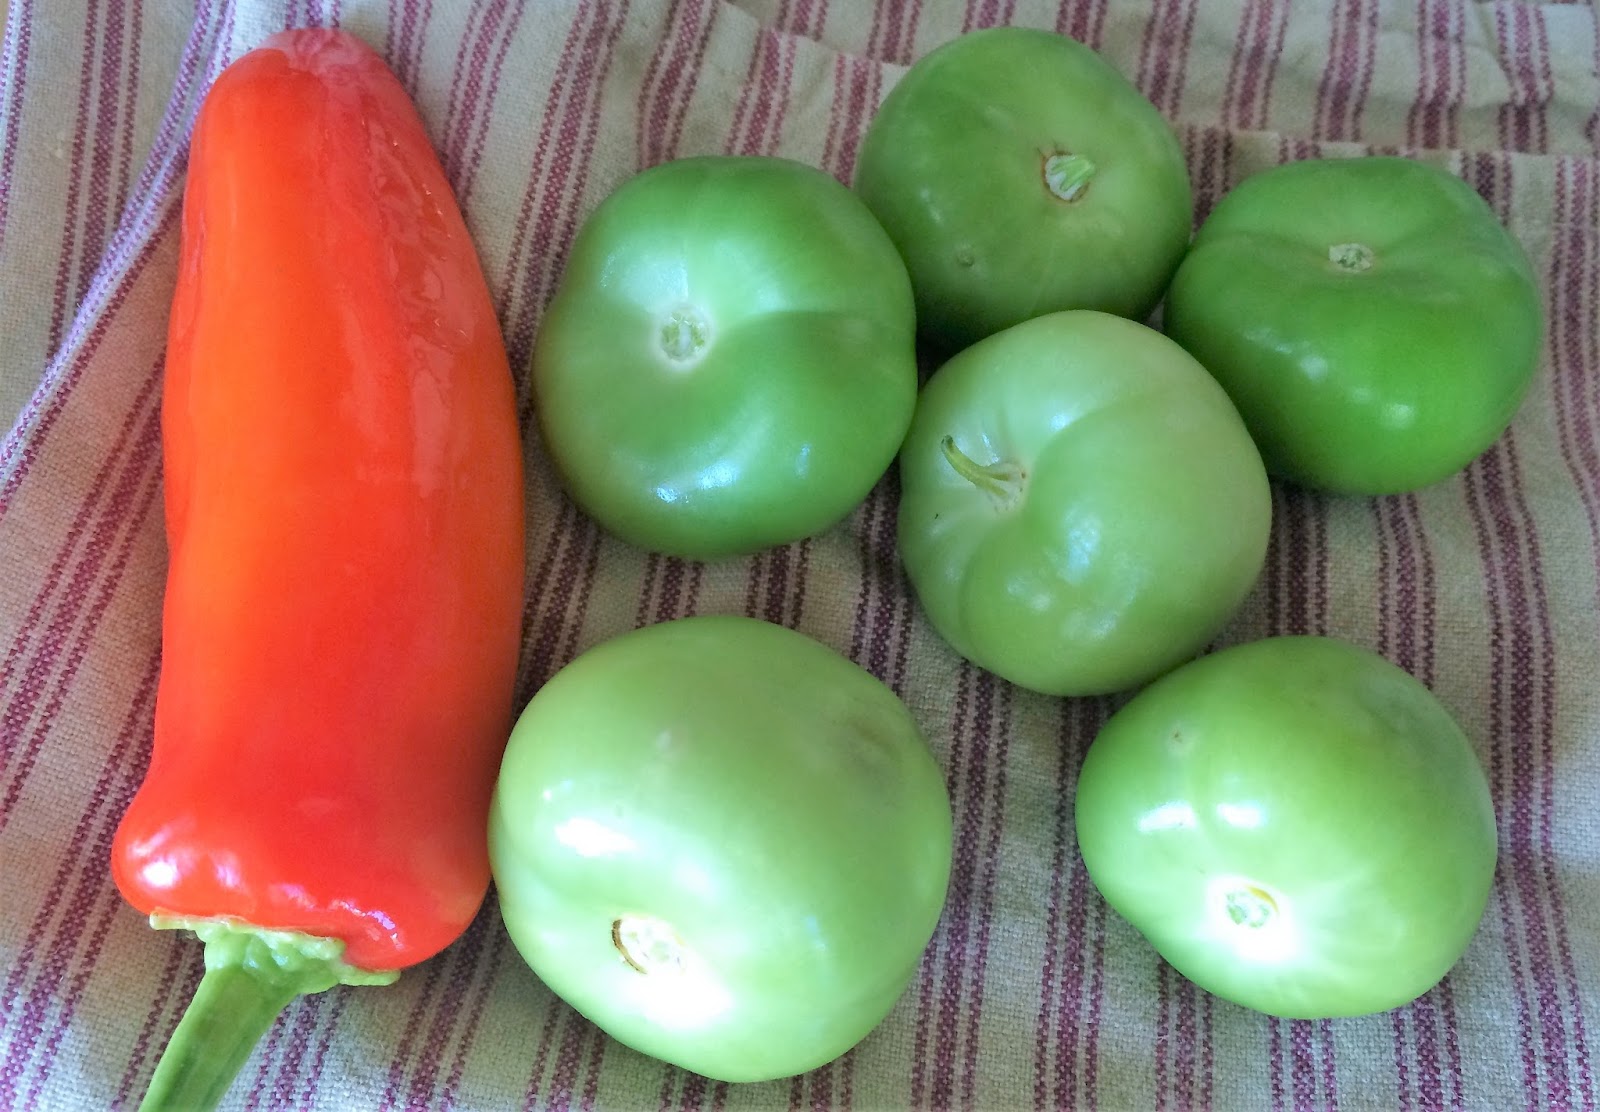
Ingredient prep

Falafel
Serves: 4-6
Source: adapted from Just a Taste

Ingredients
Falafel
1 medium onion, quartered
6 garlic cloves
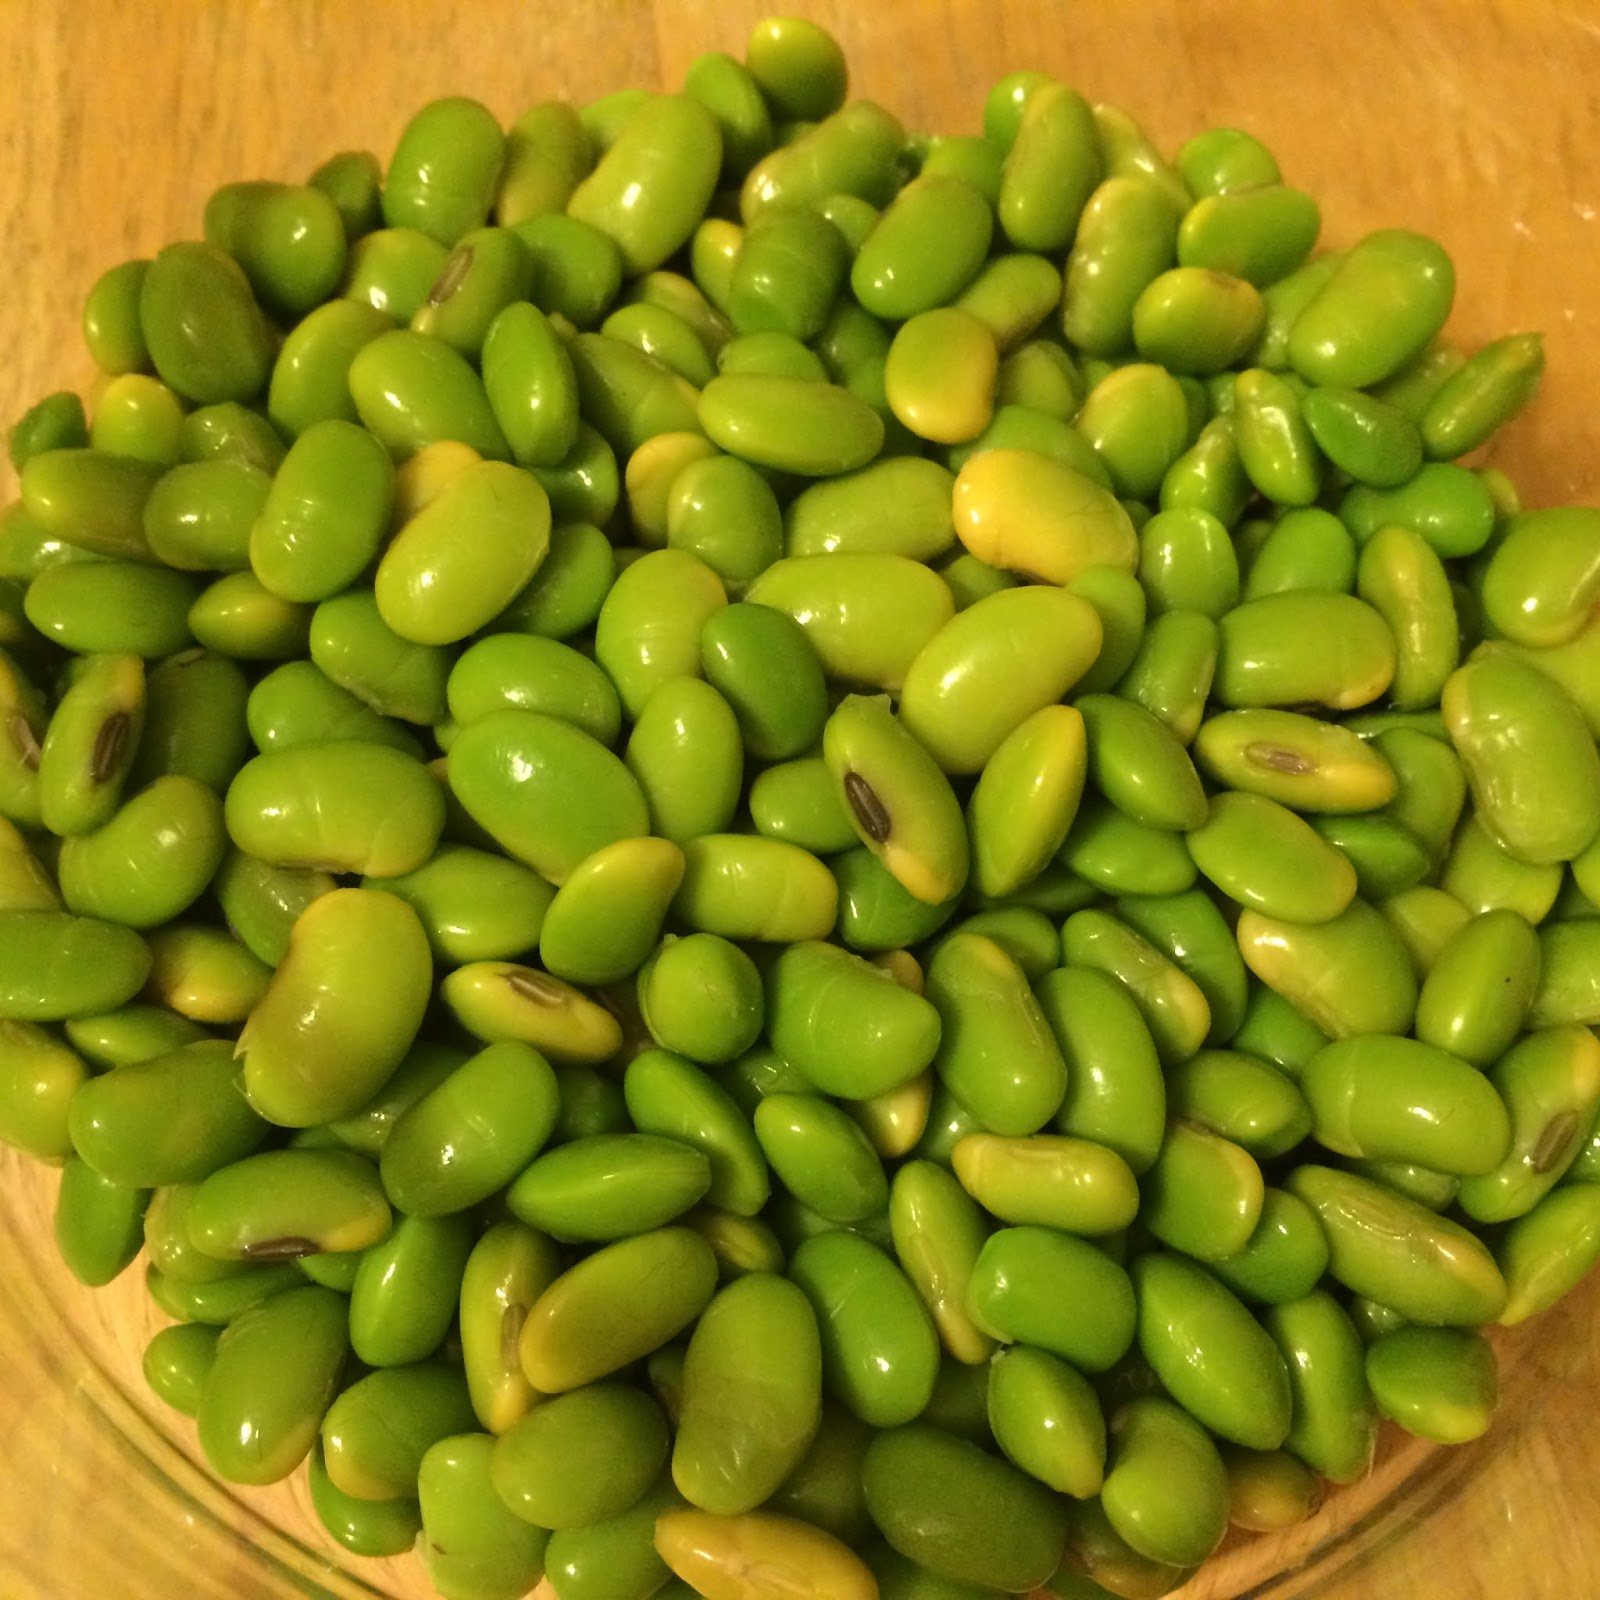
1 can (15.5 ounces) garbanzo beans
1 cup lightly packed parsley leaves 
1 cup lightly packed cilantro leaves
1/2 teaspoon salt
1/4 teaspoon chili powder

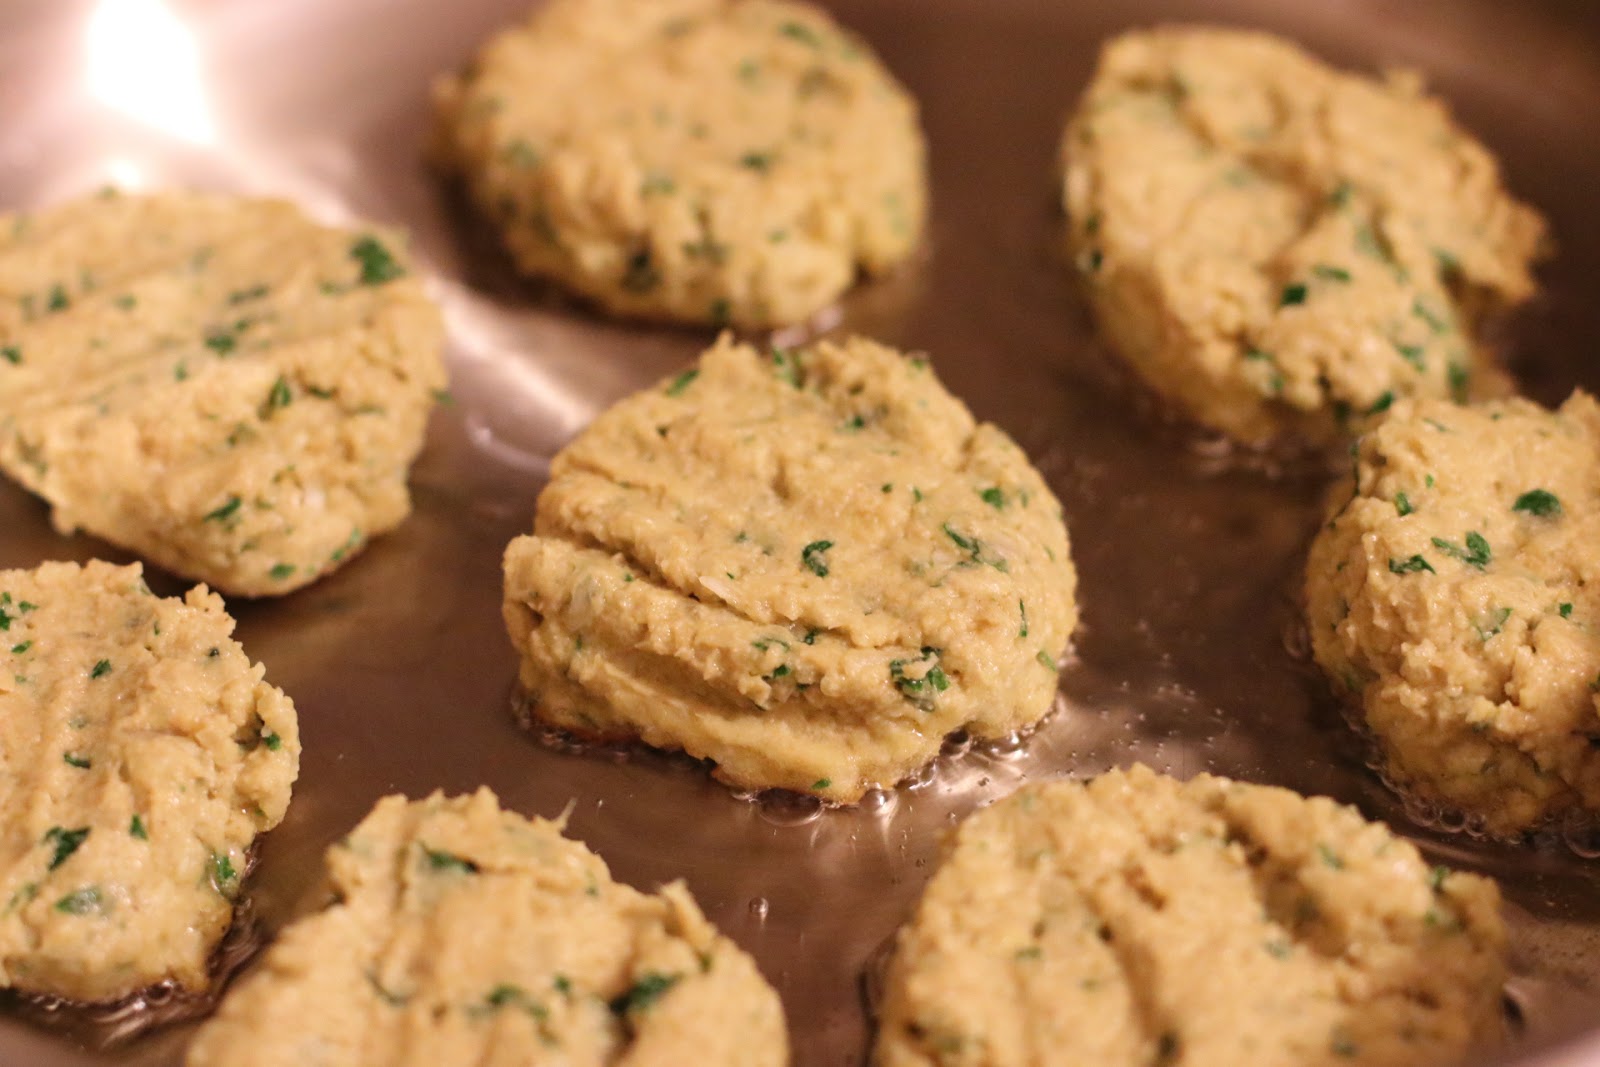
Falafel dough, browning

2 teaspoons baking powder
1/2 cup whole wheat flour
1/2 cup canola oil
2-3 Tablespoons canola oil
Pita bread for serving (and other toppings as desired)

Tahini sauce
1 cup plain yogurt
1/4 cup tahini
Juice from 1 lemon (2 Tablespoons)

Directions

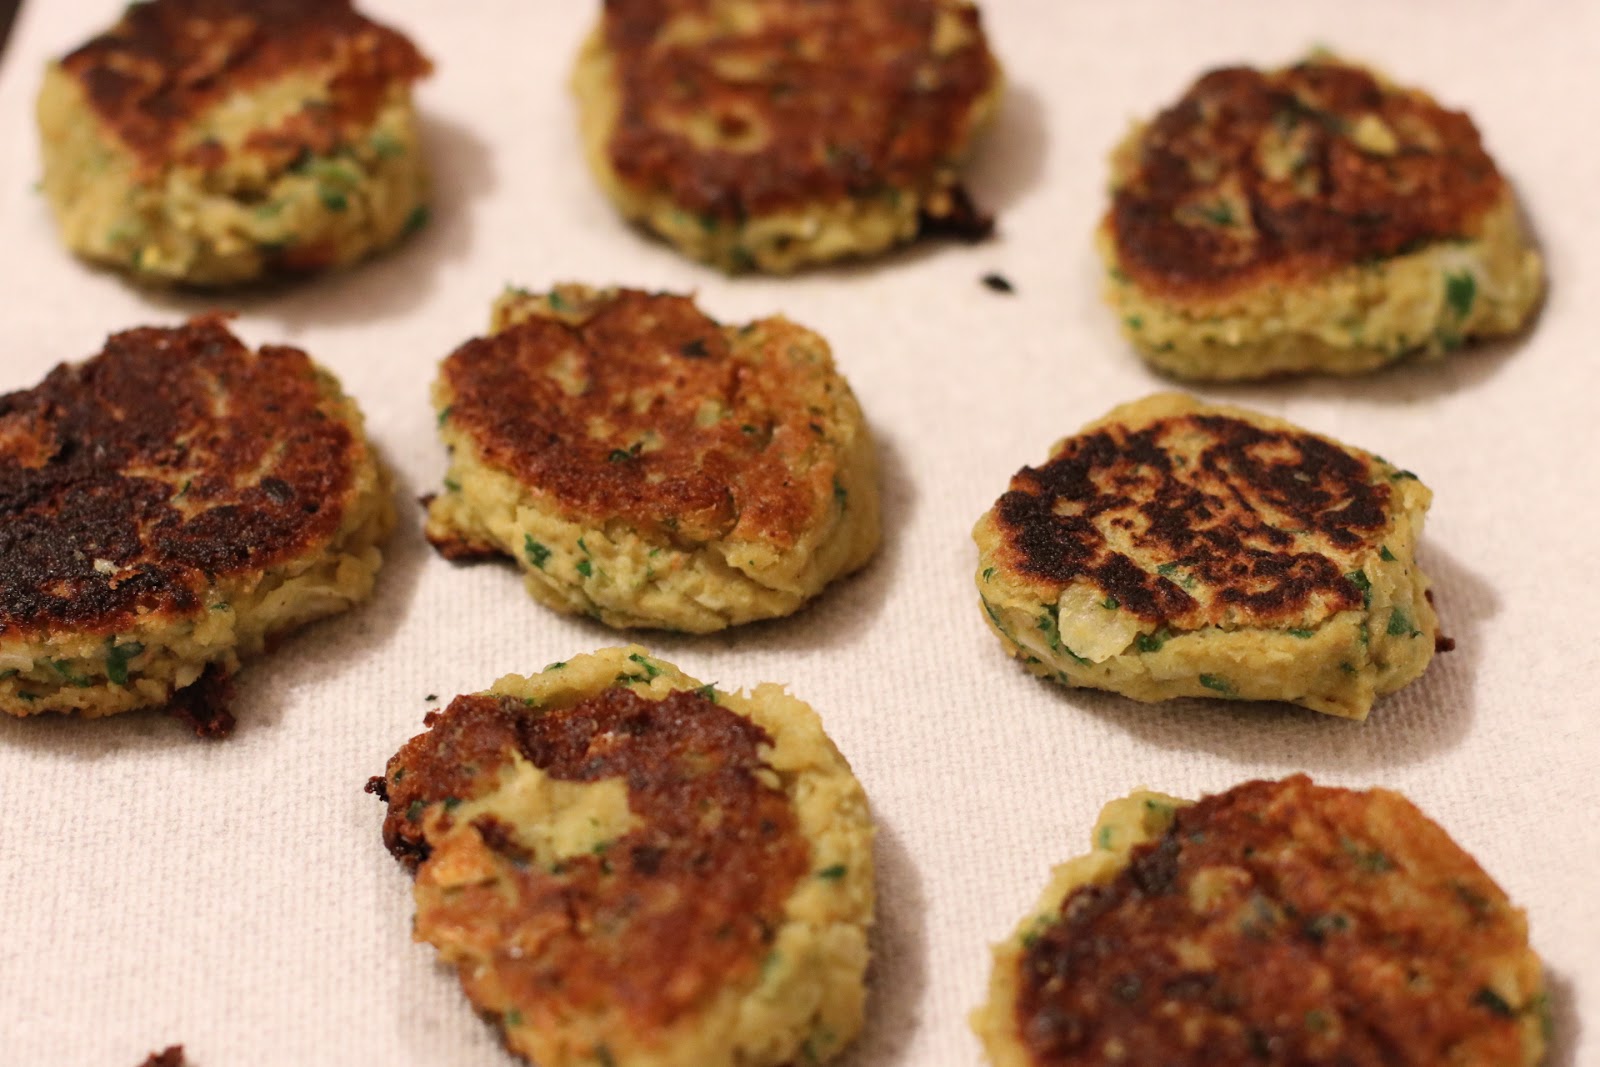
Golden brown, but not deep fried, goodness

1. Add the onion and garlic cloves to the bowl of a food processor and pulse until finely minced. Remove mixture and set it aside. Add garbanzo beans, parsley, cilantro, salt, chili powder, and cumin to the bowl of the food processor and pulse until just roughly blended.

Falafel-stuffed pita


2. Add the onion mixture back to the food processor, in addition to the baking powder and 1/4 cup of the flour. Pulse mixture until blended and starts to form a ball. Add additional flour and pulse as needed until the mixture is not sticky. Cover food processor bowl and refrigerate mixture for 1 hour.

3. To make the sauce, stir together the yogurt, tahini, and lemon juice. Season with salt and pepper. Refrigerate until ready to use.

4. Once the falafel mixture is done chilling, form the mixture into balls (around 16 of ’em).

5. In a large saute pan, heat 2 Tablespoons canola oil over medium heat. Add falafel, flatten a bit, and brown for about 3 minutes. Flip and brown on the second side for another 2-3 minutes. Transfer the falafel to a paper towel-lined cooling rack and season with salt. Repeat until all falafel have been cooked.

6. Fill a pita with falafel (as many as will fit), drizzle with tahini sauce, and enjoy!

German red cabbage

I’ve had a head of red cabbage hanging around for awhile…I’m talking almost a month, it really lasts! I’ve used a bit here and there to add to salads, but I decided it deserved a starring role in something, aka this tangy German red cabbage. This takes a bit of chopping and a bit of patience as it needs to cook for about an hour, so plan ahead.

Shredded cabbage

I like mine a bit more sour than sweet, so feel free to adjust the brown sugar and vinegar proportions to your liking. And if you want the apple to kind of dissolve into the cabbage, then chop it small and throw it in with the onion. If you want it to stay looking like apple pieces, then throw them in for the last 15-20 minutes of cooking. Either way, you don’t have to peel it.

Step 2, mixing in the ingredients


German red cabbage
Serves: 4-6

Ingredients
1 Tbsp canola oil
1 medium onion, halved and sliced
1 medium apple, sliced or chopped
1 head red cabbage, shredded
2 Tbsp brown sugar
1/3 cup cider vinegar
1/4 cup water
1/2 tsp salt

Dinner is served!

1/4 tsp pepper
1/4 tsp ground cloves

Directions
1. In a large Dutch oven, heat oil over medium heat. Add onion (and apple, if desired) and saute for 3-4 minutes until slightly softened.

2. Add cabbage, brown sugar, cider vinegar, water, salt, pepper, and cloves. Mix until combined and cook until liquid starts to boil. Reduce heat, cover, and simmer for 40-45 minutes. Stir occasionally.

3. If you didn’t add the apple in step 1, mix in the apple and cook for an additional 15-20 minutes. Enjoy!

Black bean and corn salad

It’s my birthday week (month) and my gift to you is an old favorite. This salad went perfectly with the other Mexican-themed dishes I recently took to a potluck (tomatillo salsa and guacamole). And I got the chance to use fresh corn and add some sweet yellow pepper and tomatoes from my CSA haul over the past couple of weeks. Unfortunately I ran out of cilantro so I just left it out, which I figured is safe in case someone at the potluck was anti-cilantro. Yes, those people do exist… 

Trio of chip accompaniments

I adjusted the recipe a bit below, officially omitting the salt and getting rid of the instructions to mix up the dressing in advance. Who has time for that? I say just throw everything in, and as long as you stir it well, it will be great!

Flashback: May 16,2012

Corn and black bean salad
Source: adapted from allrecipes.com
Serves: 4+

Ingredients
1/4 cup balsamic vinegar
2 Tbsp canola oil
1/2 tsp white sugar
1/2 tsp ground black pepper
1/2 tsp ground cumin

Ready for my close-up!

1/2 tsp chili powder
3 Tbsp chopped fresh cilantro
1 (15-ounce) can black beans, rinsed and drained
1 cup sweet corn (preferably fresh [cooked] or frozen)
Any other veggies you’d like to throw in, or some diced avocado works well too!


Directions
1. In a large bowl, mix together all of the ingredients. Stir well. Cover, and refrigerate overnight.

2. There is not step two other than to enjoy!

Raw tomatillo salsa

I *finally* decided what to do with these beautiful tomatillos. Usually if we get tomatillos, we get one or two, which is never enough to actually make something substantial. So this was quite exciting and the only question that remained was raw or roasted tomatillo salsa? I went with raw because, no cooking required!

Tomatillos and a hot pepper


I got some hot red peppers this week…of questionable heat. At least I checked in before using them like the cute little sweet “yummy peppers” we sometimes get. The combination of green and red was like Christmas, and it went well with chips and guacamole.

Raw tomatillo salsa
Source: Rick Bayless
Makes: 1 1/2 cups

Ingredients

Salsa!

4 medium (about 8 ounces) tomatillos, husked, rinsed and quartered
1 hot pepper, ribs and seeds removed and roughly chopped
1/2 cup roughly chopped cilantro (loosely packed)
1 large garlic clove, peeled and quartered
1/2 teaspoon salt, plus more to taste

Directions
1. Combine all ingredients in a blender jar or food processor. Add 1/4 cup water and process to a coarse puree (start low and pulse if using a blender).

2. Pour into a salsa dish and thin with a little more water if necessary. Taste and season with additional salt if desired. Enjoy right away.

    Refrigerator pickles

    I had a whole lot of beautiful fresh dill from CSA week 1 that wanted to do something fun and tasty with and tada…I made pickles! It is too bad that we didn’t get dill and cucumbers in the same week. I also got to dust off (literally) my mandoline slicer. I used the “2” setting for the thickness and was happy with it.

    Pickle prep


    A mason jar is ideal for this, but I didn’t have one on hand so made do with a Pyrex glass dish with a lid. 

    I ate some of them straight out of the container and also added them to salads. And now that most of the pickles are gone, I sliced up the kohlrabi (also from week 1) and threw them in the brine to see how pickled kohlrabi tastes!

    Ready to eat

    I like my pickles super sour, so feel free to add a bit of sugar if you prefer a touch of sweetness.

    Refrigerator pickles
    Adapted from Smitten Kitchen

    Ingredients
    4 kirby cucumbers, very thinly sliced
    Fresh dill
    3 cloves garlic, cut into quarters
    1 Tablespoon mustard seeds
    1 Tablespoon salt
    1/2 cup white vinegar

    Directions
    1. Layer all the ingredients into a mason jar or glass dish with a lid and place in refrigerator. The cucumbers don’t need to be fully covered as they will exude enough water to cover themselves. 

    2. Give them a shake in the fridge every couple of hours. They can be enjoyed in as little as 1-2 hours and can stay in the fridge, submerged in their brine, for up to 3 weeks

    Shoyu cabbage soup

    Saute mushrooms, carrots, onion, and garlic

    Whenever I get Napa cabbage in my farm share, it is always tempting to make Napa salad (aka, the Kara Becker napa salad). I’m sure there will be plenty more opportunities this summer to make the salad, so I decided to try something new. Since I’ve been a little obsessed with ramen since binge-watching “Mind of a Chef” on Netflix, I decided I wanted to make a cabbage and ramen soup. I googled “Napa cabbage ramen soup” and voila…thanks Google!

    Add in broth, cabbage, and other ingredients

    I found the Shoyu by the soy sauce (makes sense since it’s Japanese soy sauce) but I forgot the hot chili paste. I would definitely want to add it next time, and there will definitely be a next time, as I think it would an additional dimension of flavor.

    I used packaged ramen, discarded the seasoning packet, and precooked the noodles in boiling water separate from the soup-makin’. I followed the package instructions, but basically it took about four minutes. This prevents the noodles from getting soggy and overcooked!

    Cook ramen separately


    Shoyu cabbage soup
    Serves: 4
    Adapted from Bon Appetit

    Ingredients
    1.5 Tablespoons olive oil
    1 medium onion, diced
    1 large carrot, peeled and diced
    1 piece of green garlic or 2 garlic cloves, minced
    8 ounces baby bella mushrooms, sliced
    4 cups low-sodium vegetable broth
    2 Tablespoons shoyu
    2 Tablespoons unseasoned rice vinegar
    2 teaspoons sugar
    1/2 head Napa cabbage, chopped
    2 cups cooked ramen

    Get in belly

    Hot chili paste, such as sambal oelek, and fresh cilantro (for serving)

    Directions
    1. Heat oil in a large pot or Dutch oven over medium-high heat. Add onion, carrot, garlic, and mushrooms and cook, stirring, until softened, 10-12 minutes.

    2. Add cabbage, broth, shoyu, vinegar, and sugar, and bring to a boil. Reduce heat and simmer about 15-20 minutes, partially covered, until vegetables are very tender.

    3. Serve over noodles topped with hot chili paste and fresh cilantro. Enjoy!

    Sweet potato chickpea buddha bowl

    Recipe

    Recipe Notes

    I typically do not buy kale, since I get so much of it during CSA season, but I wanted to give this recipe a try. I think it will be super handy in the upcoming months of veggie maintenance.

    The ingredient list may look a little overwhelming, but it’s pretty quick and simple…I promise. You can easily make the Tahini sauce and mix up the spice blend for the chickpeas ahead of time. I also used nonstick foil for roasting the veggies, for easier clean up.

    Source: adapted from Minimalist Baker

    Photos

    Kale and spice prep
    Roasting veggies
    Chickpea prep
    Nourishing veggie bowl

    Edamame hummus

    Fresh edamame

    Here’s a fun thing to do with edamame, whether it’s fresh from the farm or fresh from the freezer of your local grocery store. It’s a great snack that you can use however you would normally use hummus…I like it with Food Should Taste Good multigrain chips!

    It is definitely easier to buy frozen edamame! If you buy it pre-cooked, all you need to is shell them. If it’s not cooked, then cook according to package directions.

    Edamame, cooked and shelled

    Since I got not one, but two bunches of fresh edamame, I went the fresh route this time. First, pick the pods off the branches, discarding any that are brown. I thought it might be a #loveuglyfood sitch so I cooked some of them anyway. But nope the beans inside were not the nice green color you want, so don’t bother with them. Some of the greenish-yellowish pods were still ok though.


    Salt the pods generously and let sit for 15 minutes. I don’t know what the purpose of this is, and I don’t remember doing this in the past, but that was part of the instructions I used from who knows where. Then boil in salted water for about 6 minutes, drain, and pop out of their shells.

    Be patient with your food processor – it definitely took longer than I expected to get it to the right consistency.


    Edamame hummus
    Makes: a lot!

    Hummus and chips


    Ingredients

    1 1/2 cups shelled edamame, cooked

    Juice from 1 lemon (about 2 Tablespoons)
    3 Tablespoons tahini
    2 garlic cloves, peeled
    6 Tablespoons water (more if needed for consistency)
    1/2 teaspoon kosher salt
    1/4 teaspoon black pepper

    Directions

    1. Add the ingredients to a blender or food processor and puree until smooth. Enjoy!