Quick (and not so quick) dillie beans

Washed green beans

I’ve had a recipe for dillie beans for years, passed on to me from my friend Heather. But even though I’ve had good intentions, I’ve never gotten around to making it because I’m a little intimidated by the canning process. I’m more of a fun of a quick pickle than pickling things to store them. Since quick pickles have to be eaten relatively quickly, I tend to make them in smaller batches. I figured I’d share both recipes as one day I hope to figure out a way to adapt the dillie bean recipe into a smaller portion and a quick pickle.

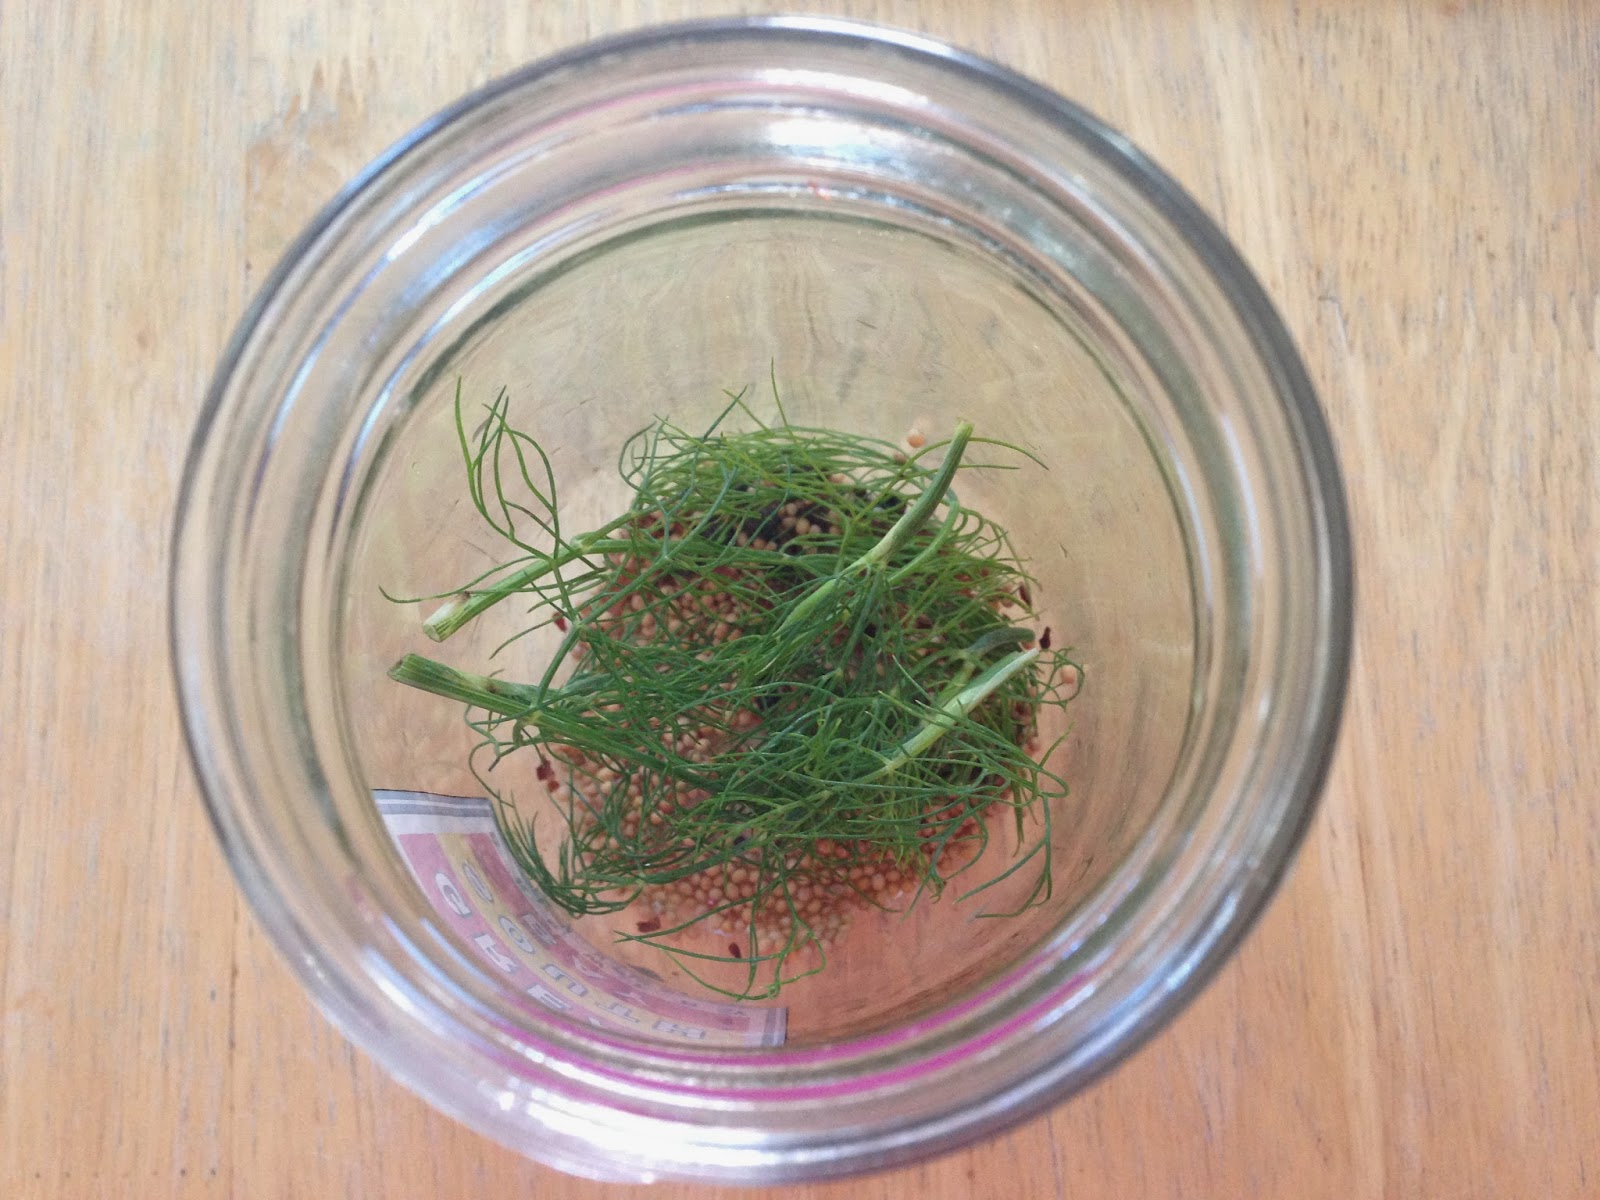
Add your spices first!

I don’t know exactly how many beans this was (since at pick-up the instructions were 1 bowlful), but I was able to fit them all in my Great South Bay Brewery mason jar!

Quick pickled green beans
Source: adapted from It Doesn’t Taste Like Chicken

Ingredients
1 1/2 teaspoons mustard seed
10 black peppercorns
Pinch of red pepper flakes
1/4 cup fresh dill
1 clove garlic, peeled
Green beans (enough to pack a mason jar)
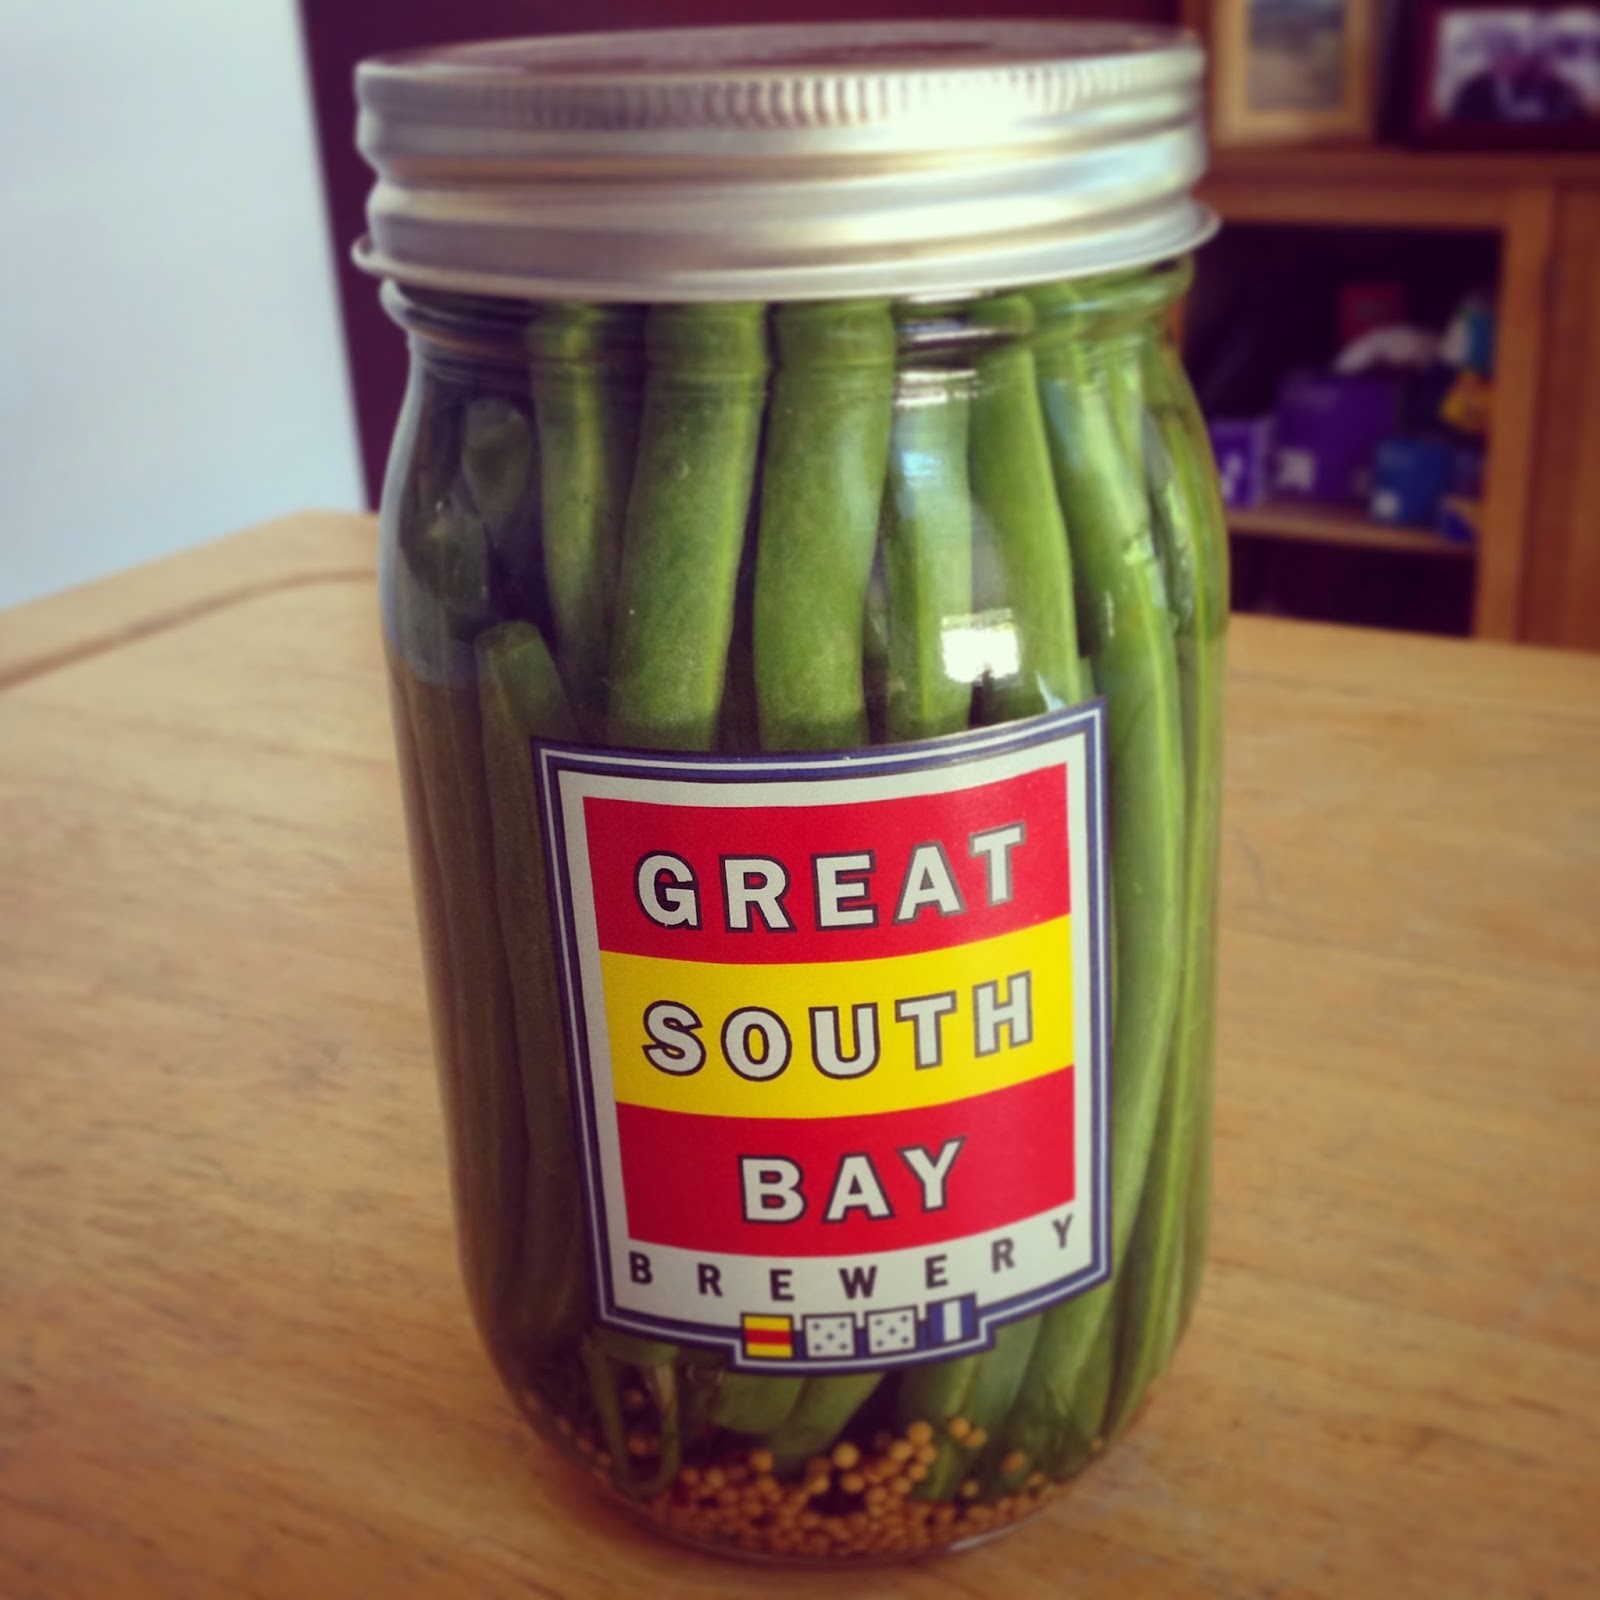
Pickled beans!

1 cup water
1 cup white vinegar
2 Tablespoons salt

Directions
1. Wash and trim beans. To bottom of jar, add mustard seed, black peppercorns, red pepper flakes, garlic, and dill. Pack the green beans into the jar tightly so that they are standing up.

2. Combine water, vinegar, and salt in a pot and bring to a boil. Pour over beans leaving 1/4-inch head space and close jar. Let sit at least one day and enjoy!
______________________________

Dillie Beans
Source: Erin MacLeod…it was her grandmother’s recipe

Ingredients
2 pounds green beans (young and tender)
1 teaspoon powdered alum
1 gallon water
1/2 teaspoon minced garlic
4 teaspoons dill seed
2 teaspoons mustard seed
1 teaspoon crushed red pepper
2 cups water
2 cups cider vinegar
1/4 cup salt

Directions
1. Wash beans and trim ends, and place in stone crock or glass container. Dissolve alum in the 1 gallon of water, pour over beans, and let stand 24 hours.

2. Drain and wash beans. Pack lengthwise into 4 hot pint-size canning jars. To each jar, add 1/8 teaspoon minced garlic, 1 teaspoon dill seed, 1/2 teaspoon mustard seed, and 1/4 teaspoon crushed red pepper.

3. Combine 2 cups water, cider vinegar, and salt in a pot and bring to a boil. Pour over beans leaving 1/4-inch head space. Close jars.

4. Process 25 minutes in boiling water bath.

Cabbage and mushroom stir fry

Mise en place

It’s great that cabbage lasts so long, but it also takes up a lot of space in the vegetable drawer, so it was time to figure out how to make something tasty for my belly. I did cabbage two ways, and this recipe was a winner!

Cabbage and mushroom stir fry
Serves: 3-4
Source: adapted from Divine Healthy Food via Pinterest

Ingredients
1 Tablespoon canola oil
2 scallions, thinly sliced
Close up
2 cloves garlic, minced
1/4 teaspoon red pepper flakes
1/2 medium green cabbage, chopped
5 mushrooms, sliced
1/4 teaspoon salt
1 Tablespoon low sodium soy sauce
1 teaspoon white wine
1/2 teaspoon garlic powder
1/2 teaspoon smoked paprika

Directions
1. In a large skillet, add the canola oil, scallions, garlic, and red pepper flakes. 

2. Turn the heat on medium-high and let it warm up for a couple of minutes. Add the cabbage, mushrooms, and salt. Saute for about 5 minutes, stirring frequently.

3. Add soy sauce, white wine, garlic powder, and paprika. Saute for another 5 minutes, stirring frequently. Enjoy!

Black bean dip

Last week I had a lot of fixins’ for a taco night, but taco nights for one are no fun. So last weekend I hosted a Sunday taco night and made this great black bean dip. I extracted the dip recipe from a recipe for black bean tostadas with caramelized onion and jalapeno relish from the May issue of Shape magazine. 


The original recipe called for two cans of beans, which I thought sounded excessive, but it was supposed to be the main protein for the dish. Since I also cooked up some ground beef, and there were only three of us for dinner…it was definitely excessive. Next time I would cut the recipe in half, or it would be great for a potluck or a larger number of people.

This went very well with the corn, cilantro, cotija side I made as well as the corn and black bean salad that one of my guests brought, and the corn and black bean salsa I purchased. It was a corn and black bean kind of night.
Getting ready for taco night!

Black bean dip
Makes: a lot!
Source: adapted from Shape magazine, May 2014

Ingredients
1 Tablespoon canola oil
1 medium yellow onion, chopped
2 garlic cloves, chopped
1/4 cup cilantro leaves
2 cans (15 ounces) black beans, drained and rinsed
1/2 teaspoon ground cumin
1/2 teaspoon red pepper flakes
6 ounces plain Greek yogurt (or homemade!)
2 large tomatoes, halved, cored, seeded, and diced
Salt to taste

Directions
1. In a large skillet, heat the oil over medium-high for 1 minute. Add the onion and garlic and cook, stirring occasionally, until the onion is soft, about 2 minutes.

2. Transfer the onion mixture to a food processor or blender. Add the cilantro, black beans, cumin, and red pepper flakes, and blend until smooth.

3. Transfer the puree to a medium bowl and blend in the yogurt and tomatoes.

CSA Week 9

Week 9

There was no sign at this week’s pickup (also no Kara), but luckily everything was identifiable…and very colorful. It’s like ROYGBIV week! We’ve got red tomatoes, orange carrots, yellow corn, green Swiss chard and lettuce, blue-berries, and let’s go with cabbage and beets for indigo, and a pepper that’s violet. I will certainly be eating a rainbow this week, in addition to the lettuce, beet, and cabbage still hanging out in my fridge.


Side of corn
I made some delicious corn this week, with cotija cheese and cilantro. It was a perfect side for taco night. Cotjia cheese is a crumbled cow’s milk…I call it a Mexican feta. It came in a 12-ounce package so I will probably make it again this week! Here are the proportions I used with two ears of corn, cooked and cut off the cob:

1 teaspoon canola oil
2 teaspoons fresh lime juice
1/4 cup chopped cilantro
1-2 ounces cotija

Bento lunch and snacks
I’ve been doing such a good job with bringing my lunch and snacks, but have been using so many containers for everything (especially with taco night leftovers this week). So I was very happy to rediscover my Bento lunch pail, which was a Secret Winter Pal gift a couple of years ago from my friend Kendrin (I always seem to be her SWP).

Here’s what I’ll be packing in my lunch pail this week:
  • Lettuce
  • Swiss chard
  • Onion
  • Red cabbage
  • Beets (2)
  • Tomatoes (8)
  • Corn (3 ears)
  • Carrots (2)
  • Cucumbers (2)
  • Pepper
  • Watermelon
  • Blueberries


Zucchini "pasta" with tomato, pesto and feta

Julienned zucchini

Another week, and another zucchini to deal with…and this week’s was a big’un. Since I’m now an expert with the mandoline (i.e., haven’t cut my fingers off yet), I decided to use the julienne blade to make “pasta”. It took a little experimenting to fit the zucchini in the safety guard. I ended up cutting it in half width-wise (as if you were going to cut it into slices), and that worked much better.

This recipe was a cinch because I already had some homemade pesto on hand. And while I decided to give most of it away (it made a lot!) to my parents who were visiting last weekend and to some friends who are at home with a new baby, I did save some for myself. And I actually enjoyed it. But then again, pesto makes almost anything taste better.


Zucchini “pasta” with tomato, pesto and feta
Serves: 4-6

Voila!

Source: Etsy via Pinterest

Ingredients
1 medium zucchini or summer squash
1 1/2 cups halved cherry or grape tomatoes
3 Tablespoons pesto
1/2 cup crumbled feta cheese

Directions
1. Using a julienne slicer or the julienne blade on a mandoline, julienne zucchini/squash into thin ribbons and place in a large bowl.
2. Add tomatoes, pesto, and feta and gently mix to combine. Enjoy!

Coleslaw

Arrowhead

The arrowhead cabbage, which I’m going to guess is named after its shape, made for a great homemade coleslaw. I mixed it up for a fourth of July potluck at the yacht club…Arthur be damned…we potlucked in the rain. It took a little longer than the five minutes because the original recipe called for packaged coleslaw mix, but overall it was very easy and seemed to be a crowd pleaser.


Coleslaw
Adapted from: Everyday Food, April 2007
Serves: 8-10

Ingredients
1 green cabbage, shredded (about 10 cups)
1 large carrot, shredded
2 garlic scapes, finely chopped (optional)
1/2 cup light mayonnaise (or plain Greek yogurt)
1/4 cup cider vinegar
1/4 teaspoon celery seed
1 teaspoon sugar
Coarse salt and ground pepper

Directions
1. In a large bowl, combine cabbage, carrot, scapes, mayonnaise, vinegar, celery seed, and sugar. Season with salt and pepper, mix well, and enjoy!

Baked parsnip fries

“Fry” shaped parsnip

Spring dug parsnips are a treat and a great way to celebrate a USA win in our World Cup game earlier this evening! I had a parsnip that was about one-third of a pound and I decided to bake them into fries. I used cayenne pepper and paprika, but feel free to substitute other herbs or spices to your liking. Do you know what the technical measurements for a pinch and a dash are?

  • Pinch = 1/16 teaspoon
  • Dash = 1/8 teaspoon

Baked fries

Back in my days as a server at the East Islip Clam & Oyster Bar, we used to serve a maple mayo with our sweet potato fries. I think this is also where I fell in love with the sweet potato fry…that relationship is still going strong! I always thought it would be easy to recreate the maple mayo, and turns out it was! All I did was whisk 1/2 Tablespoon of maple syrup with 1 Tablespoon of mayonnaise, and I got to use the itty bitty baby whisk that I got at Jerel and Michael’s wedding. Not gonna lie, I wish I had a pair of itty bitty baby whisks. I think this would also be super tasty with plain yogurt instead of mayo, but I didn’t have any yogurt on hand.

Baked parsnip fries

Parsnip fries with maple mayo

Serves: 1

Ingredients
1 large parsnip, peeled and cut into “fry” shapes
1/2 Tablespoon olive oil
A pinch of cayenne pepper
A pinch of paprika
Salt and pepper to taste

Directions
1. Preheat oven to 400 degrees F.

2. Toss together all ingredients in a bowl, then spread on a baking sheet in a single layer. Bake for 15 minutes until cooked through and enjoy!

Shrimp avocado salad

Choppin’ ingredients

This is not your grandmother’s shrimp salad. It’s also more of a chopping and mixing recipe, not a “cooking” recipe. But it’s the most I have been able to manage lately – it’s been a super busy month so far! After I had purchased all of the ingredients for the recipe, I realized that I should have cut the recipe in half…though two of my lucky coworkers benefited from the surplus.

The salad is dressed

The Greek yogurt dressing was delicious, and so easy. I blended it up in the Ninja in one of the single-serve containers. Hopefully my next smoothie will not taste like garlic! I have to remember this for when I get bored of plain ol’ olive oil and balsamic vinegar on my salads. I made the dressing first and let it rest while I chopped all of the veggies. 


Shrimp avocado salad
Serves: 8
Source: adapted from ifoodreal via Pinterest

Ingredients
1/2 cup plain Greek yogurt
2 teaspoons apple cider vinegar
2 teaspoons lemon juice (juice from 1/2 a lemon)
1 clove garlic, minced
1/4 teaspoon salt
1/4 teaspoon black pepper
12 ounces cooked shrimp, cut in half
1 cup grape tomatoes, sliced in halves
2 medium bell peppers, chopped
2 medium avocados, cubed
1/2 English cucumber, cubed
1/2 cup cilantro, chopped

Directions
1. Add Greek yogurt, cider vinegar, lemon juice, garlic, salt, and pepper to small food processor (or Ninja!) and process until smooth. Set aside.

2. Chop veggies, shrimp, and cilantro and add them to a large bowl. Mix in dressing and stir to combine. Serve chilled.

Butternut squash, kale, and pancetta hash

Pinterest is really starting to interfere with the original purpose of this blog, which was to clear out some of the recipes I hoard (like years of Everyday Food magazines and other things I have ripped out of magazines over the years). But I keep finding fun things I want to make on Pinterest and that interferes with my progress on the paper recipe pile. 

Cubed pancetta
In case you are wondering, you can get pancetta at the deli counter (not the meat counter, which is where I went first). I asked for “thick slices” and he asked me how many slices I wanted – I opted for two slices and that seemed to work out just fine. I’m not sure how I felt about the sherry vinegar, but all in all I think it turned out pretty well. I served it (for myself) with an over-easy egg, and the rest I donated to a friend who I was visiting.

Butternut squash, kale, and pancetta hash
Serves: 4-6
Saute action
Source: In Sock Monkey Slippers via Pinterest

Ingredients
1 pound butternut squash, peeled and cubed
1 bunch kale, cut into bite-sized pieces
1 garlic clove, minced
1/4 pound thick sliced pancetta, cut into small cubes
1/4 cup water
2 teaspoons sherry vinegar
Salt and pepper to taste

Directions
Dinner (or breakfast)!
1. Place the cubed pancetta in a large saute pan over medium-high heat. Cook until the fat in the pancetta has rendered and the pancetta becomes crisp. While keeping the renderings in the pan, remove the pancetta to a plate and set aside.

2. Place the butternut squash and garlic in the saute pan and reduce heat to medium. Saute the squash, stirring frequently, until the squash is tender but not yet cooked completely, about 10-15 minutes.

3. Add the kale, water, and vinegar; stir and scrape the bottom of the pan to remove any cooked bits. Cook until the water has absorbed, the kale has wilted, and the squash is fork tender, about 5 minutes. Return the pancetta to the pan and stir to combine. 
Add salt and pepper to taste, and enjoy!

Broccoli cranberry salad

Day after Thanksgiving holiday table

Believe it or not, this was the only “cooking” I did over the holiday weekend. For Thanksgiving I had a yummy turkey dinner at the Bird Key Yacht Club in Sarasota, which required no prep and no clean-up!

The only shopping I really did on Black Friday was at the grocery store – to pick up the ingredients for this salad. I found this recipe on Facebook, one of my amazing and fantastic friends “shared” it, I just can’t remember exactly to whom to give the credit. I took a screen shot of the recipe from my phone so that I wouldn’t forget it.

The finished product


Broccoli cranberry salad
Source: someone shared it on Facebook!
Serves: 6

Ingredients

4 cups broccoli florets, chopped into small pieces
1/2 cup red onion, chopped
3/4 cup shredded cheddar cheese
1/2 cup cooked bacon, crumbled
3/4 cup dried cranberries
6 ounces plain, nonfat Greek yogurt

Pork chops and applesauce!

2 Tbsp mayonnaise
2 Tbsp red wine vinegar
1 Tbsp sugar
Salt and pepper to taste
1/2 cup sunflower seeds

Directions

1. In a large bowl, combine broccoli, onion, cheese, bacon, and cranberries.
2. To make dressing, mix together yogurt, mayonnaise, red wine vinegar, and sugar in a small bowl. Add to broccoli mixture and stir until thoroughly combined.
3. Just before serving, mix in sunflower seeds and enjoy!