Mozzarella-stuffed meatballs

Meat and cheese might be one of my favorite combinations…so it’s no wonder this video recipe caught my eye as I was scrolling through Facebook on my commute home the other day. I couldn’t wait to try this, and even better that I could make them in my slow cooker. I will hopefully have some exciting slow cooker-related news to share soon as well…so stay tuned!
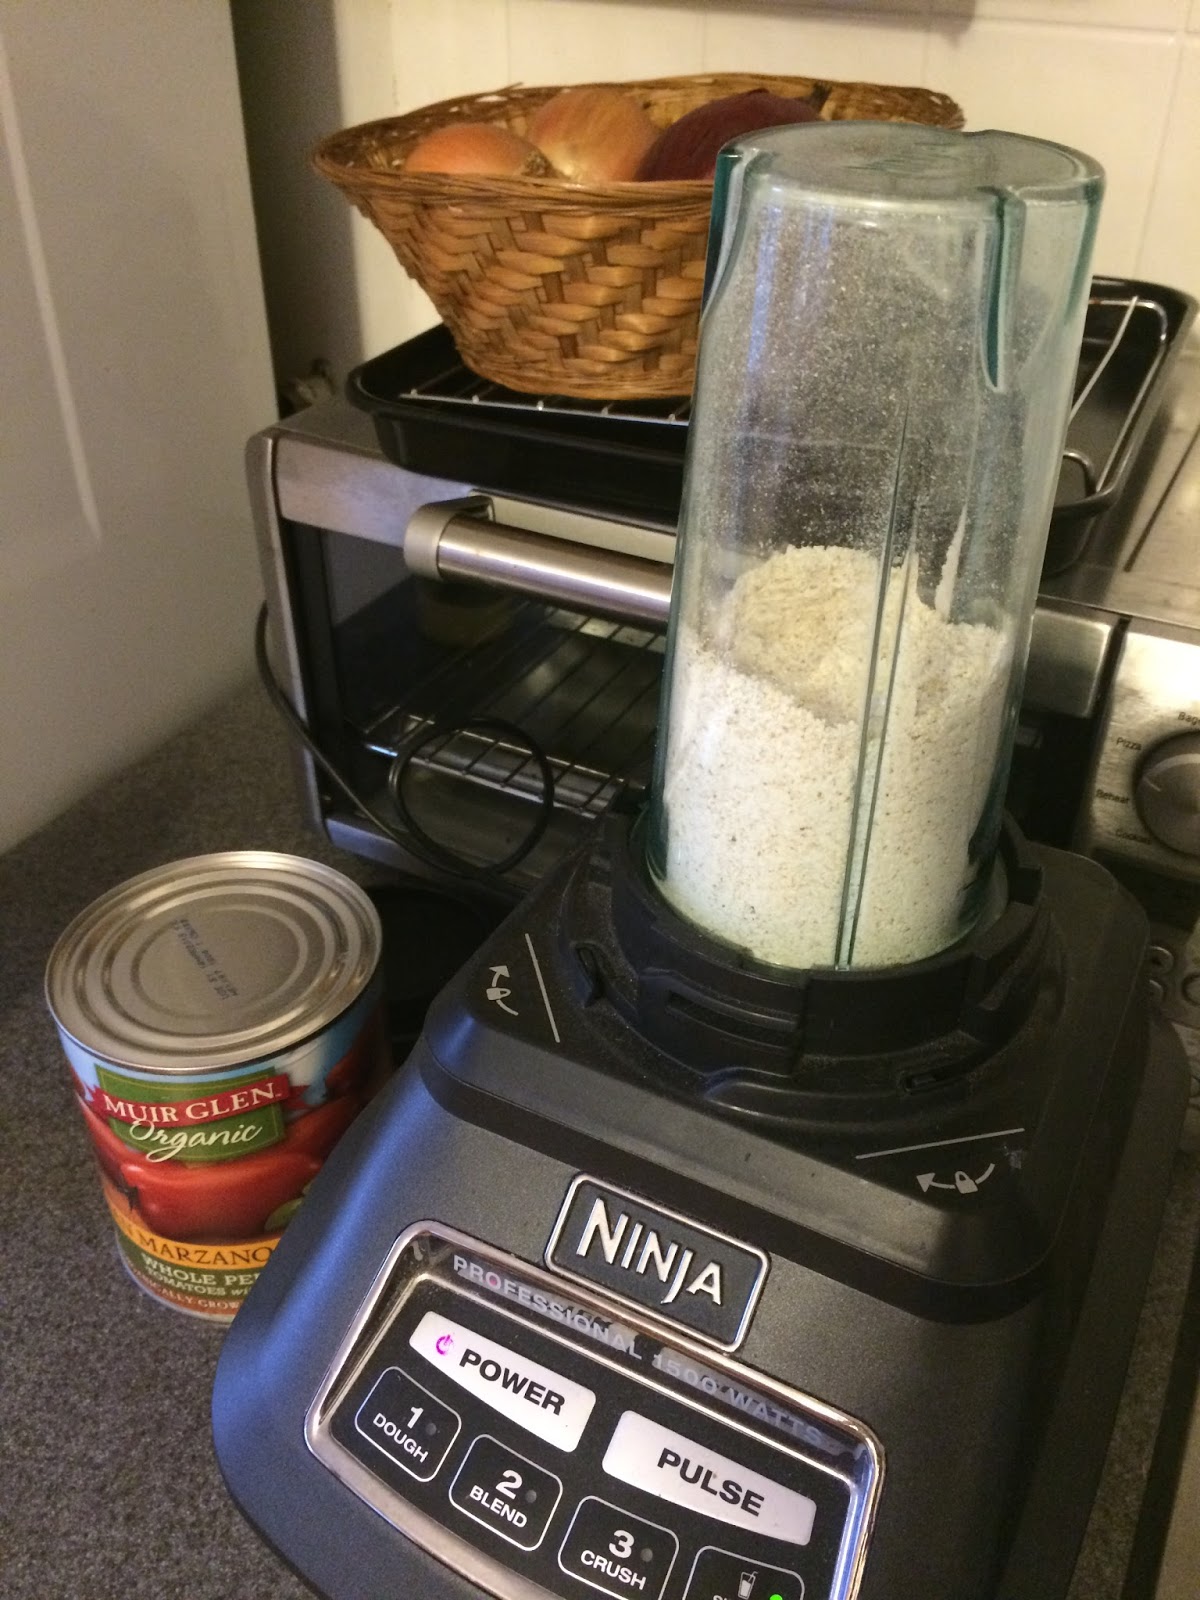
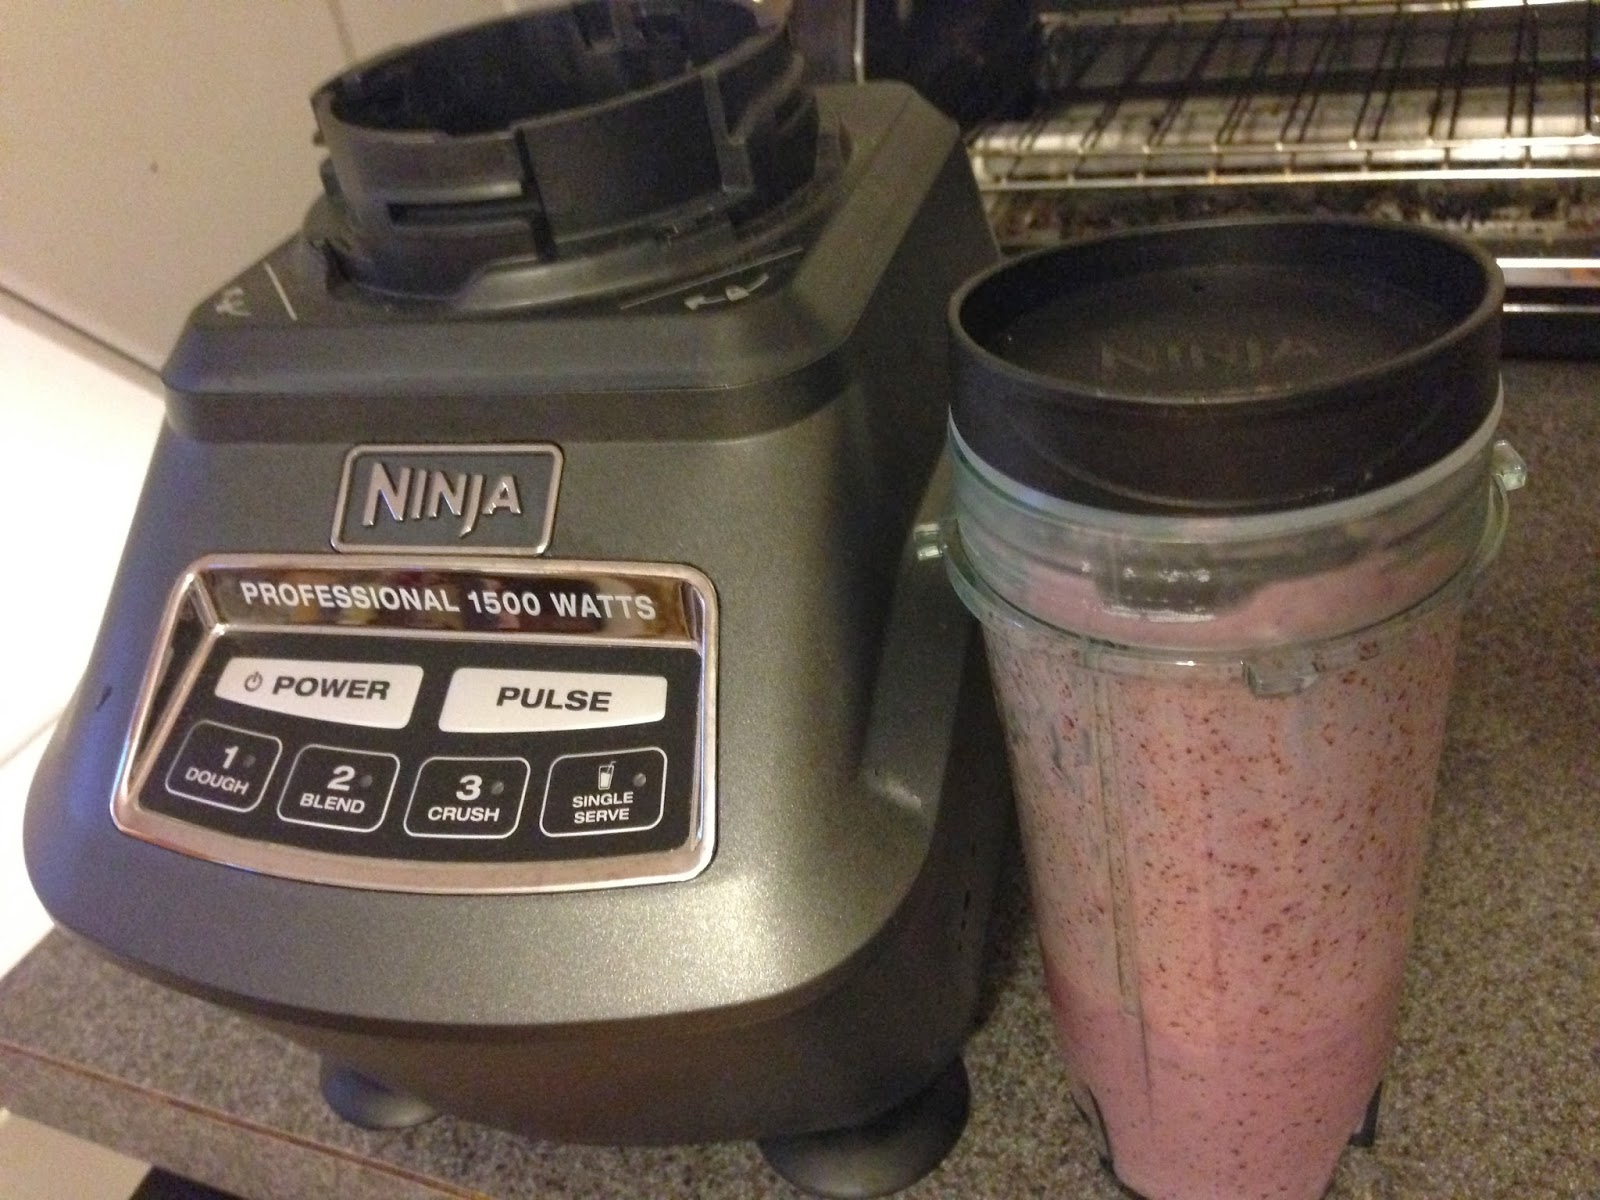
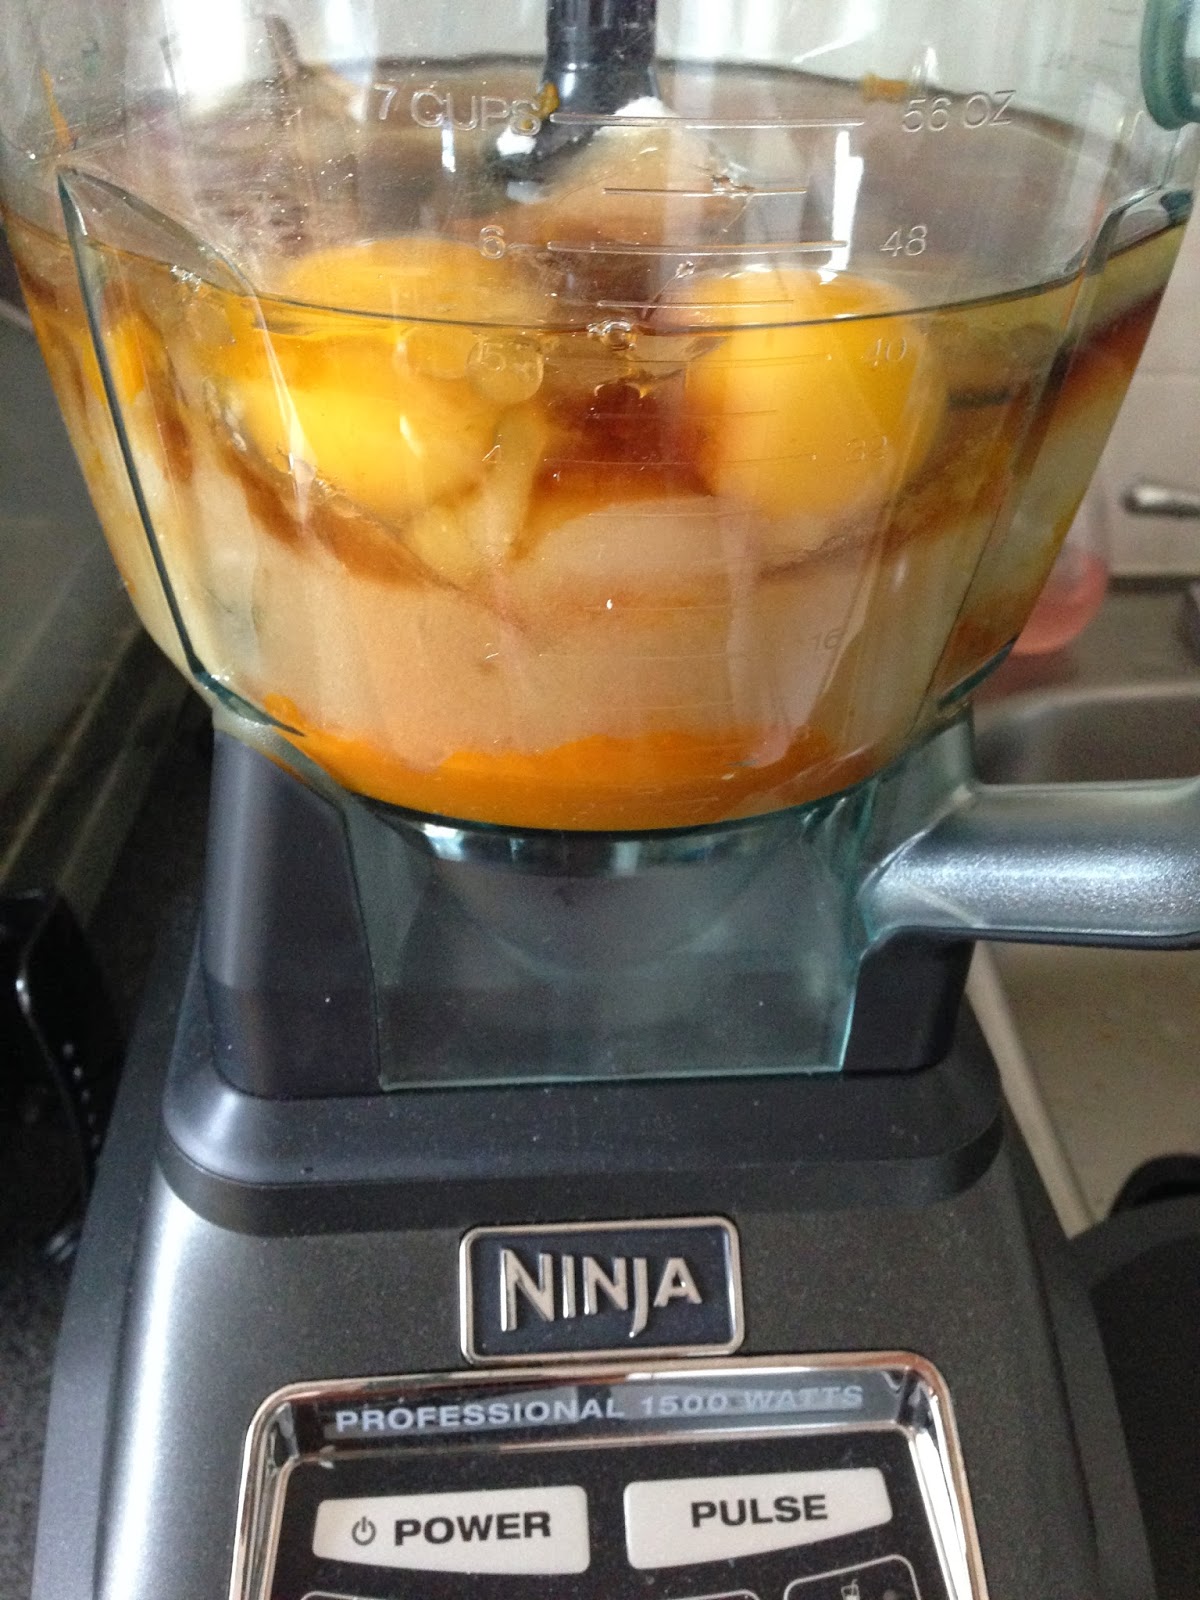
Ninja at work

I also used my Ninja to make  the oatmeal bread crumbs!

Mozzarella-stuffed meatballs
Source: adapted from YouTube, via Facebook
Serves: 6

Ingredients
Fresh mozzarella, about 4 ounces, cubed
1 pound ground beef
1 pound ground pork
1/2 medium onion, finely diced
1 clove garlic, minced
1 cup ground oatmeal (or bread crumbs)
1/4 cup grated Parmesan cheese
2 eggs
1/2 cup lowfat milk
1/2 cup chopped fresh parsley
1/2 teaspoon salt
1/2 teaspoon ground black pepper

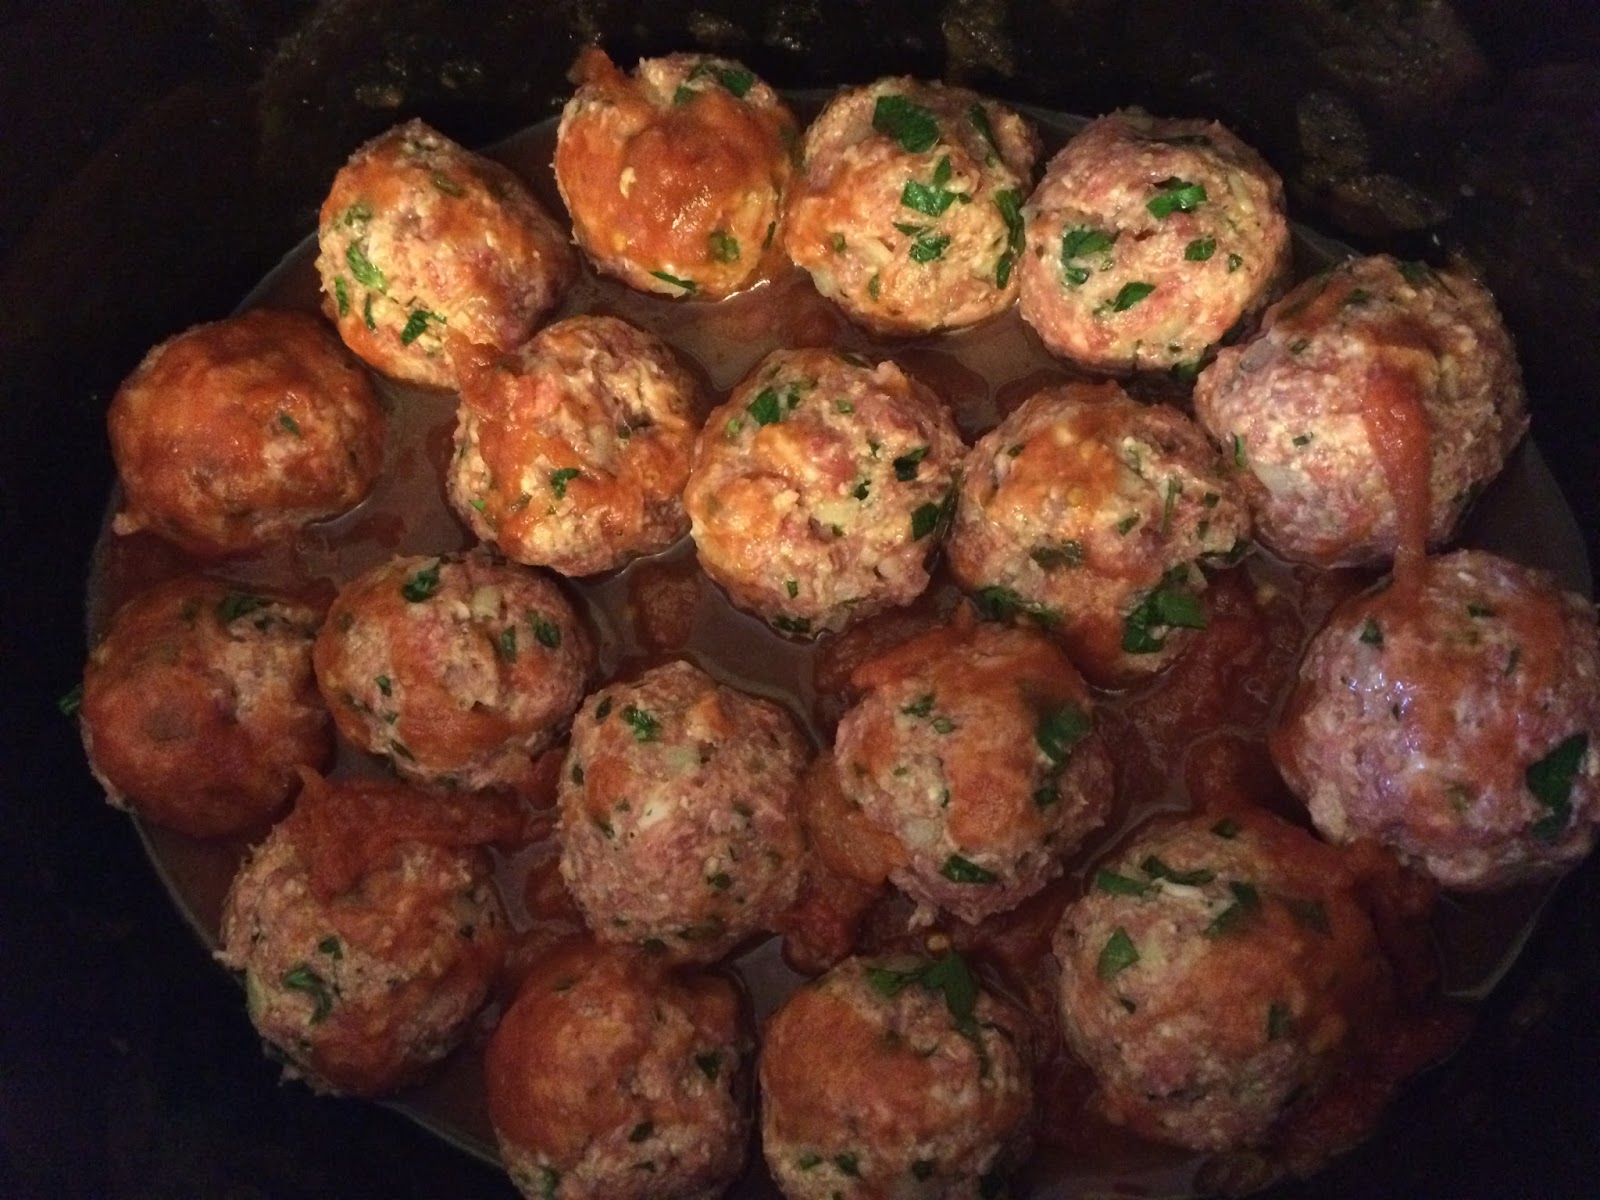
Meatballs, ready to be slow cooked

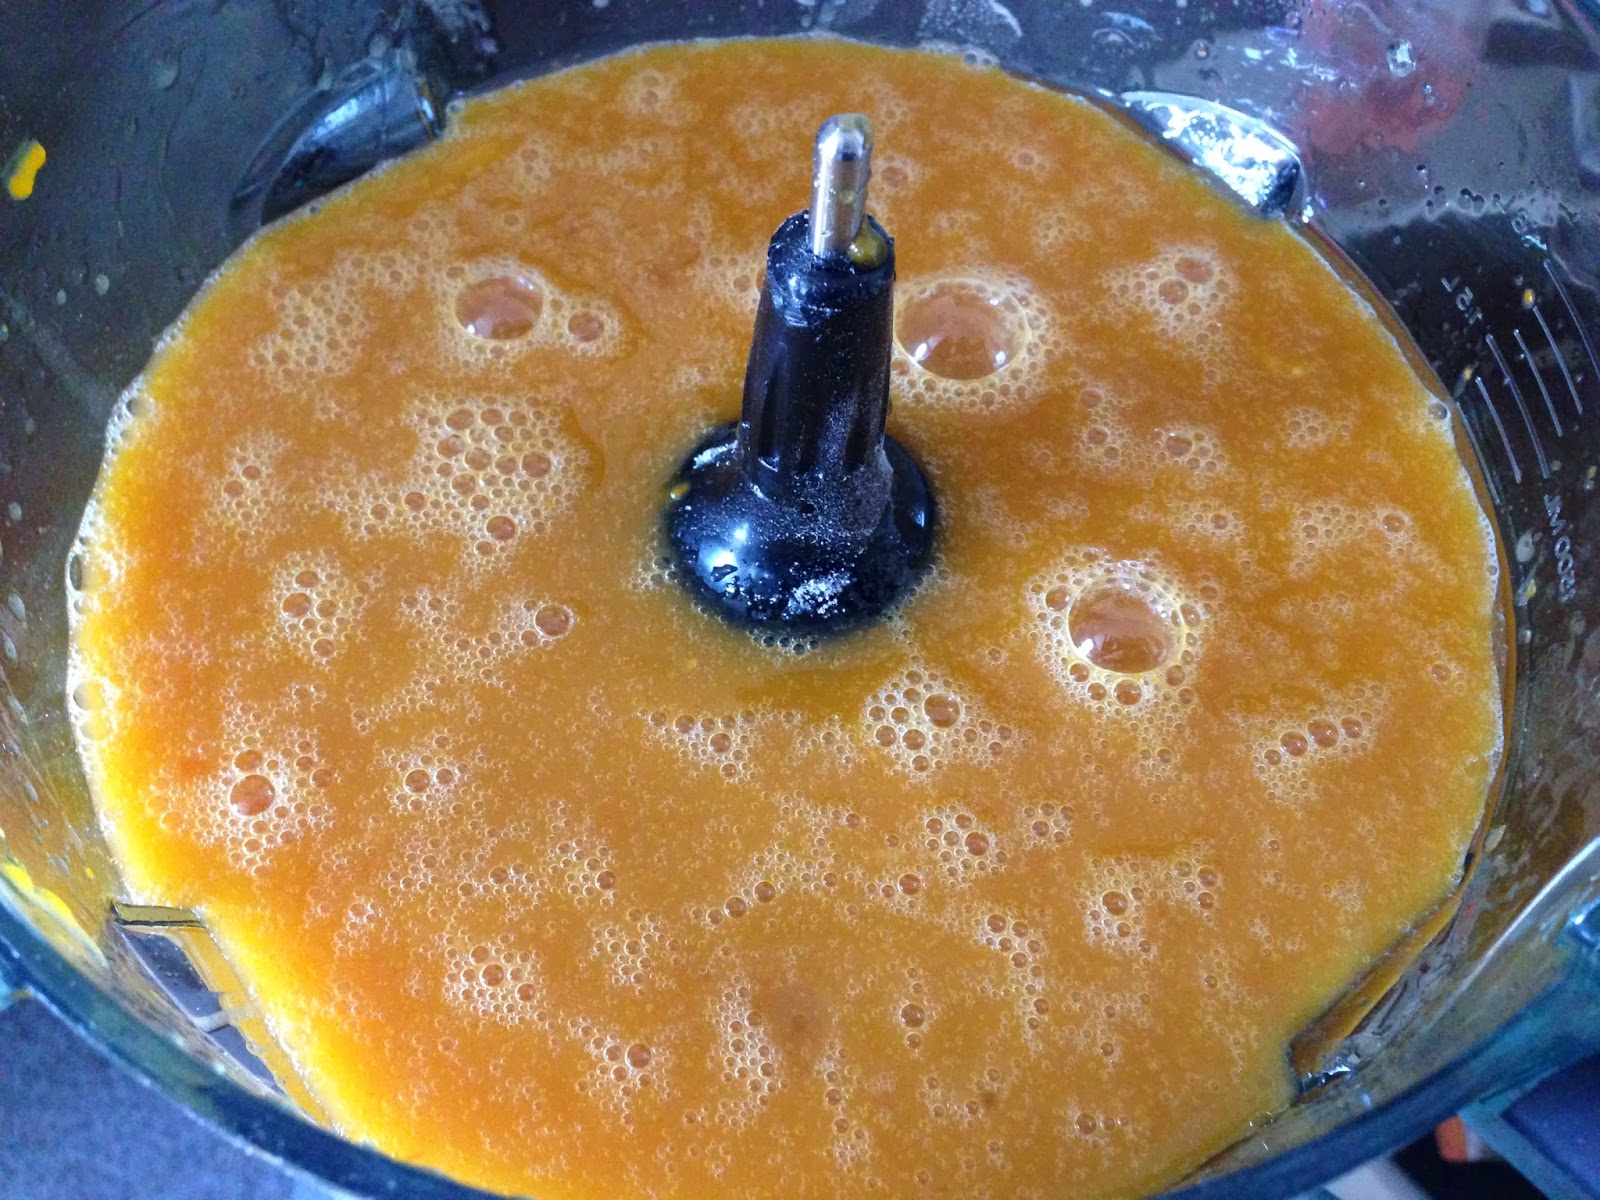
1 can (28 ounces) whole peeled tomatoes, broken up into small pieces
1 can (6 ounces) tomato paste

Directions
1. In a large bowl, mix together beef, pork, onion, garlic, oatmeal, Parmesan cheese, eggs, milk, parsley and salt just until combined. Do not overmix.

2. Roll meat mixture into a meatball, then smoosh a cube of cheese into the ball and roll until cheese is completely surrounded. Repeat until all of the meat has been made into meatballs.

3. In the bottom of the slow cooker, mix together tomato paste and 6 ounces of water. Layer meatballs on top of tomato paste. Top with the broken up whole peeled tomatoes and any liquid from the can.

4. Cook on high for 2-2.5 hours. Mix together and enjoy with your favorite pasta or crusty bread. Note some of the cheese will probably leak out.

Smoky peanut chicken tacos

Who doesn’t love taco night? The sauce for these chicken tacos is super tasty, and easy! I prepped it ahead of time and blended it up in my single-serve Ninja cup. Since I stored it in the fridge overnight, I had to add a little extra water to thin it up a bit. The extra sauce made a pretty good dip for chips too!

Just add your favorite taco toppings – I used extra sharp cheddar, cilantro, and shredded red cabbage and dinner is d-o-n-e.

Pretty peanut chicken tacos

Smoky peanut chicken tacos
Serves: 4
Source: Good Housekeeping, November 2015

Ingredients
1/2 cup peanut butter
1/4 to 1/2 cup water
1 Tablespoon melted butter
2 cloves garlic
1 chipotle chile in adobo
1/4 cup adobo sauce
1/4 teaspoon salt
1 pound boneless, skinless chicken breast
1 Tablespoon fresh lime juice
Tortillas
Sharp cheddar, shredded
Cilantro leaves, washed
Red cabbage, shredded

Directions
1. Puree peanut butter, water, butter, garlic, chipotle chile, adobo sauce, and salt until smooth. Adjust water as necessary to achieve a sauce-like consistency.

2. Pour the sauce into a 2-quart baking dish and add chicken breast, turning to coat. Cover with foil and bake at 400 degrees F for 30 minutes or until chicken is cooked (165 degrees F).

3. Slice chicken then drizzle with 1 Tablespoon of lime juice. Serve with tortillas, cheese, cilantro, and red cabbage. Enjoy!

Edamame hummus

Fresh edamame

Here’s a fun thing to do with edamame, whether it’s fresh from the farm or fresh from the freezer of your local grocery store. It’s a great snack that you can use however you would normally use hummus…I like it with Food Should Taste Good multigrain chips!

It is definitely easier to buy frozen edamame! If you buy it pre-cooked, all you need to is shell them. If it’s not cooked, then cook according to package directions.

Edamame, cooked and shelled

Since I got not one, but two bunches of fresh edamame, I went the fresh route this time. First, pick the pods off the branches, discarding any that are brown. I thought it might be a #loveuglyfood sitch so I cooked some of them anyway. But nope the beans inside were not the nice green color you want, so don’t bother with them. Some of the greenish-yellowish pods were still ok though.


Salt the pods generously and let sit for 15 minutes. I don’t know what the purpose of this is, and I don’t remember doing this in the past, but that was part of the instructions I used from who knows where. Then boil in salted water for about 6 minutes, drain, and pop out of their shells.

Be patient with your food processor – it definitely took longer than I expected to get it to the right consistency.


Edamame hummus
Makes: a lot!

Hummus and chips


Ingredients

1 1/2 cups shelled edamame, cooked

Juice from 1 lemon (about 2 Tablespoons)
3 Tablespoons tahini
2 garlic cloves, peeled
6 Tablespoons water (more if needed for consistency)
1/2 teaspoon kosher salt
1/4 teaspoon black pepper

Directions

1. Add the ingredients to a blender or food processor and puree until smooth. Enjoy!

Banana-oat smoothie

Mise en place

It’s been awhile since I used the Ninja, and this made a great post-run snack. I also made it for a weekday breakfast on-the-go, prepping the milk, yogurt, cinnamon, and vanilla in the Ninja cup the night before.

The original recipe came out way too thick, which may have been because I used Greek yogurt and a pretty starchy banana. The recipe below reflects the adjustments I would make…decreasing the yogurt and increasing the almond milk.

I liked the use of oats and might have to give that a try with my usual fruit smoothies.

Banana-oat smoothie
Serves: 1

Smoooothie

Source: adapted from Everyday Food, November 2008

Ingredients
1 banana, cut into thirds
1/4 cup old-fashioned rolled oats
1/4 cup plain Greek yogurt
3/4 cup vanilla almond milk
1 teaspoon honey
1/4 teaspoon ground cinnamon
1/4 teaspoon vanilla

Directions
1. Combine all ingredients in a blender and puree until smooth. Serve immediately.

Yogurt

Five years ago I drove out to western MA to take a cheese-making class taught by the “The Cheese Queen”, Ricki Carroll. I had first heard about her and the class when I was reading Barbara Kingsolver’s Animal, Vegetable, Miracle. Her web site is also where I get my supplies.

It has been awhile since I’ve used any of these skills, but I decided to try to bring back the yogurt-making since I’ve been digging smoothies in the Ninja. One of these days I will also get back to attempting to master the mozzarella stretching.

Make sure you have a good thermometer, yogurt cultures (I’m a Y5 girl), ice, and something insulated to let the yogurt set (like a Yogotherm). I like to ice the bottom of my pot for a few minutes before heating the yogurt…it supposedly prevents the milk from burning on the bottom. My milk doesn’t usually burn, but it usually leaves a bit of a film which makes the pot a little challenging to clean.

Heatin’ the milk

Yogurt
Source: Ricki Carroll
Makes: a lot!

Ingredients
1/2 gallon milk (any percentage)
1 packet yogurt direct set culture
1/4 cup dry milk powder

Directions
1. Heat milk to 185 degrees F. Let stand for 10 minutes. Do not allow the milk to boil.
2. Cool the milk to 110 degrees F using an ice bath.
3. Pour the milk into the Yogotherm. Add the packet of culture and the dry milk powder and stir thoroughly.
4. Allow the yogurt to set undisturbed for 6-12 hours, or until set.
5. Refrigerate immediately. Yogurt will keep for at least 7 days.

Shrimp avocado salad

Choppin’ ingredients

This is not your grandmother’s shrimp salad. It’s also more of a chopping and mixing recipe, not a “cooking” recipe. But it’s the most I have been able to manage lately – it’s been a super busy month so far! After I had purchased all of the ingredients for the recipe, I realized that I should have cut the recipe in half…though two of my lucky coworkers benefited from the surplus.

The salad is dressed

The Greek yogurt dressing was delicious, and so easy. I blended it up in the Ninja in one of the single-serve containers. Hopefully my next smoothie will not taste like garlic! I have to remember this for when I get bored of plain ol’ olive oil and balsamic vinegar on my salads. I made the dressing first and let it rest while I chopped all of the veggies. 


Shrimp avocado salad
Serves: 8
Source: adapted from ifoodreal via Pinterest

Ingredients
1/2 cup plain Greek yogurt
2 teaspoons apple cider vinegar
2 teaspoons lemon juice (juice from 1/2 a lemon)
1 clove garlic, minced
1/4 teaspoon salt
1/4 teaspoon black pepper
12 ounces cooked shrimp, cut in half
1 cup grape tomatoes, sliced in halves
2 medium bell peppers, chopped
2 medium avocados, cubed
1/2 English cucumber, cubed
1/2 cup cilantro, chopped

Directions
1. Add Greek yogurt, cider vinegar, lemon juice, garlic, salt, and pepper to small food processor (or Ninja!) and process until smooth. Set aside.

2. Chop veggies, shrimp, and cilantro and add them to a large bowl. Mix in dressing and stir to combine. Serve chilled.

Peanut butter banana bread

Bananas are not my favorite fruit, and I don’t often buy them…unless my parents are visiting (Charlie likes a banana every morning with breakfast) or I want to bake. I recently bought a bunch of bananas just so I could make this banana bread. 


I think I have to thank Pinterest for the inspiration, and this web site for help with the conversions from weight to volume. That was a bit interesting…I did my best, and definitely broke some middle school home economics class rules about baking being super precise. 

The original recipe was supposed to make one loaf, but when I transferred the batter to the loaf pan I realized it was going to be too much for a single loaf. Luckily I inherited a second loaf pan when I was home for Christmas and turned it into two smaller loaves. If I were to make this again, I think I’d try to adjust the ingredients to make two regular-sized loaves, perhaps another banana and a little more flour and sugar.

I had one banana left, which I sliced and threw in the freezer. I used it to make a delicious smoothie for breakfast (1/2 cup plain Greek yogurt, 1 teaspoon honey, 1/2 frozen banana, 1/4 cup each of frozen pineapple, mango, and peach, plus water to achieve your desired consistency). Two recipes for the price of one!


Trifecta of ingredients
Peanut butter banana bread
Makes: 2 small-ish loaves
Source: adapted from Alida Ryder’s recipe on Simply Delicious

Ingredients
1/2 cup butter (1 stick), softened
1 cup sugar
2 eggs
4 very ripe bananas
1 teaspoon vanilla extract
2 cups flour
2 teaspoon baking powder
1/2 teaspoon salt
1 cup peanut butter
1 cup semisweet chocolate chips

PB batter on the left, chocolate chip on the right

Directions
1. Preheat the oven to 350 degrees F. Grease two loaf pans (I used Pam for baking spray)

2. In a mixing bowl, cream together the butter and sugar until light and fluffy. Beat in eggs one at a time, then add the bananas and vanilla extract. Mix well. Sift in the flour, baking powder, and salt.

3. Place 1 1/2 cups of the batter in a smaller bowl, then mix in the peanut butter. Mix in the chocolate chips in the batter without the peanut butter.

The finished products
4. Divide the batter with the chocolate chips between the two prepared pans, then dollop in the peanut butter-flavored batter (again dividing between the two pans). With a knife or the back of a spoon, swirl the batters together (do not overswirl; you do not want the batters to blend together completely).

5. Place the loaf pans in the oven and bake for 40-50 minutes or until a skewer inserted comes out clean. If the loaf is browning too much, place a piece of foil over it about halfway through the baking time.

6. Remove the loaves from the oven and allow to cool in the pans for 20 minutes before turning out onto a cooling rack. 
Allow to cool completely, slice and enjoy!

Boston Marathon training – Week 4

Home sweet NY!
This post is a day late because yesterday was my annual Christmas cookie baking marathon! I know, I know…Christmas is over. But my baking buddy moved to Pennsylvania this year so this was the only time we were able to get together. I guess you could call them post-Christmas cookies. This year we baked a total of five batches (M&M x2, sugar, molasses, and oatmeal chocolate chip with pecans)…quite an accomplishment with my small oven and a 9-month old who desperately wanted to “help”. We did have the help of the Ninja this year, which was a reasonable substitute for the KitchenAid.

Santa’s on a boat!

Anyway…week 4 brings me to the end of the first month of training. Only four more months to go! 

I woke up on Christmas morning with a cold. Merry Christmas to me! It’s been annoying, but luckily not enough to sideline me from training. It was a successful week, with a couple of runs at home in NY and a long run on the river on Saturday. I was bummed that I conveniently ended my run at Starbucks, but I arrived with a dead phone and no money so I had to leave empty-handed. I don’t understand how my phone battery goes from 80% to dead within 90 minutes! I am an obsessive app closer so the only thing that was running was Endomondo and music.

Total distance covered
18 miles

Donors of the week

More boats on the Charles

Julie Roper
Kimberly Glassman
Kate Kunstel
Stephanie Williamson
Heidi & Darren Marani
Betty & Murlin Lough

Goals for next (this) week
Say hello to 2014!

Visit my web site for more information or if you’d like to make a donation!

Peach blueberry smoothie

I needed something quick and easy (and easy on my GI tract) for a pre-run breakfast last weekend. Since I had yogurt and some frozen blueberries and peaches on hand, I decided to break out the trusty Ninja and make a smoothie. I can’t lie, the peaches were from my 2012 CSA and the blueberries had to be rescued from tons of ice (and a little bit of freezer burn)…but desperate times call for desperate measures, especially at 6 AM on a Saturday morning. 

I am happy to report that the smoothie tasted great and it made me want to stock up on some non-freezer-burned fruits. I’m thinking pineapple and mango would be great. What are your favorite smoothie ingredients?
Single serve smoothie
Peach blueberry smoothie
Serves: 1

Ingredients
1/4 cup frozen blueberries
1 cup frozen peach slices (6 slices)
1/2 cup plain Greek yogurt
1 Tbsp peanut or almond butter
1 tsp honey
1/2 cup water (adjust to desired smoothie consistency)

Directions
Add all ingredients to blender and blend until smooth. Enjoy!

Pumpkin chocolate chip bread

Pumpkin bread!

It was a perfect morning for baking, especially something pumpkin-y. I tried to use the baking attachment on my Ninja, but since the recipe made two loaves, the bowl of the food processor only had the capacity for the wet ingredients. It made quick work of mixing those up, and then I mixed the wet and dry ingredients the old-fashioned way.

I only have one loaf pan so I made one loaf of bread and 12 muffins. For the bread, it was hard to tell when it was done. The edges looked a little overdone while the middle was still undercooked. My oven tends to run a little hot, so I was checking on it periodically and ended up pulling out at just around 60 minutes. I really hope it’s not overcooked because I’m giving it as a birthday gift. 

On a side note, my place smelled amazing for hours!


Ninja, pre-mixing

Pumpkin chocolate bread
Source: adapted from My Baking Addiction
Makes: 2 loaves or 24 muffins

Ingredients
1 (15-ounce) can pumpkin puree
4 eggs
3/4 cup canola oil
3/4 cup water
1 Tbsp vanilla extract
2 cups sugar
3 1/2 cups all-purpose flour
2 tsp baking soda
1 1/2 tsp kosher salt
1 tsp cinnamon
1 tsp nutmeg
1 tsp allspice
1/2 tsp cloves
1 (12-ounce) bag semi-sweet chocolate chips

Directions

Ninja, post-mixing

1. Preheat oven to 350 degrees F. Grease and flour two 8.5 x 4 x 2.5 inch loaf pans or two 12-cup muffin pans.
2. In a large bowl, combine pumpkin, eggs, oil, water, vanilla, and sugar. Mix with electric mixer (or use stand mixer) until well blended.
3. In a medium bowl, whisk together flour, baking soda, salt, cinnamon, nutmeg, allspice, and cloves.
4. Slowly add the dry ingredients into the pumpkin mixture and stir until just blended. Fold in chocolate chips.
5. Pour batter into the prepared pans and bake for 60-70 minutes (bread) or 17-20 minutes (muffins) or until a toothpick inserted in the center comes out clean.