|
| Getting ingredients ready |
I have been trying to catch up on some magazine-reading, including the March issue of Bon Appetit. While there are several recipes I’d like to eventually try, I could not stop thinking about this raspberry-ricotta cake. And since I’m just a little obsessed with lemon ricotta anything, I decided to add lemon, both juice and zest. I had some frozen mixed berries in my freezer, so I used a mix of raspberries and blueberries (the original recipe called for raspberries or blackberries).
The recipe says the cake can be made 2 days ahead and stored at room temperature, tightly wrapped. That is, if you can make it last that long!
Lemon berry ricotta cake
Serves: 8
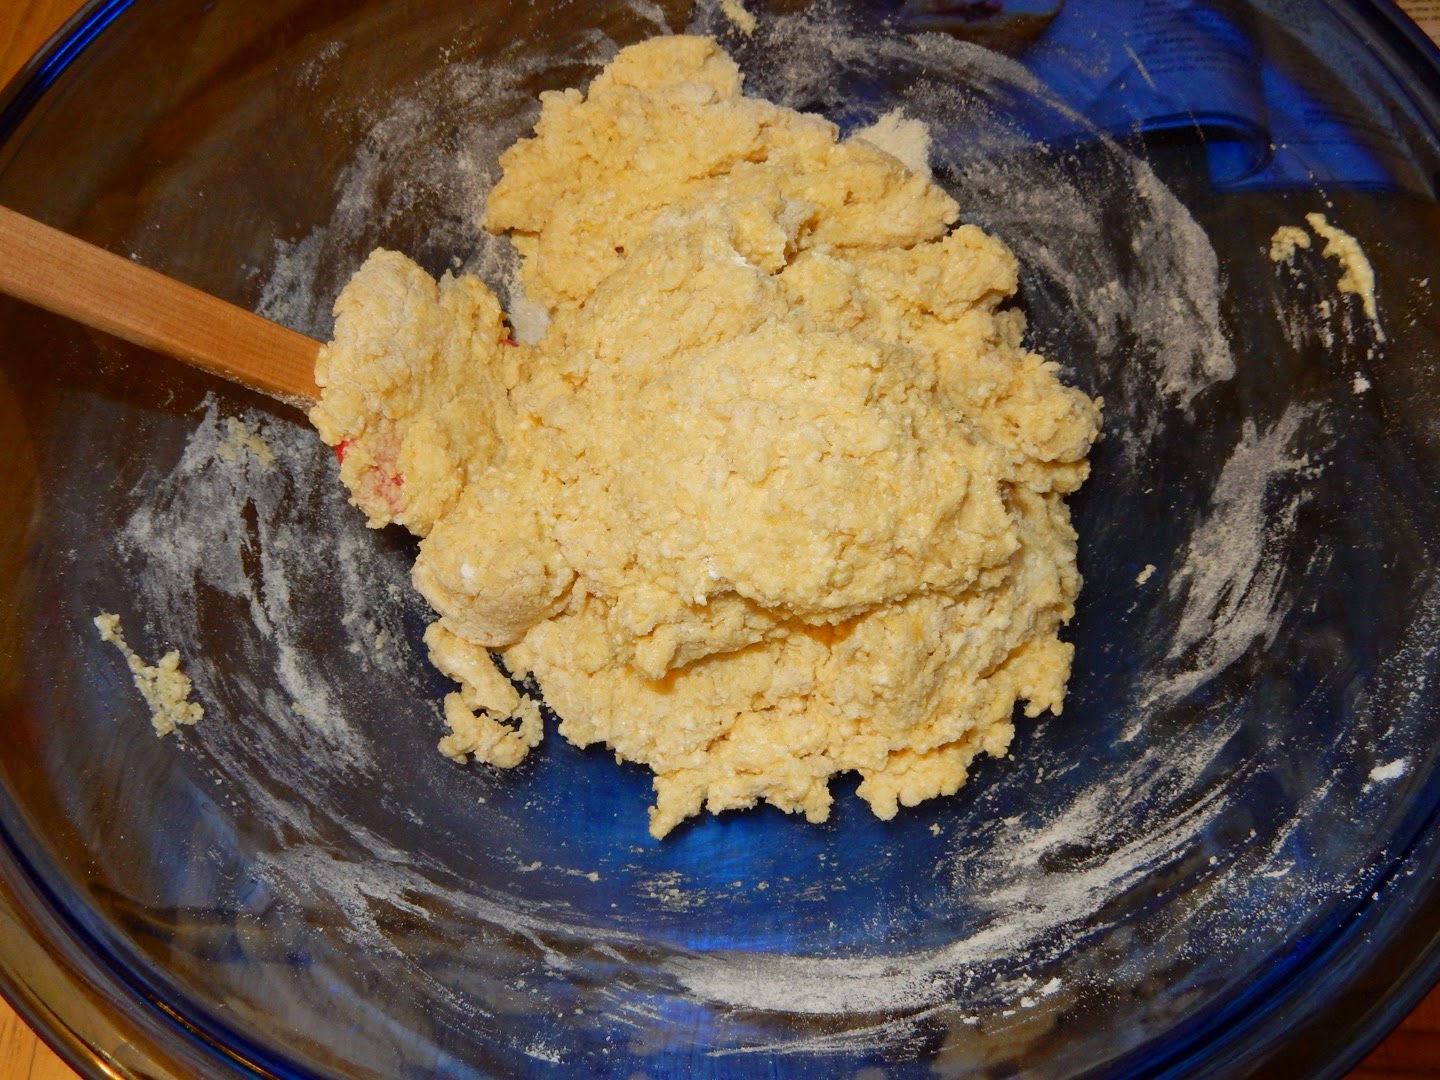 |
| Mixin’ batter |
Source: Bon Appetit, March 2015
Ingredients
Nonstick vegetable oil spray
1 1/2 cups all-purpose flour
1 cup sugar
2 teaspoons baking powder
3/4 teaspoon kosher salt
3 large eggs
1 1/2 cups ricotta
1/2 teaspoon vanilla extract
1 Tablespoon lemon zest (from 1 lemon)
1 Tablespoon lemon juice (from 1/2 lemon)
1/2 cup (1 stick) unsalted butter, melted
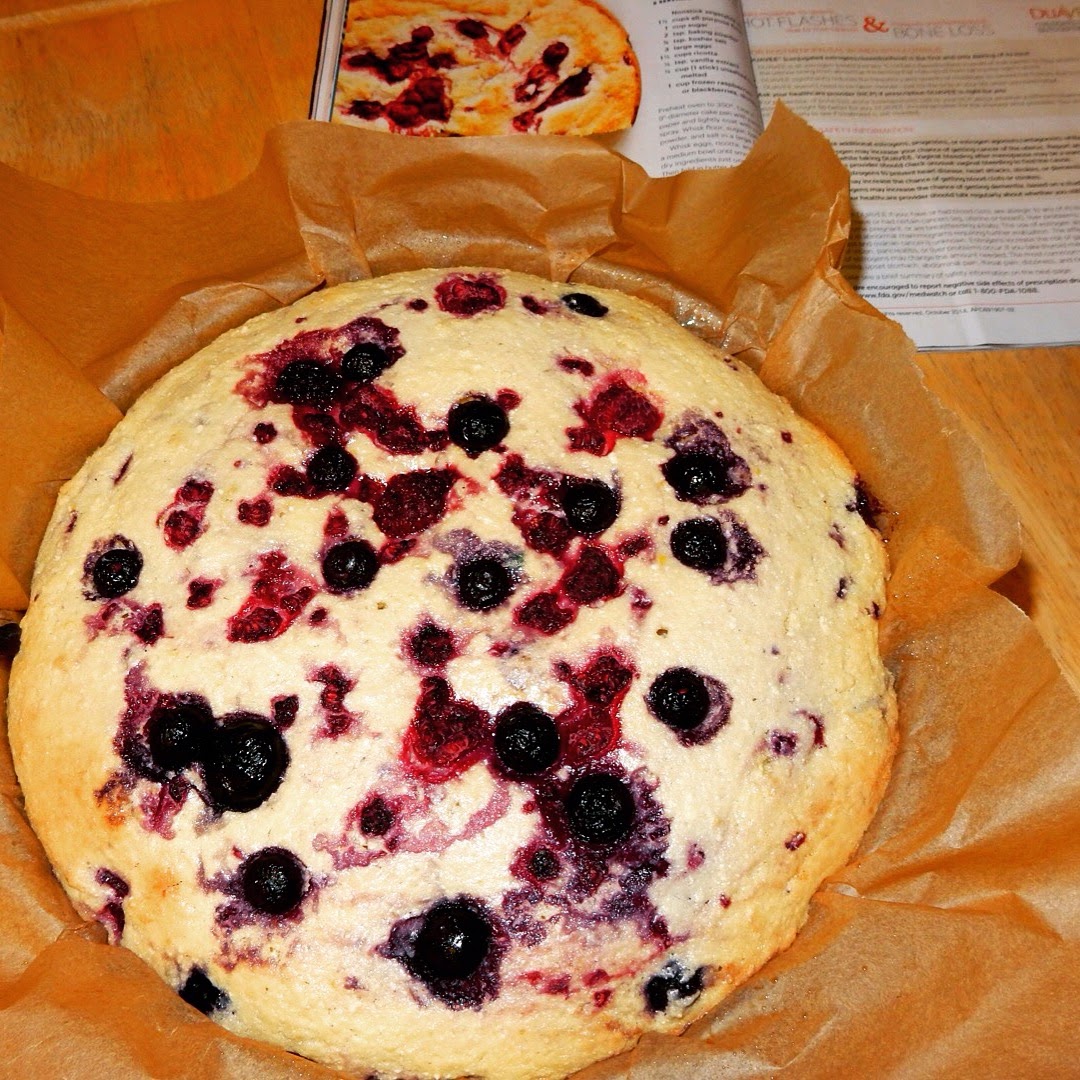 |
| Outta the oven and ready to eat! |
1 cup frozen berries, divided
Directions
1. Preheat oven to 350 degrees F. Line a 9″-diameter cake pan with parchment paper and lightly coat with nonstick spray.
2. In a large bowl, whisk together dry ingredients (flour, sugar, baking powder, and salt) in a large bowl.
3. In a medium bowl, whisk together eggs, ricotta, vanilla, lemon zest, and lemon juice until smooth; fold into dry ingredients just until blended, then fold in butter. Gently mix in 3/4 cup berries.
4. Scrape batter into prepared pan and top with remaining 1/4 cup berries. Bake cake until golden brown and a tester inserted into the center comes out clean, 50-60 minutes. Let cool at least 20 minutes before unmolding.